")
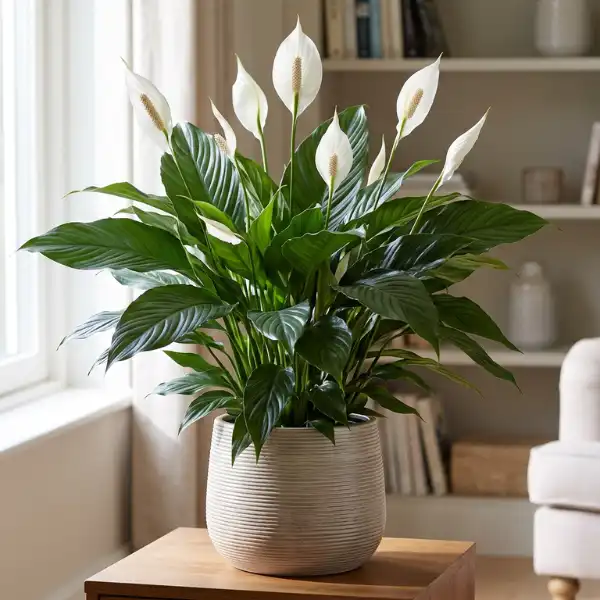
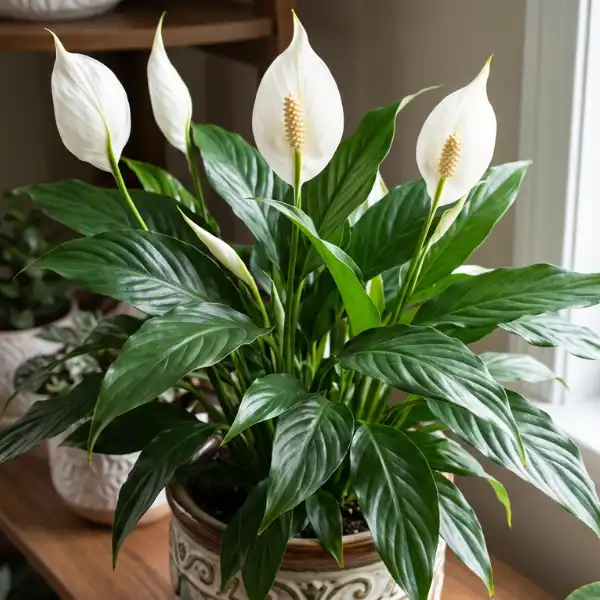
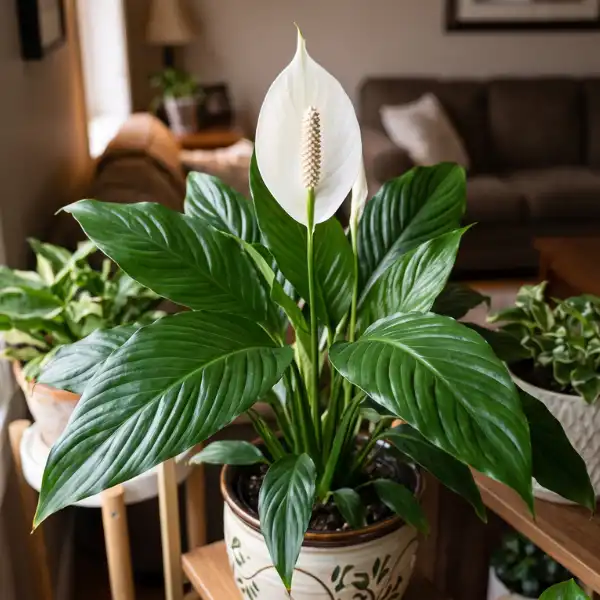
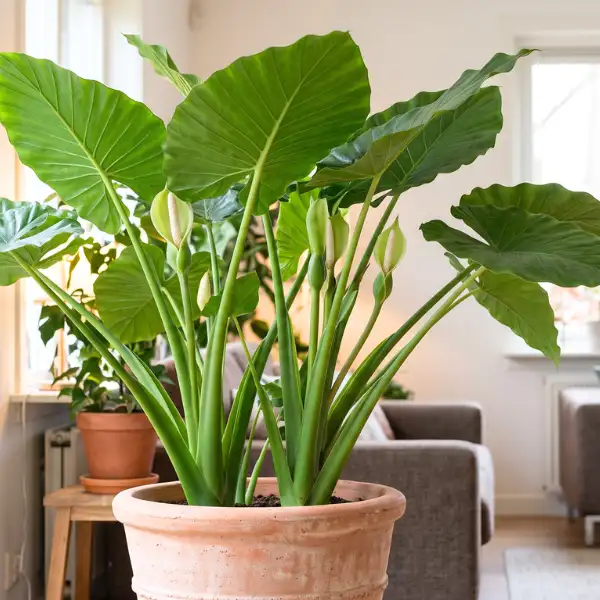
Walk into any plant store, and you’ll spot that familiar glossy green foliage topped with a graceful white bloom — the peace lily. But here’s what most buyers don’t realize: not all peace lilies are the same plant wearing different pots. There are dozens of distinct peace lily varieties, each with its own size, leaf pattern, flowering habit, and light requirements.
Choosing the wrong variety for your space is one of the most common reasons peace lilies fail to thrive. A towering Sensation pushed into a windowsill will pout, whilst a delicate Domino packed into a dark corner will lose its unique variegation. This guide breaks down the most popular and distinctive peace lily kinds, allowing you to select the one that best suits your home – and your lifestyle.
What makes Peace Lily varieties different?
Every Spathiphyllum has the same fundamental structure: a white spathe (flag-like bract) wrapped around a spadix (real flower spike), with glossy, lance-shaped leaves. What distinguishes one kind from another boils down to a few characteristics:
- Mature size — anywhere from 10 inches to over 6 feet tall
- Leaf pattern — solid green, variegated, or streaked with silver
- Flowering frequency — some bloom several times a year, others less often
- Light tolerance — variegated types generally need brighter light than solid-green ones
Understanding these differences allows you to match a variety to the specific location you have in mind, whether it’s a gloomy office desk or a bright living room nook.
Popular Peace lily varieties for every space
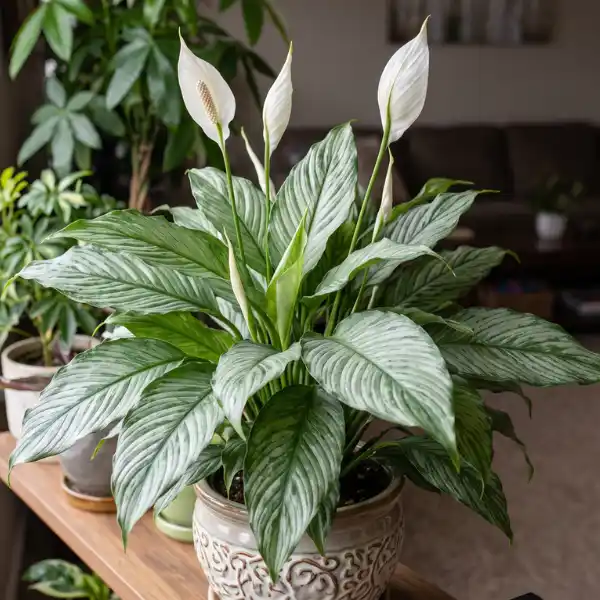
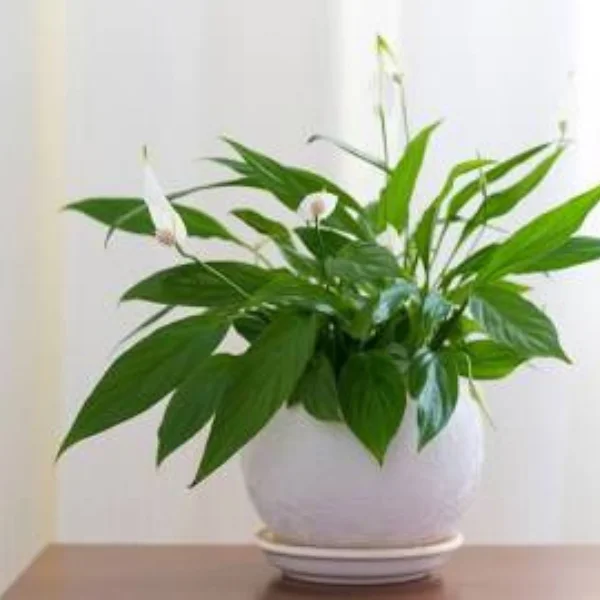
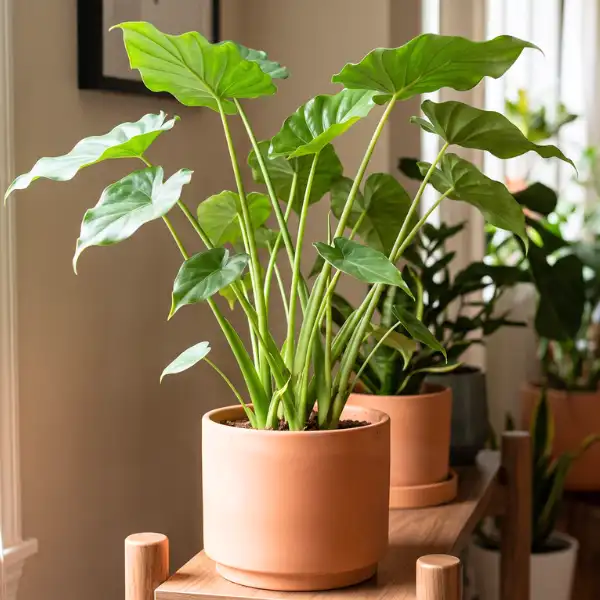
1. Spathiphyllum wallisii (The classic)
This is the original — the compact species most peace lily cultivars are bred from. Wallisii grows 12–24 inches tall, with narrow, deep-green leaves and modest white spathes. It’s remarkably forgiving of low light and irregular watering, making it the go-to choice for beginners.
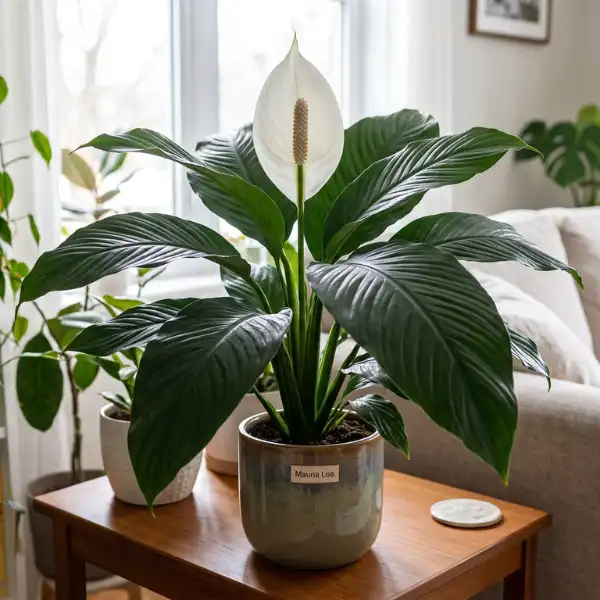
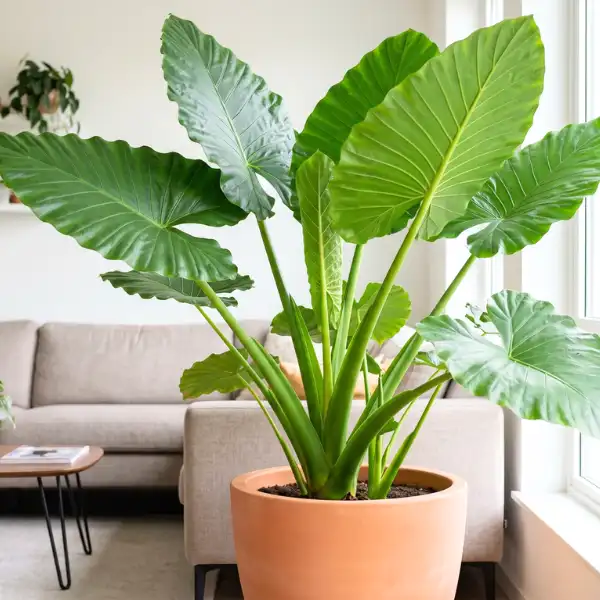
2. Mauna Loa
Mauna Loa, one of the most popular peace lily varieties, grows to 3-4 feet tall and has broad, leathery leaves as well as very enormous, long-lasting flowers. It’s also faintly aromatic, distinguishing it from most other varieties. Give it strong, indirect light to get the optimum flowering results.
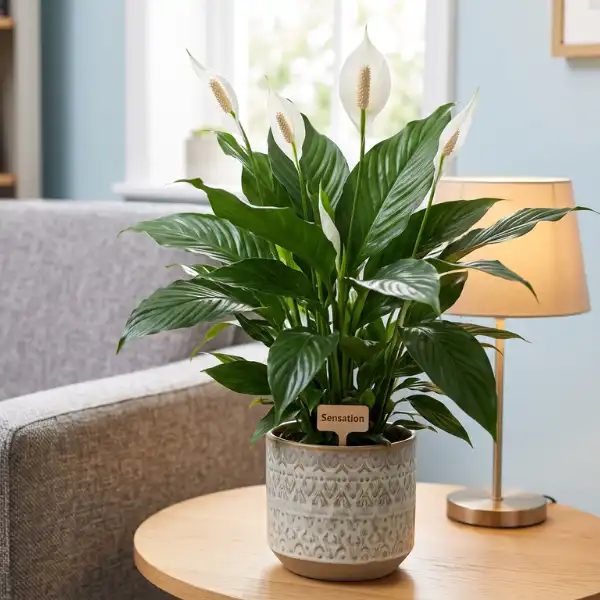
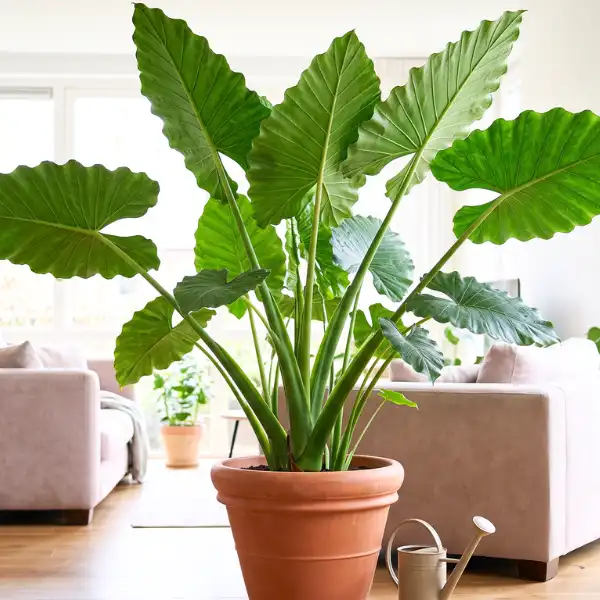
3. Sensation
If you want a statement plant, Sensation is the largest peace lily variety commercially available, growing up to 5–6 feet tall with ribbed leaves that can stretch over a foot wide. It needs floor space, higher humidity, and bright indirect light to truly thrive.
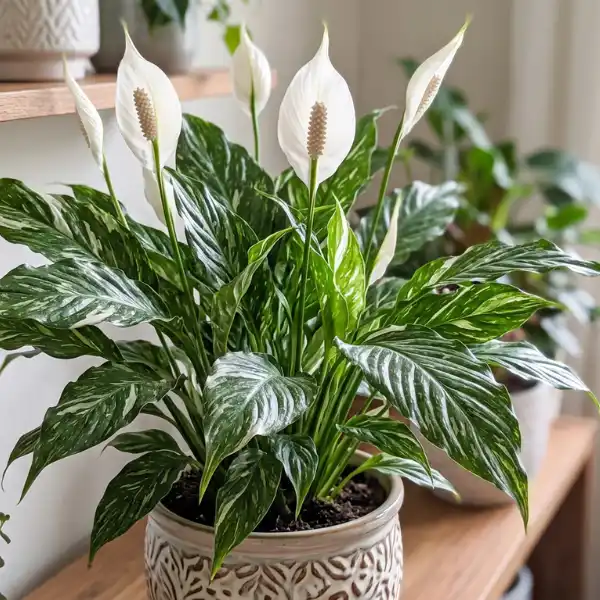
4. Domino
Domino is easily identified by its variegated foliage, which consists of dark green leaves with white and cream streaks. It remains medium-sized, about 2-3 feet, but requires substantially more light than solid-green types to maintain its pattern. Too little light causes the variegation to fade to plain green.
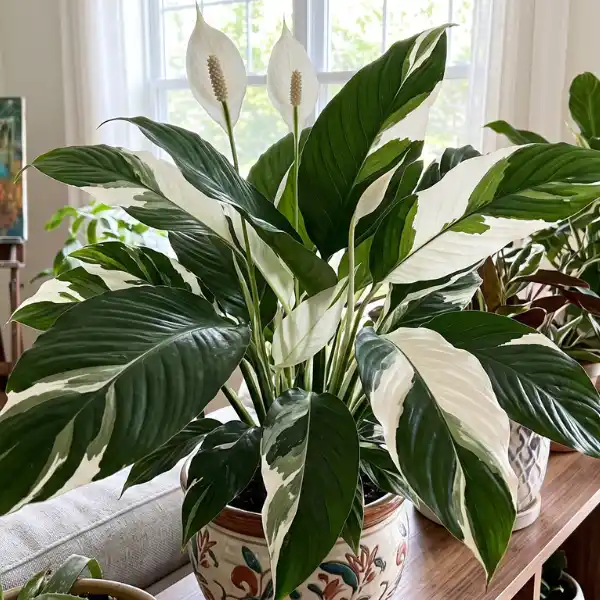
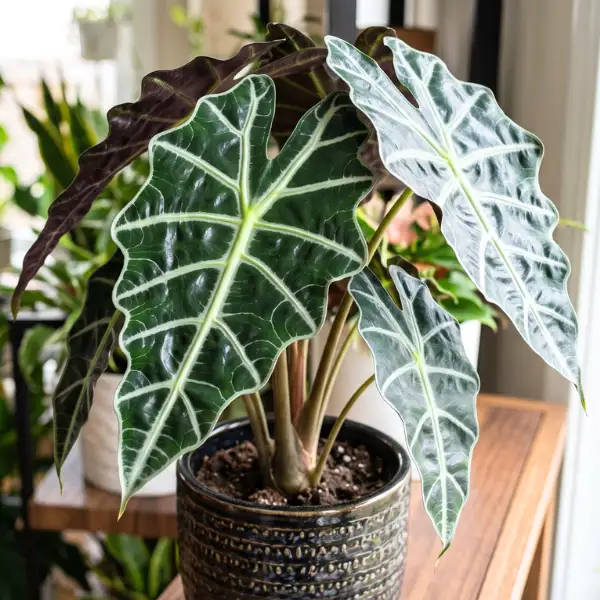
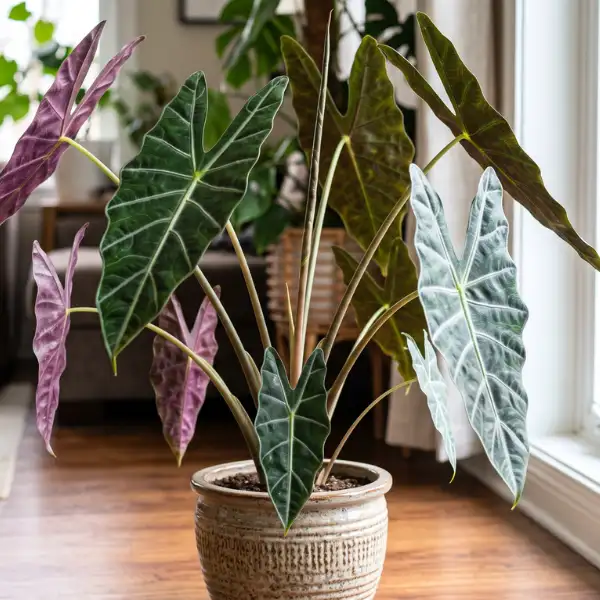
5. Picasso
Named for its paint-splashed leaves, Picasso is a rarer, highly collectible variety with bold white-and-green variegation running unevenly across each leaf. It’s pickier about light than its reputation suggests — this is not a low-light plant despite the peace lily family’s general shade tolerance.
6. Power Petite
Power Petite is a petite type that grows to about 10-12 inches tall and has brilliant green leaves and little white spathes. It is perfect for desks, shelves, and small apartment areas, and it tolerates low light better than other variegated kinds.
7. Little Angel
Similar in size to Power Petite, Little Angel is known for being one of the most prolific bloomers among dwarf peace lily varieties. If flowers are your priority in a small plant, this cultivar delivers more consistently than older compact types.
8. Clevelandii
Clevelandii stands out for its unusually long leaves — up to 18 inches — on a plant that stays 1–3 feet tall overall. It’s hardy, forgiving with watering, and adapts well to a range of indoor light conditions, making it a solid beginner pick alongside Mauna Loa.
9. Sweet chico
A compact, upright grower with delicate white blooms, Sweet Chico is prized for blooming multiple times a year with minimal fuss. It’s a good option for anyone who wants reliable flowers without a large plant.
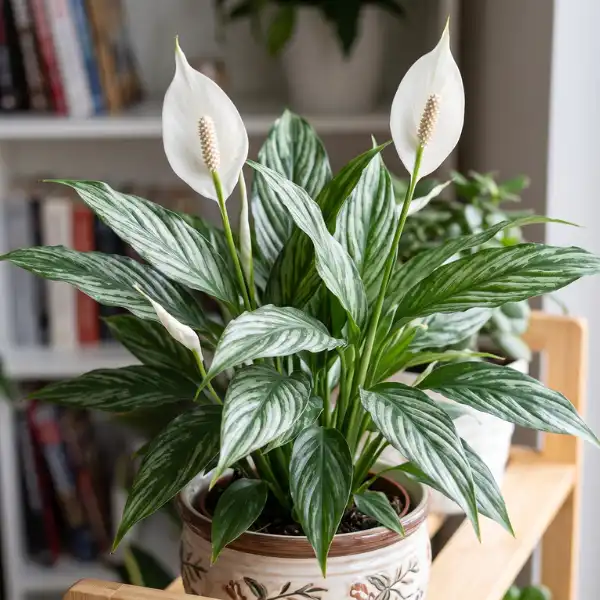
10. Silver Cupido
This variation introduces a cooler color palette to the peace lily family, with silver-tinted leaves that have a distinct, almost frosted appearance. It works nicely in collections with solid-green types for visual contrast.
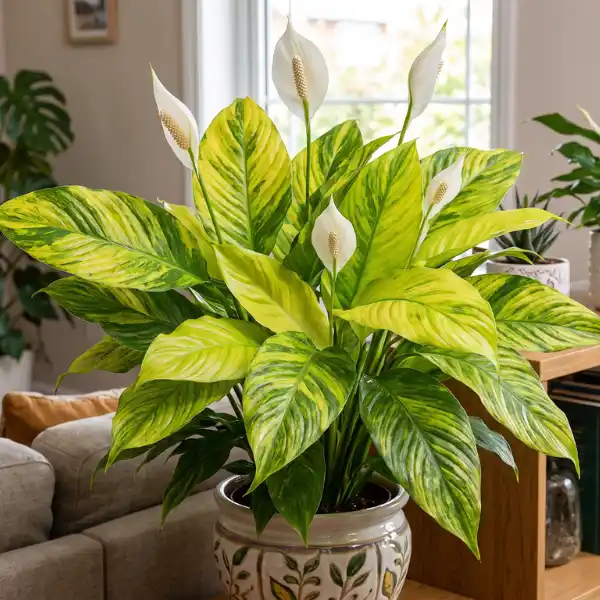
11. Golden Delicious
True to its name, Golden Delicious features green leaves brushed with light yellow variegation — a warmer alternative to the white-and-green look of Domino or Picasso.
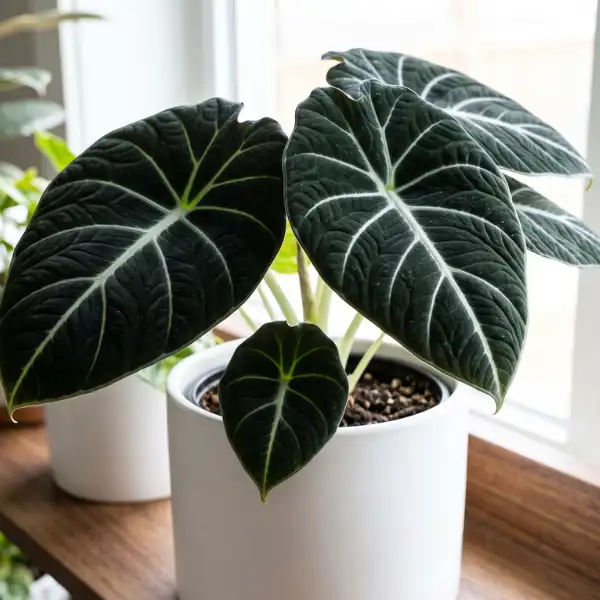
12. Platinum Mist
Platinum Mist distinguishes itself by mosaic-like, silvery variegation in its leaves. It’s a less common kind, better suited to collectors who have prior expertise maintaining variegated species at their best.
13. Jetty
Jetty, a bigger variety that may grow to be approximately 3 feet tall, with glossy dark-green leaves and huge white spathes. It prefers moderate-to-high humidity and bright, indirect lighting.
14. Piccolino
A true dwarf, Piccolino tops out around 12 inches with shiny, dark green leaves and proportionally smaller white blooms. It’s an easy fit for apartments, hostels, or anywhere floor and shelf space is limited.
15. Chopin
A medium-sized variety popular for gifting and office décor, Chopin produces bright white spathes on lush foliage and handles typical indoor conditions without much fuss.

Peace lily varieties by size: Quick comparison
| Variety | Typical Height | Best For |
| Piccolino / Little Angel | 10–15 in | Desks, shelves |
| Wallisii / Power Petite | 12–24 in | Tabletops, small rooms |
| Domino / Sweet Chico | 24–36 in | Medium rooms, bright corners |
| Mauna Loa / Clevelandii | 3–4 ft | Living rooms, statement corners |
| Jetty | ~3 ft | Humid bathrooms, offices |
| Sensation | 5–6 ft | Floor displays, large open spaces |
How to choose the right Peace lily variety for your home
Match size to space
Before purchasing a product online, measure the area you intend to use it in. A Sensation requires many feet of space, but a Piccolino or Little Angel is content on a tiny shelf.
Consider your light conditions
Solid-green types, such as Wallisii and Power Petite, may withstand low light better than others. Variegated peace lily cultivars (Domino, Picasso, and Golden Delicious) require stronger, indirect light to prevent their patterns from fading back to plain green.
Think about bloom frequency
If you want a plant that blossoms consistently, Little Angel, Mauna Loa, and Sweet Chico are reported to bloom more frequently than some of the wider, foliage-focused varieties.
Factor in humidity
Larger species, such as Sensation and Jetty, prefer greater humidity (think bathrooms or kitchens), whereas compact forms adapt more easily to regular room settings.
Care basics that apply to nearly all Peace lily varieties
Regardless of which cultivar you choose, most peace lily varieties share similar core care needs:
- Light: Bright, indirect light is ideal; most tolerate lower light but bloom less
- Watering: Let the top inch of soil dry before watering again; peace lilies droop dramatically when thirsty but recover quickly
- Humidity: Average to high humidity keeps leaf tips from browning
- Soil: A well-draining mix of potting soil, peat, and perlite works well
- Fertilizing: A balanced liquid fertilizer once a month during the growing season is usually enough
- Toxicity: All peace lily varieties contain calcium oxalate crystals and are mildly toxic to pets and children if chewed, so place them out of reach
Conclusion:
With so many peace lily varieties available, ranging from the pocket-sized Piccolino to the towering Sensation, there’s a Spathiphyllum for almost any house, light level, and design style. Begin by matching a variety’s size and light requirements to your specific environment, and you’ll have a plant that not only survives, but flourishes.
Certainly! If you’d like to learn more, please consider following our WhatsApp Channel, Facebook, Instagram, YouTube, Twitter, and Pinterest.
Frequently asked questions about peace lily varieties
Q1: Are variegated peace lily varieties harder to care for?
A1: Not harder, just different — variegated types like Domino and Picasso need more indirect light to preserve their white and green patterns. Too little light causes the variegation to fade.
Q2: Are peace lily varieties safe for pets?
A2: Peace lily not a pet friendly plants. No. All peace lily varieties contain calcium oxalate crystals that are mildly toxic if chewed or ingested by cats, dogs, or children, so keep them out of reach.
Q3: What is the most common peace lily variety sold in stores?
A3: Most peace lilies sold in garden centers are Spathiphyllum Wallisii or hybrids derived from it, such as Mauna Loa and Clevelandii, since they’re hardy and adapt well to average indoor conditions.
Q4: Which peace lily variety is best for low light?
A3: Wallisii, Power Petite, and Little Angel tolerate low light better than most. Variegated varieties like Domino and Picasso need brighter light to maintain their leaf patterns.
")


")