You’ve certainly seen ice-cubing become popular in skincare circles, but plain ice has now received a major improvement. Clove ice cubes combine the ancient power of Syzygium aromaticum (cloves) with the skin-tightening freeze of cryotherapy, resulting in… A two-in-one therapy that is inexpensive, natural, and remarkably effective.
Cloves have been utilized in Ayurvedic and traditional Chinese medicine for many generations. They contain eugenol, a powerful chemical with anti-inflammatory, antibacterial, and antioxidant effects. Freeze it into an ice cube for an almost free portable face treatment.
Top 7 benefits of clove ice cubes for skin
1. Fights acne and reduces breakouts
Eugenol in cloves is a natural antibacterial agent. When applied to acne-prone skin, it helps destroy the bacteria (C. acnes) that cause pimples, while the cool temperature decreases redness and swelling practically immediately.
2. Minimises pores
Cold temperatures cause pores to shrink. Regular usage, along with clove’s astringent characteristics, can reduce enlarged pores over time – without the use of harsh chemical toners.
3. Brightens dull, uneven skin
Cloves include Vitamin K and antioxidants, which can help erase dark spots, hyperpigmentation, and acne scars. The cold improves circulation, giving skin an immediate natural shine.
4. Controls excess oil
If you have oily or mixed skin, clove ice cubes are ideal. The cold constricts sebaceous glands, lowering sebum production, but clove’s natural ingredients assist in managing oil balance throughout the day.
5. Soothes irritation and redness
Whether it’s a response, sunburn, or general sensitivity, cloves’ anti-inflammatory qualities, paired with cold treatment, will soothe irritated, inflamed skin in minutes.
6. Delays signs of aging
Free radicals are the enemies of young skin. Cloves have one of the highest antioxidant ratings (ORAC values) of any spice, helping to neutralize oxidative stress that causes fine lines, wrinkles, and elasticity loss.
7. Boosts lymphatic drainage
When ice cubes are rubbed in upward strokes, the cold promotes lymphatic drainage, which helps minimize puffiness around the eyes and jawline – a popular morning tip for a sculpted, revitalized face.
How to make clove ice cubes at home
What you’ll need:
- 10–15 whole cloves (or ½ tsp clove powder)
- 1 cup of filtered water
- A small saucepan
- An ice cube tray
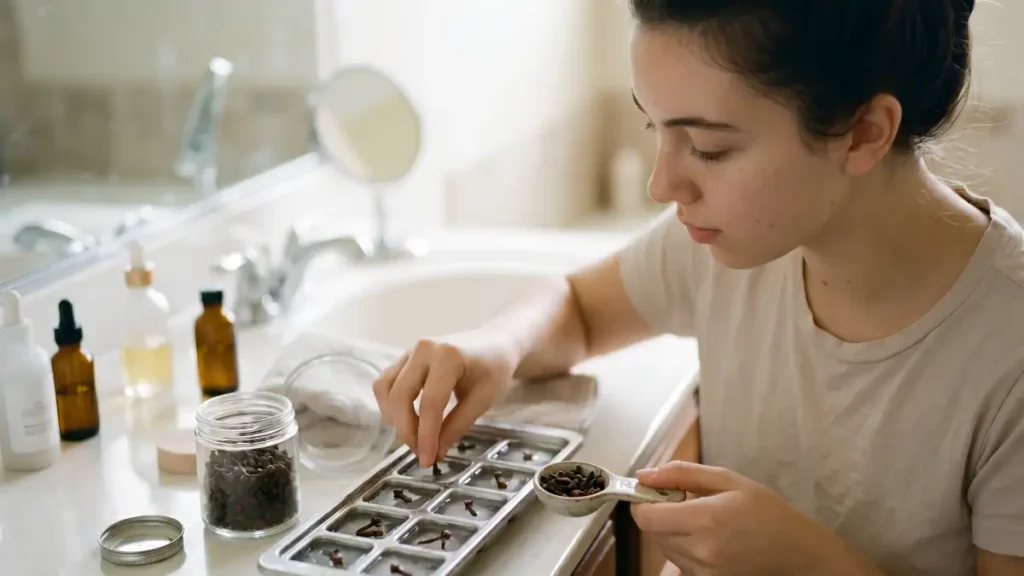
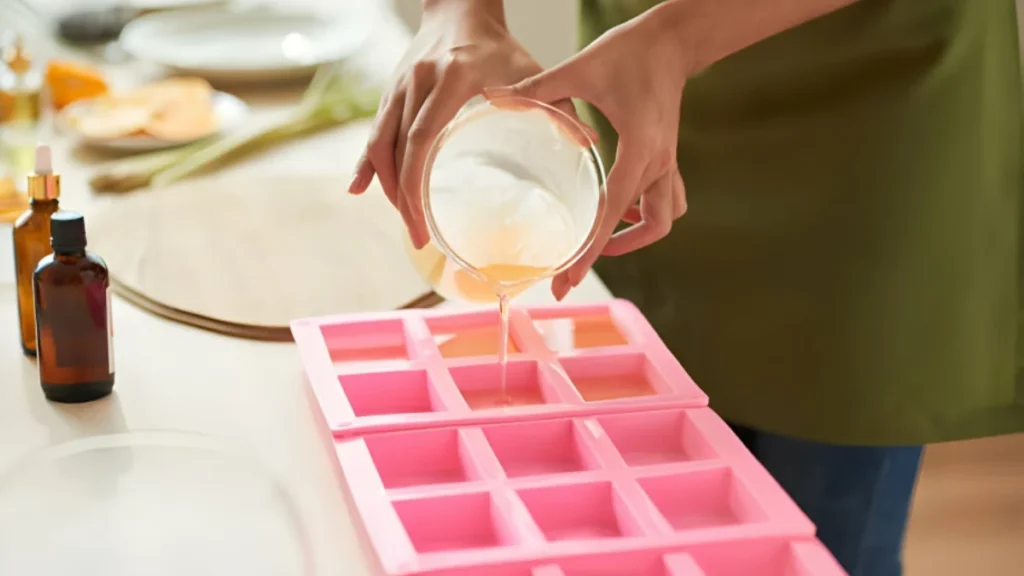
Clove ice cubes recipe:
- Brew the clove water: Add whole cloves to the water and gently boil it. Simmer for 10 minutes, until the water acquires a warm amber color and smells strongly spiced.
- Cool and strain: Allow the mixture to cool to room temperature. Strain the cloves through a fine mesh strainer or cheesecloth.
- Pour and freeze: Transfer the clove-infused water to an ice cube tray. Freeze for at least 4-6 hours, preferably overnight.
- Proper storage: After freezing, put the cubes in a zip-lock bag or an airtight container. They will last for up to two weeks in the freezer.
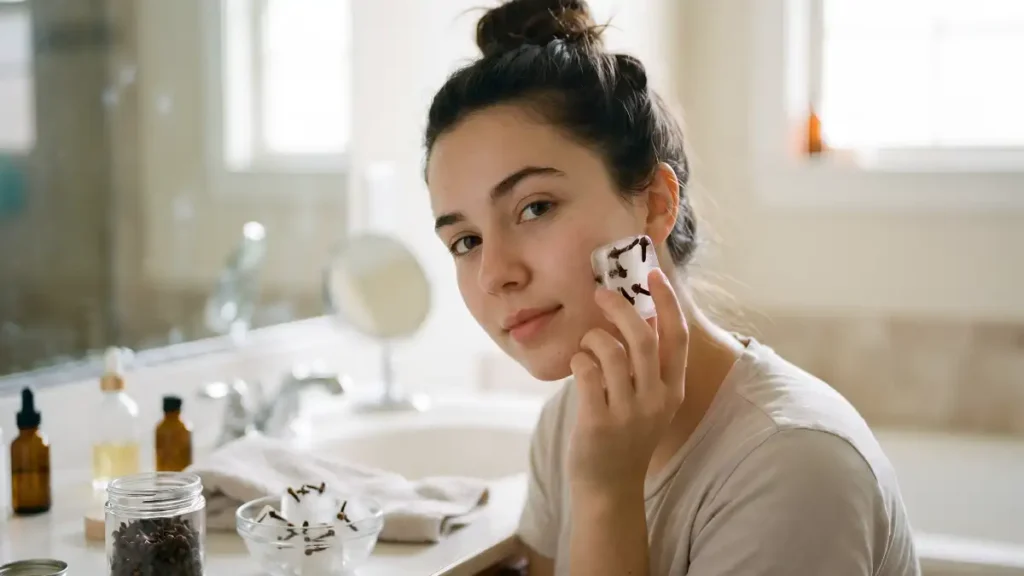
How to use clove ice cubes on your face
The right technique: Never apply an ice cube directly to bare skin — always wrap it in a thin cotton cloth or muslin to prevent ice burn, especially if you have sensitive skin.
Morning routine use: After cleaning, gently move the wrapped clove cube around your face in upward and circular motions for 1-2 minutes. Concentrate on oily skin (T-zone), big pores, and any outbreaks. Pat dry and apply moisturiser.
Spot treatment: Hold the cube directly over a pimple for 30-60 seconds to immediately decrease irritation.
Before makeup: Using a clove ice cube before foundation tightens pores and provides a smoother base, allowing makeup to stay longer.
Who should avoid clove ice cubes?
- For sensitive or rosacea-prone skin, start with very diluted clove water or skip totally. Eugenol can cause irritation in high quantities.
- Broken or damaged skin: Do not apply to open wounds, aggressive cystic acne, or compromised skin barriers.
- Clove allergy: Perform a patch test on your inner wrist 24 hours before applying to your face.
- Children: Not advised for skin under 12 years old.
Conclusion:
Clove ice cubes for skin are a rare beauty tip that combines ancient knowledge with contemporary skincare technology. They’re inexpensive, customizable, and actually helpful for a variety of skin issues, including acne and oiliness, dullness, and early indications of aging.
The recipe takes less than 15 minutes to prepare, costs nearly nothing, and the results speak for themselves. Try it for four weeks and see your skin change.
Before beginning a new skincare program, always conduct a patch test. If you suffer any unexpected irritation or allergic reactions, stop using the product and visit a doctor.
Certainly! If you’d like to learn more, please consider following us on WhatsApp, Facebook, Instagram, YouTube, Twitter, and Pinterest.
Frequently asked questions about clove ice cubes
Q1: Can I use clove ice cubes every day?
A1: Yes, especially if you have oily or acne-prone skin. For dry or sensitive skin types, limit use to 2–3 times a week to avoid over-stripping the skin’s natural moisture barrier.
Q2: Can I use clove ice cubes around my eyes?
A2: Be cautious, as the skin around the eyes is extremely thin and sensitive. Use clove water that has been severely diluted and frozen into cubes, and avoid the eyes. If you feel any stinging, stop immediately.
Q3: How long before I see results from clove ice cubes?
A3: Most people see instant results, such as decreased redness and a transient shine. Allow 3-4 weeks of constant usage to see long-term changes in acne, pigmentation, and pore appearance.