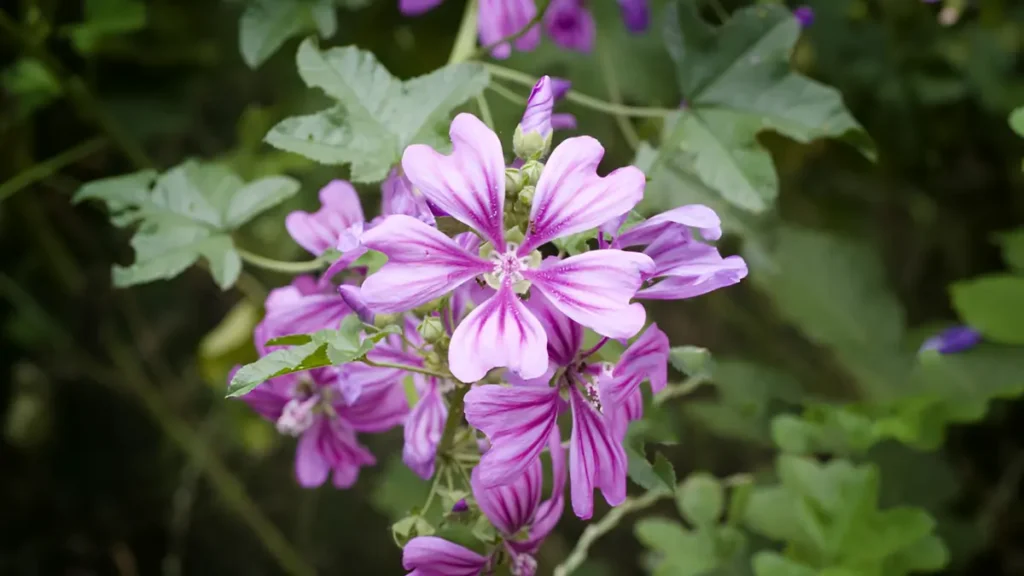
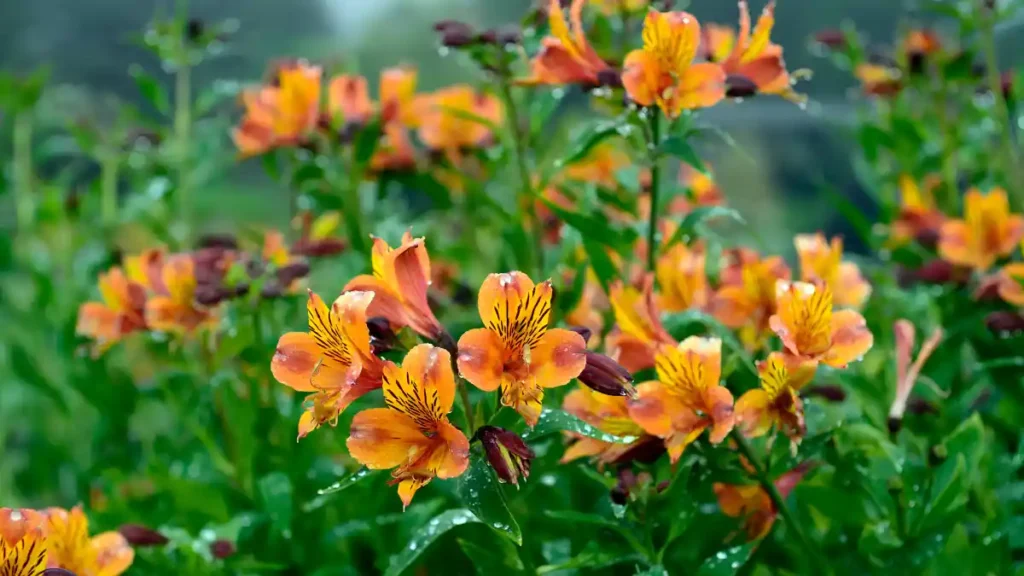
Not everyone has a large garden, and frankly, not everyone needs one. Container flowers have quietly become one of the most popular and satisfying methods to cultivate plants, whether you have a sunny balcony, a cramped city entryway, or a large patio in need of color.
The beauty of container gardening resides in its adaptability. You have influence over the earth. You have control over the positioning. You rearrange things when the seasons change. When something doesn’t function, you just replace it. Gardening on your own terms.
But most beginner gardeners don’t know that the difference between a pot that looks weary by July and one that turns heads all summer comes down to a few essential decisions: the correct flowers, the proper containers, and a basic maintenance regimen.
This guide covers everything.
Choosing the right container flowers for your space
Sunny spots: flowers that love the heat:
If your balcony or patio receives six hours or more of direct sunlight every day, you’re in luck. These are the ideal conditions for most container flowers.
Container flowers for full sun:
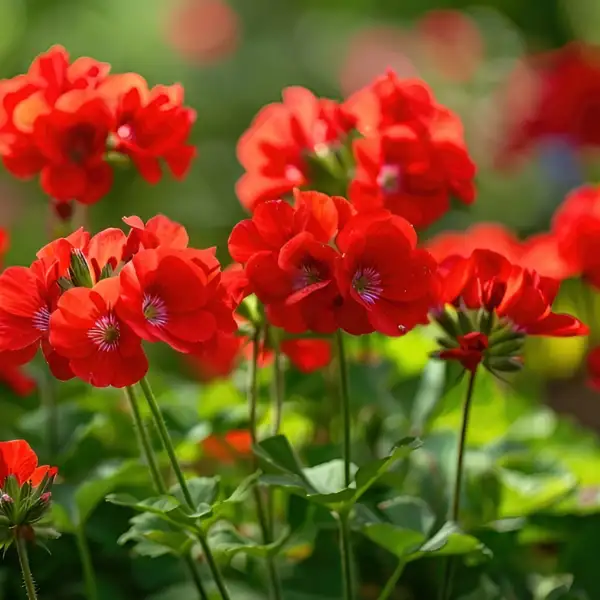
- Geraniums (Pelargoniums) — Reliable, cheerful, and almost impossible to kill.. They bloom from spring to October in a variety of colors ranging from white to deep scarlet.
- Petunias – Trailing types are ideal for window boxes and hanging baskets, overflowing over the sides in cascades of pink, purple, and violet.
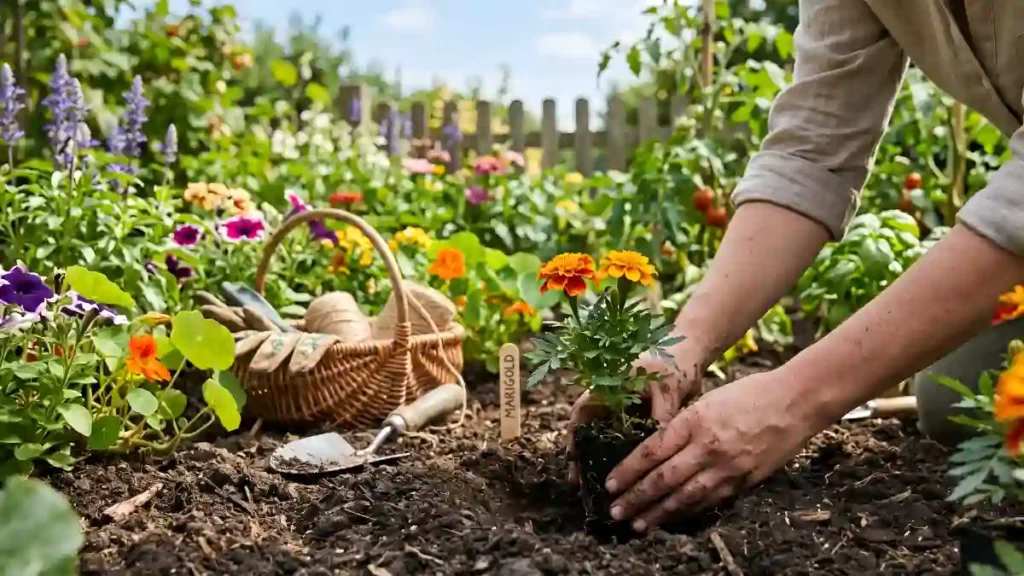
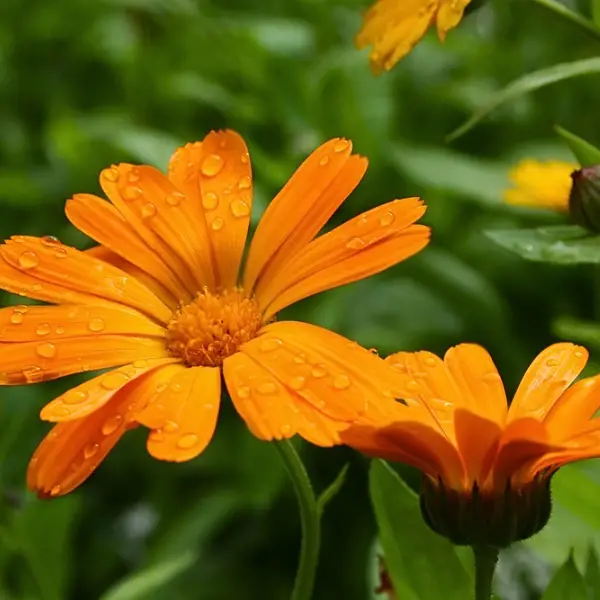
- Marigolds: Vibrant, fast-growing, and pest-resistant. An fantastic, low-maintenance option for summer containers.
- Lantana – A show stopper in hot weather, creating multicolored clusters that butterflies love.
- Calibrachoa (Million Bells) – Incredibly abundant little petunia-like blooms. Suitable as a filler or trailer in mixed compositions.
Shaded areas: container flowers that don’t need full sun
Shade does not imply no flowers. It implies various flowers, and some of the most luscious, exquisite displays are found in shady nooks.
- Begonias – Tuberous begonias have enormous, rose-like flowers and thrive in partial shade. Wax begonias thrive in direct sunlight but also perform well in shaded light.
- Fuchsias – Dazzling jewel-toned blooms that look great in hanging baskets beneath a canopy or overhang.
- Impatiens – Possibly the queen of shade-loving container flowers, providing nonstop color with no effort.
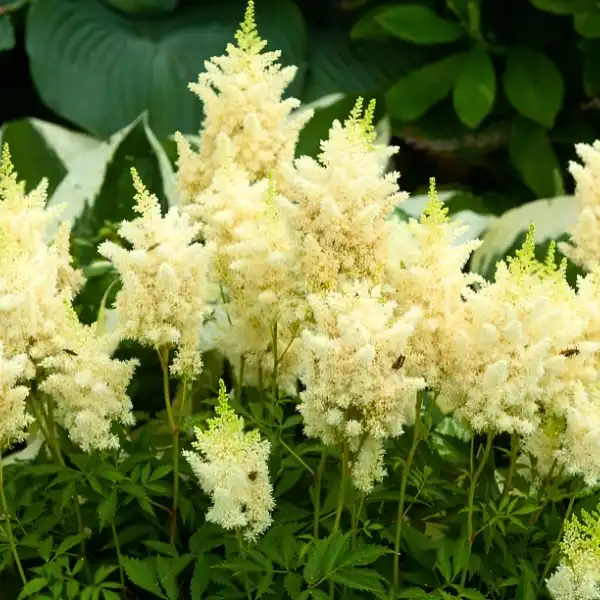
- Hostas — Technically grown for their foliage, but pairing hostas with shade-tolerant flowers like astilbe creates striking textural contrast.
The thriller, filler, spiller method
If you want your containers to seem professionally designed rather than randomly built, use this easy three-part method utilized by landscape designers worldwide:
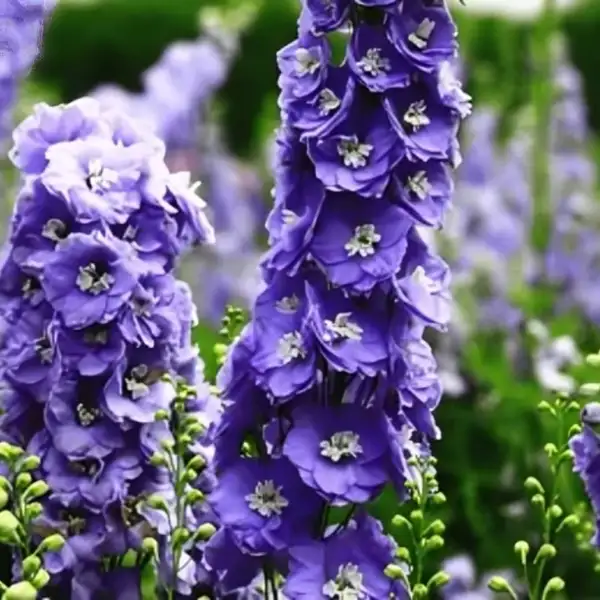
Thriller — A tall, dramatic focal point plant that attracts the attention upward. Consider decorative grasses, towering snapdragons, or a vibrant canna lily.
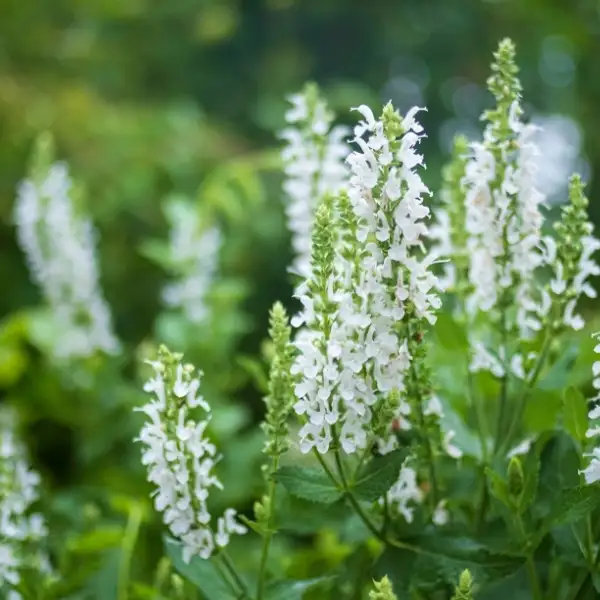
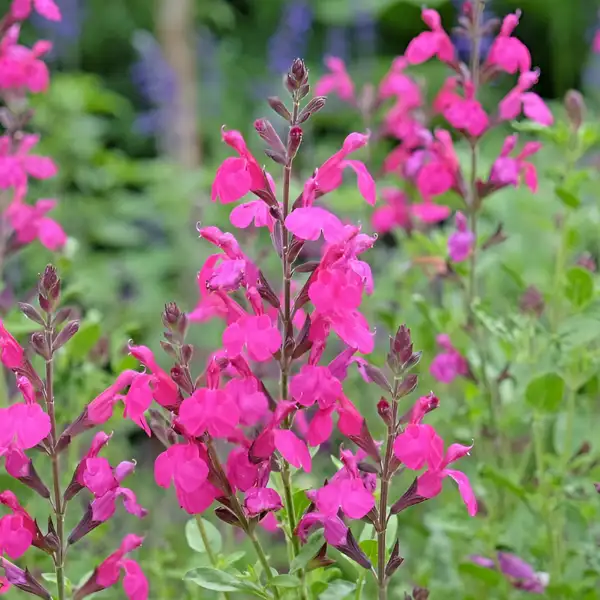
Filler – Bushy plants of medium height that provide body and fullness to the arrangement. Petunias, verbena, and salvias work well here.
Spiller – Plants that trail over the pot’s edge, softening the container and adding flow. Classic selections include sweet potato vine, bacopa, and trailing lobelia.
Plant one of each in a single pot to create an arrangement that appears planned, layered, and very stunning.
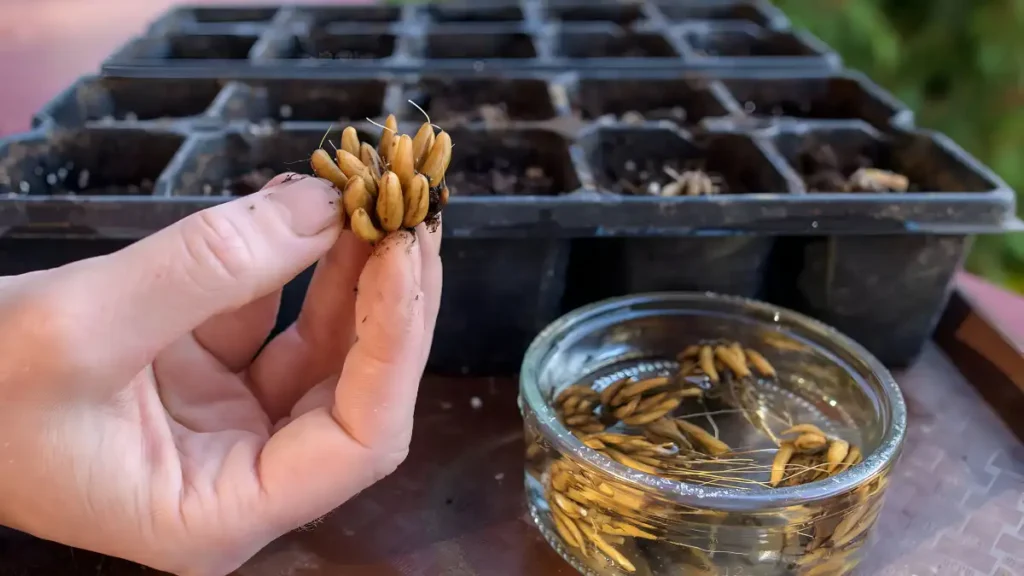
Seasonal container flowers: keeping colour going year-round
- Spring: Begin the season with pansies, violas, primroses, and hyacinths. These cool-weather lovers work well before the summer heat hits and provide your containers an early surge of life after winter.
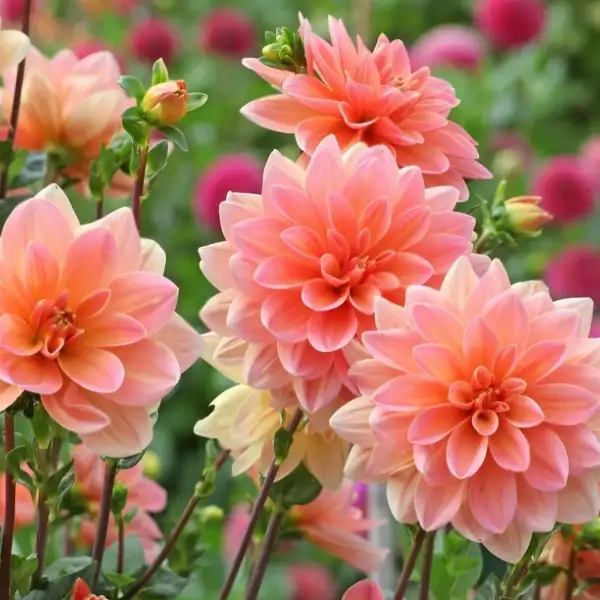
- Summer: This is prime time for container flowers. Geraniums, petunias, verbena, zinnias, and dahlias all bloom throughout the warm months. Water daily during heat waves; containers dry up faster than garden beds.
- Autumn: As temperatures drop, replace summer plants with decorative kale, chrysanthemums, heathers, and cyclamen. Rich purples, rusts, and rich pinks perfectly complement the season.
- Winter: Pots do not have to be naked. Pansies, winter violas, hellebores, and trailing ivy may withstand cold and keep pots looking fresh. Include some evergreen foliage for structure.
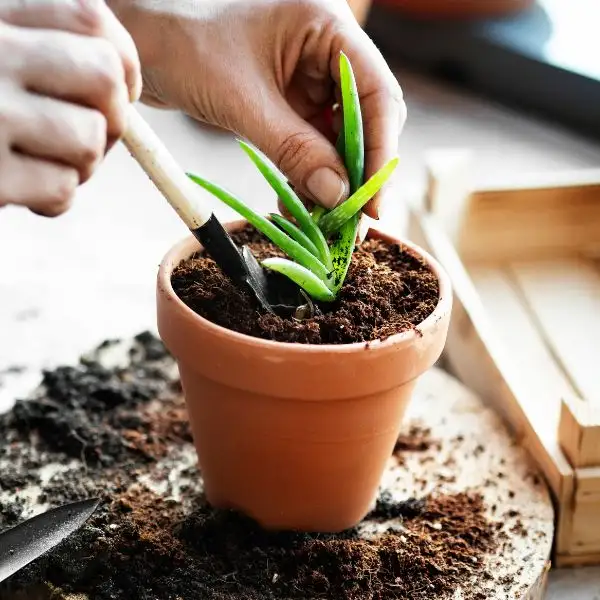
Container flower care: 5 rules that make all the difference
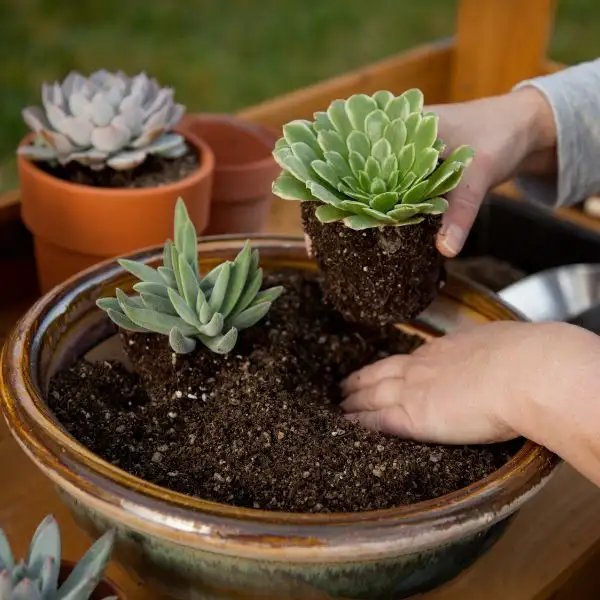
- Drainage is not negotiable. Every container must include drainage holes. Waterlogged roots destroy plants more quickly than virtually anything else.
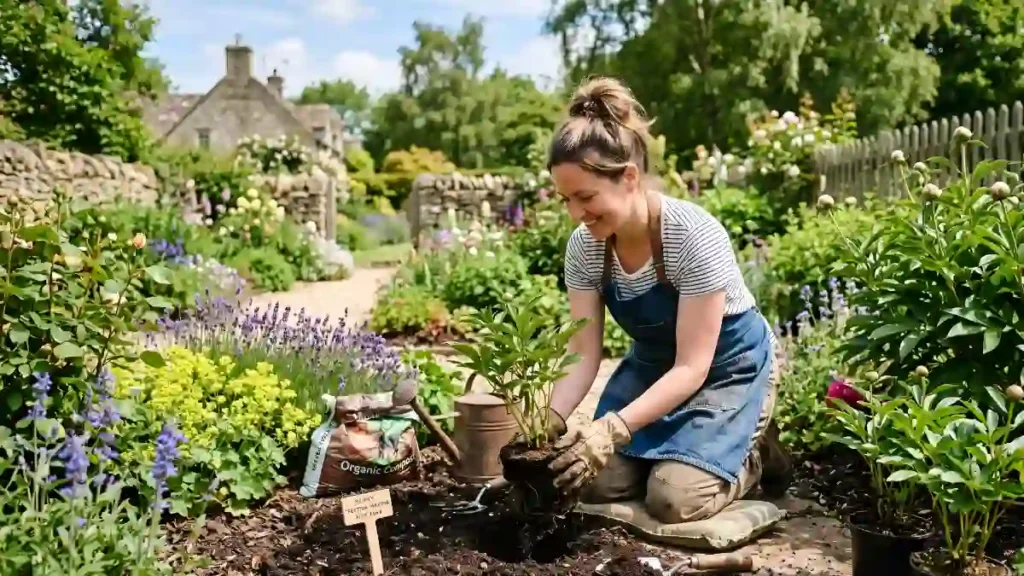
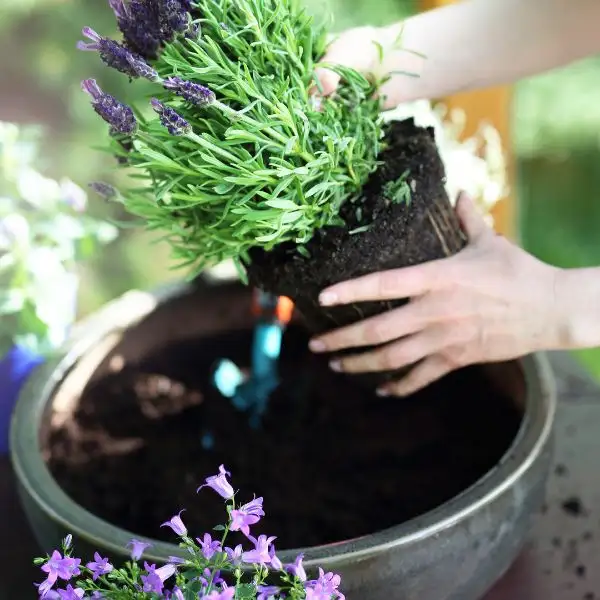
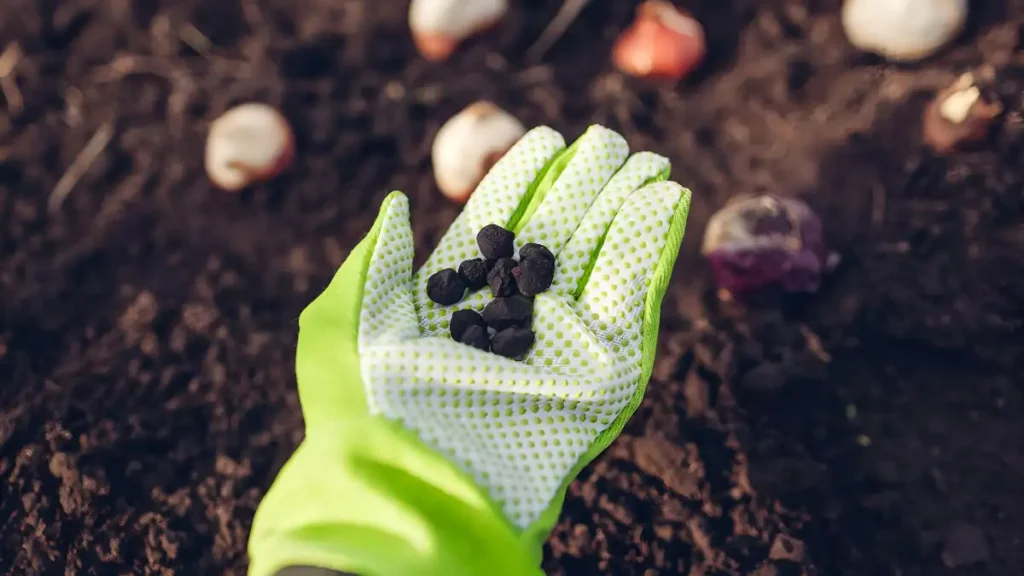
- Make sure you’re using excellent compost. A peat-free, multi-purpose compost blended with slow-release fertiliser granules provides the necessary foundation for your plants.
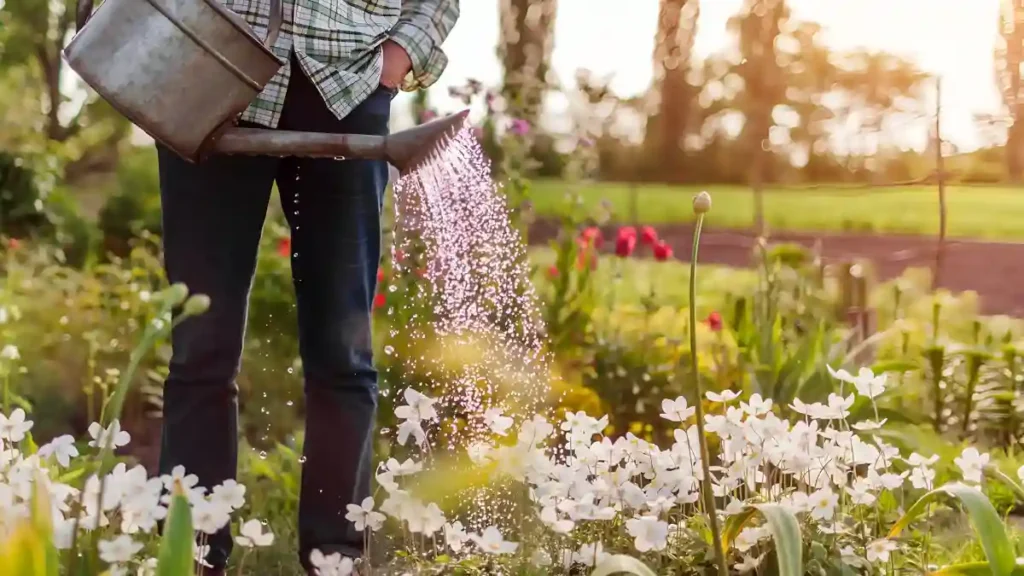
- Water on a regular basis, not just when it’s convenient. Check containers on a daily basis during warm weather. Push a finger an inch into the dirt; if it’s dry, water thoroughly until it pours down the base.
- Feed every two weeks. A biweekly application of liquid tomato fertilizer or a balanced flower feed keeps flowers coming throughout the season.
- Regularly deadhead. Removing spent blossoms prompts the plant to generate additional flowers. Five minutes of deadheading every few days significantly improves display quality.
Conclusion:
Container flowers demonstrate that effective gardening has nothing to do with space; it’s all about intention. A well-planted pot may have the same impact as any garden border, whether you’re using it to lighten a small balcony, frame a front entrance, or provide seasonal color to a patio. With the appropriate flowers, a little feeding, and continuous maintenance, your containers can provide nonstop beauty from the earliest indications of spring until winter’s end. The charm of container flowers is that they take up little space while making a huge effect.
Certainly! If you’d like to learn more, please consider following us on WhatsApp, Facebook, Instagram, YouTube, Twitter, and Pinterest.
Frequently asked questions about container flowers
Q1: What are the easiest container flowers for beginners?
A1: Geraniums, marigolds, and petunias are always the most forgiving options. They tolerate moderate neglect, flower profusely, and are readily accessible in garden centers.
Q2: Why are my container flowers not blooming?
A2: The main causes are inadequate sunshine, a shortage of food, and overpopulation. Ensure that your plants receive the appropriate amount of sunlight for their type, administer a high-potassium feed, and ensure that the roots are not fully pot-bound.
Q3: What size container is best for flowers?
A3: Larger is usually always better. Larger pots store more compost, keep moisture longer, and provide roots more space to grow. Most flowering annuals should have a diameter of 25-30cm or larger.
Q4: Do container flowers need special soil?
A4: Yes, use high-quality, multifunctional compost instead of garden soil, which compacts in pots and drains poorly. Adding perlite increases drainage even more, and slow-release granules lessen the need for frequent feeding.