Bold, dramatic, and surprisingly forgiving — the dieffenbachia plant is one of the most spectacular foliage plants you can grow indoors. With massive patterned leaves in every shade of green, cream, and white, it instantly transforms any home into a tropical paradise. Better more, it can withstand reduced light levels, which most statement plants cannot handle. This comprehensive guide provides everything you need to keep your dieffenbachia lush, healthy, and growing strong.
| Care element | Requirement |
| Botanical name | Dieffenbachia spp. (Family: Araceae) |
| Common name | Dumb cane / Leopard lily |
| Light | Medium indirect — tolerates low light |
| Water | Every 7–10 days (let top inch dry first) |
| Temperature | 18–30°C — no cold draughts |
| Humidity | 60%+ preferred |
| Fertiliser | Monthly spring–summer, half strength |
| Toxicity | Highly toxic to all pets and humans |
What is dieffenbachia plant? The tropical powerhouse hiding in plain sight
Dieffenbachia is a genus of large-leaved tropical plants native to the rainforests of Central and South America, belonging to the aroid family alongside monsteras and philodendrons. Known as “dumb cane” — a reference to its toxic sap which causes temporary speech loss if ingested — it is one of the world’s most widely grown houseplants. Its enormous variegated leaves can reach 30–60cm in length, and a well-grown specimen can reach 1.5–2 metres indoors.
What makes dieffenbachia exceptional is its remarkable adaptability. Unlike many tropicals that demand bright light or high humidity, dieffenbachia genuinely copes with the lower light, central heating, and variable conditions of most homes.
Why plant lovers choose dieffenbachia plant:
| Thrives in low light | One of the few large-leaved plants that genuinely tolerates dim rooms |
| Dramatic foliage | Enormous patterned leaves unlike anything else indoors |
| Air purifying | NASA studies confirm it removes indoor air toxins |
| Fast grower | Large new leaves rapidly in good conditions |
| Beginner-friendly | Forgiving of occasional lapses |
Best dieffenbachia varieties to grow indoors
| Camille | Creamy white centre with green margins; compact and ideal for beginners |
| Tropic Snow | Bold white-green variegation; dramatic large variety reaching 1.8m |
| Dieffenbachia seguine | The classic species; dark green with irregular cream spotting; very robust |
| Sterling | Silvery-green metallic sheen; compact and contemporary |
| Starbright | Vivid yellow-green variegation; one of the most striking cultivars |
| Compacta | Dwarf variety under 60cm; perfect for desks and small rooms |
Dieffenbachia care
Light, watering and soil — getting the fundamentals right
Dieffenbachia is one of the most light-adaptable big houseplants available. It flourishes in medium indirect light within 1-2 metres of a window, but may withstand lower light levels. In low light conditions, growth slows and variegation disappears significantly. In direct sunshine, leaves burn. The sweet spot is characterized by steady, moderate, indirect light throughout the day.
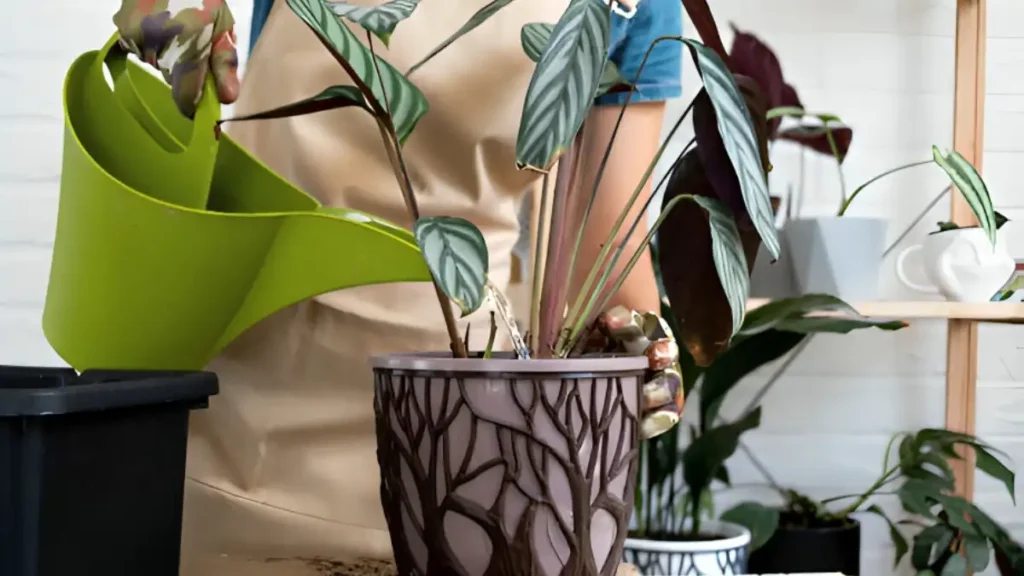
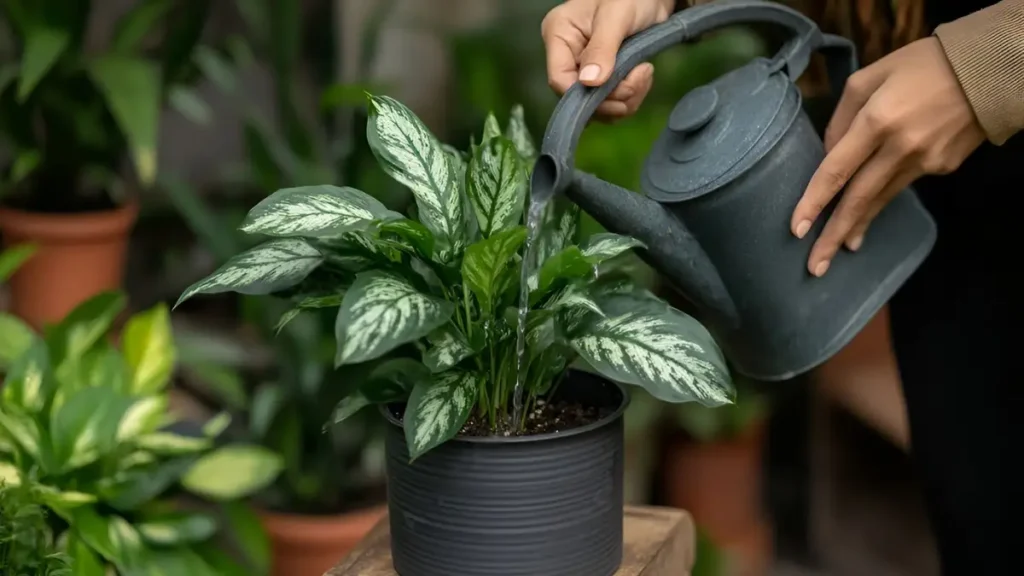
Water when the top 2.5cm of soil feels dry, which is around every 7-10 days in summer and 10-14 days in the winter. Water completely till it drains from the bottom. Dieffenbachia is more susceptible to over irrigation than drought. Allow tap water to stand overnight to lower fluoride levels, as dieffenbachia has brown tips due to fluoride sensitivity.
Use a well-draining peat-free potting mix with perlite – 60% compost, 40% perlite provides great drainage while keeping moisture. Always use pots with drainage holes. Dieffenbachia prefers constantly damp, but never soggy, circumstances, which plastic containers provide.
Temperature, humidity, fertilising and repotting
Temperatures have consistently ranged between 18 and 30 degrees Celsius. Damaged below 10°C. Avoid cold windowsills, draughty doors, and air conditioning vents.
loves humidity levels above 60%. Use a pebble tray, a humidifier, or combine with other plants. Regular misting is beneficial, but a humidifier is more effective.
In the spring and summer, use half strength every month. Stop from October to February. Overfeeding leads to salt buildup and brown edges.
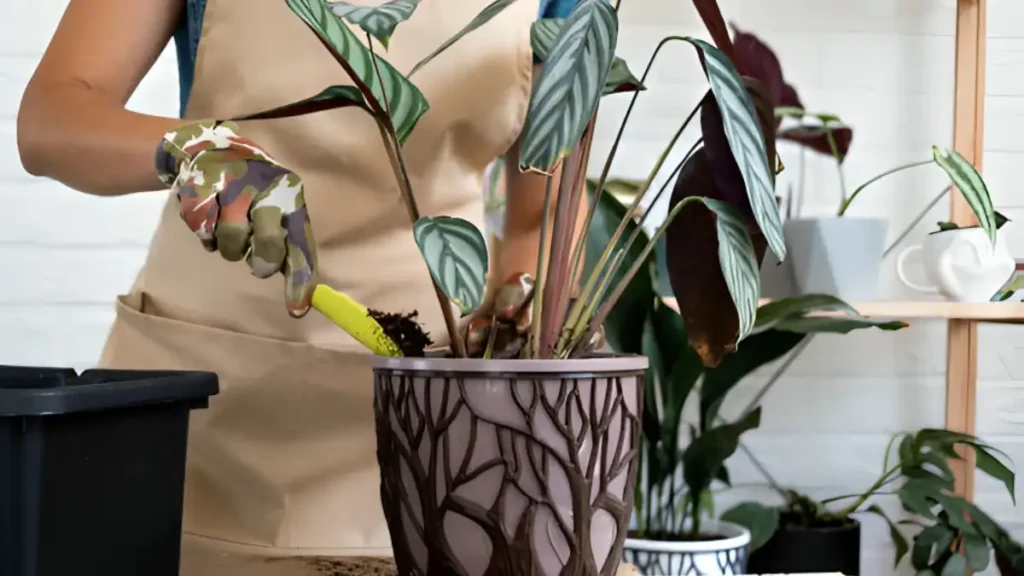
Every 1-2 years, in spring, roots develop from drainage holes. Go one size up—fresh compost provides a big growth boost.
Pruning and propagating dieffenbachia
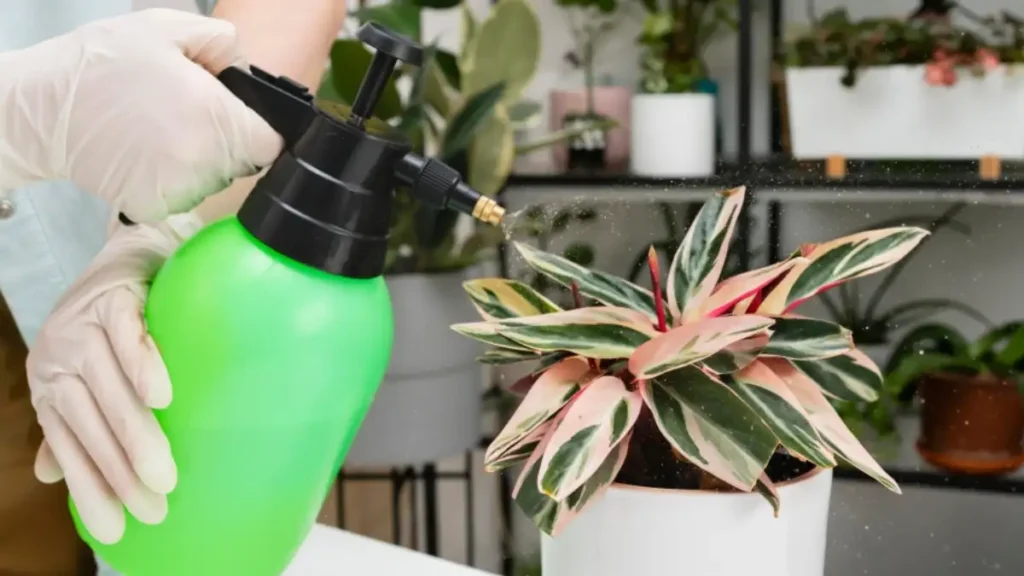
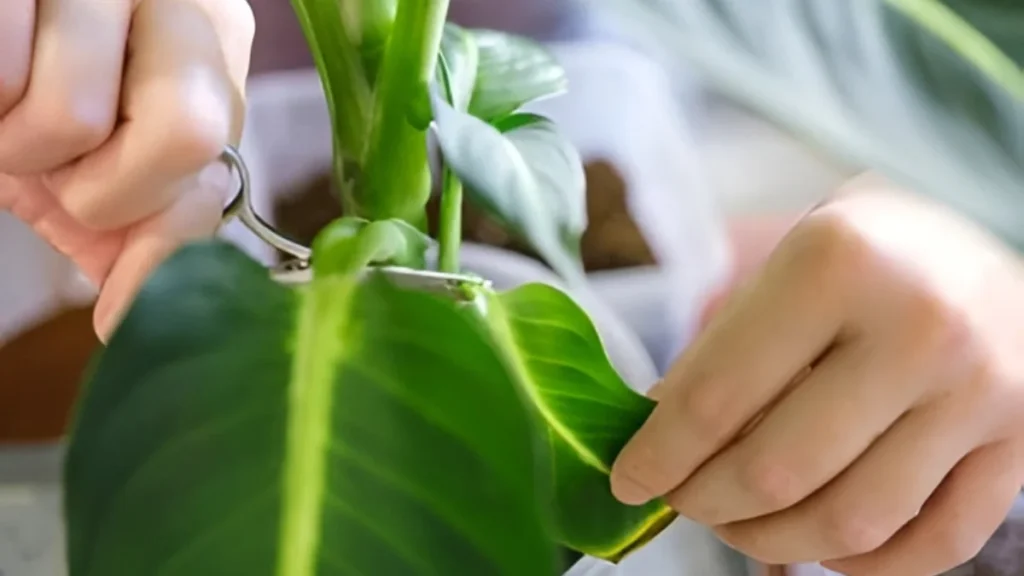
Dieffenbachia normally grows into a tall bare-stemmed plant with leaves only at the top. Pruning preserves a compact bushy form and promotes numerous new shoots from the base. Cut the main stem to the appropriate height with clean shears while wearing gloves – sap is quite unpleasant. Within weeks, nodes below the incision begin to grow again.
Cut stem portions can be reproduced by allowing them to be callous for 24 hours before laying them horizontally on moist potting mix or standing in water. Roots and branches sprout in 3-5 weeks in warm, sunny circumstances.
Dieffenbachia plant problems — causes and quick fixes
| Problem | Likely cause | Fix |
| Yellow leaves | Overwatering / root rot | Reduce watering, check drainage, inspect roots |
| Brown leaf tips | Low humidity / fluoride in tap water | Switch to filtered water, increase humidity |
| Drooping leaves | Either underwatering OR root rot | Check soil — dry = water now; wet = stop watering, check roots |
| Faded variegation | Insufficient light | Move to brighter indirect light |
| Pests (mites, mealybugs) | Dry air / stressed plant | Neem oil treatment weekly, increase humidity |
| Bare leggy stem | Natural ageing | Prune back by a third, propagate cut sections |
Conclusion:
Dieffenbachia is a versatile, attractive, and low-maintenance houseplant that may thrive in any indoor climate. By supplying the proper combination of light, water, humidity, and nutrients, we may enjoy its magnificent leaves and long-lasting growth. With sufficient care and attention, Dieffenbachia may become the focal point of indoor greenery, converting any area into a colorful and invigorating atmosphere.
Certainly! If you’d like to learn more, please consider following our WhatsApp Channel, Facebook, Instagram, YouTube, Twitter, and Pinterest.
Frequently asked questions:
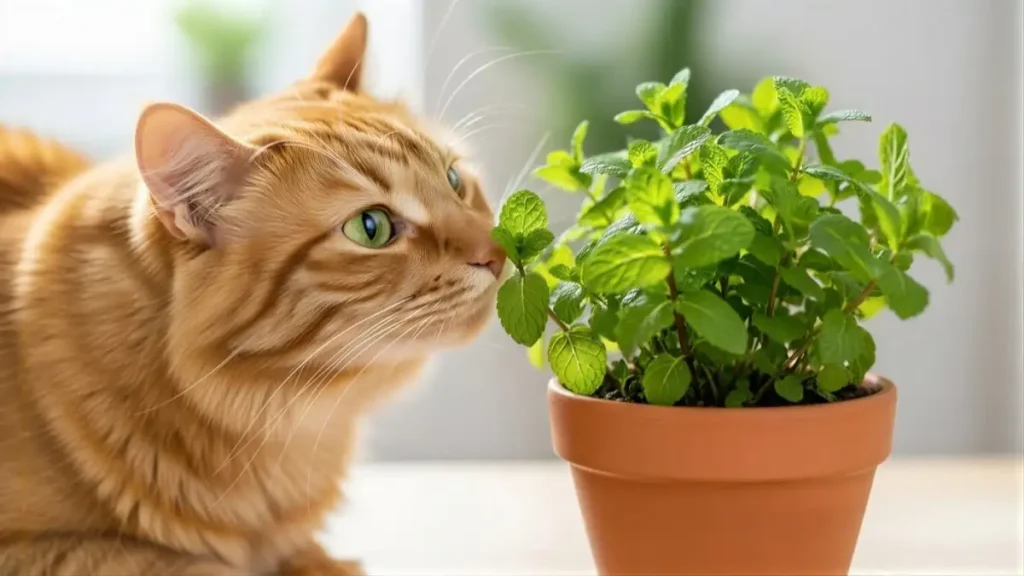
Q1: Is dieffenbachia safe for cats and dogs?
A1: No—Dieffenbachia is highly toxic to cats, dogs, and humans. It is an extremely poisonous plant and is not pet-friendly plant. Its sap causes severe burning sensations in the mouth, excessive salivation, swelling, and vomiting. Keep it completely out of reach. If you suspect that someone has ingested it, contact a veterinarian immediately.
Q2: How big does dieffenbachia grow indoors?
A2: Typically 1-1.5 metres, however giant variants can reach up to 2 metres. Compact cultivars, such as ‘Compacta’, grow to be less than 60 cm tall. Brighter indirect light causes faster and greater development.