")
Most people believe succulents demand blazing windowsills and hours of direct sun — but that’s only half the story. If your apartment faces north, your office cubicle has zero windows, or your favorite corner just doesn’t get enough light, you don’t have to give up on succulents altogether. A surprising number of species have adapted to survive — and even flourish — in low light conditions.
In this article, you’ll learn about the best low light succulents, how to recognise them, and the specific care regimen that keeps them thriving in the absence of direct sunlight. Whether you’re decorating a shady flat, a dorm room or a dreary office workstation, there’s a succulent for you.
What counts as “Low light” for succulents?
Before picking plants, it helps to understand what “low light” actually means in houseplant terms.
- Bright indirect light: Near an east or west-facing window, filtered through sheer curtains.
- Low light: A few feet away from a window, or a north-facing room with limited daylight.
- Very low light: Interior rooms, offices, or spaces lit mostly by artificial light.
Most succulents labelled “low light tolerant” require at least a little indirect lighting. True low-light succulents are simply those that will not stretch, fade, or die in the absence of direct sunlight; these are the most forgiving succulents.
Why some succulents tolerate shade better than others
Succulents evolved in dry, sun-drenched climates, so the term “low light succulent” can seem contradictory. Certain species, however, evolved in settings with dappled forest cover, rocky overhangs, or seasonal cloud cover, giving them a natural tolerance for low light. These plants usually have:
- Darker green leaves (more chlorophyll to capture available light)
- Broader, flatter leaf shapes to maximize surface area
- Slower growth rates, which reduce their overall energy demand
Choosing species with these traits is the secret to keeping succulents alive indoors without a sunny window.
15 best low light succulents
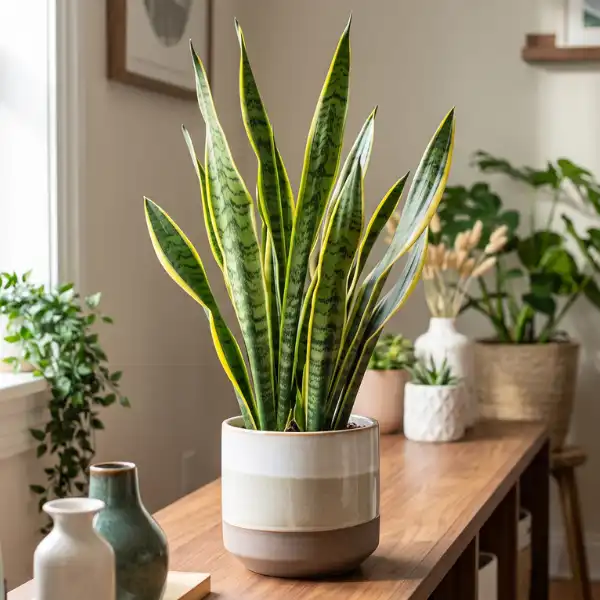
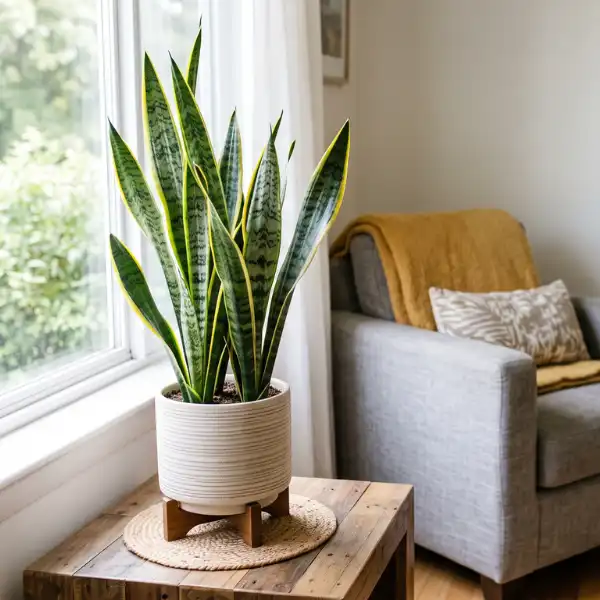
1. Snake plant (Dracaena trifasciata)
The snake plant, while technically a succulent, is practically indestructible. It can survive severe shadow, infrequent watering, and dry indoor air, making it an excellent choice for novices.
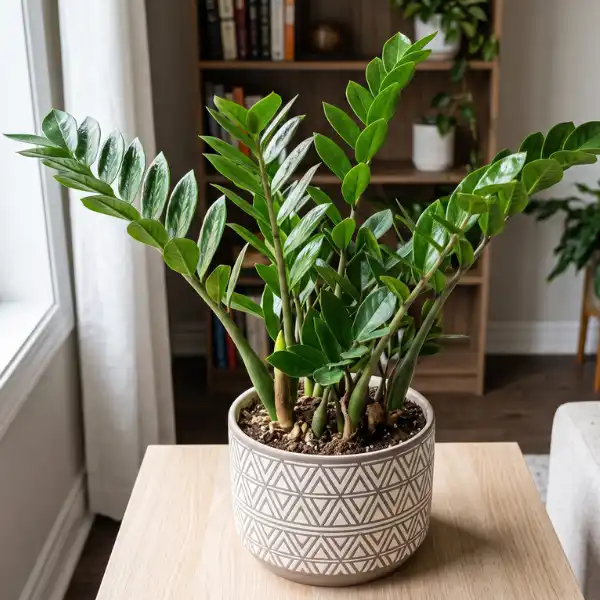
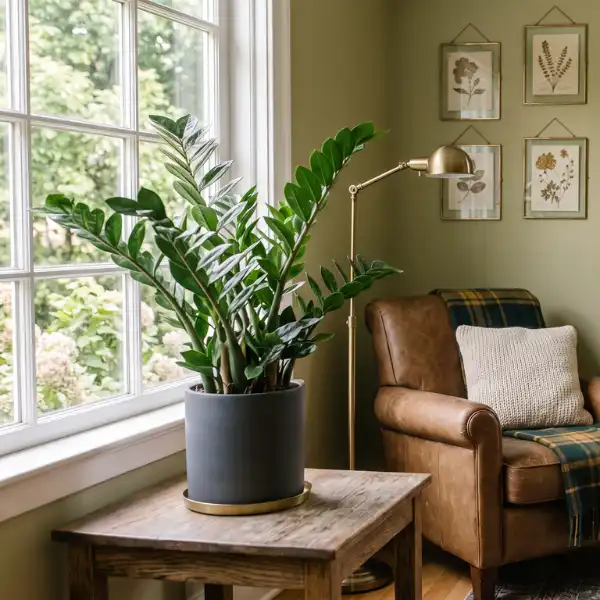
2. ZZ plant (Zamioculcas zamiifolia)
Glossy, dark green leaves store water in thick rhizomes underground. ZZ plants thrive in offices and windowless rooms with only fluorescent light.
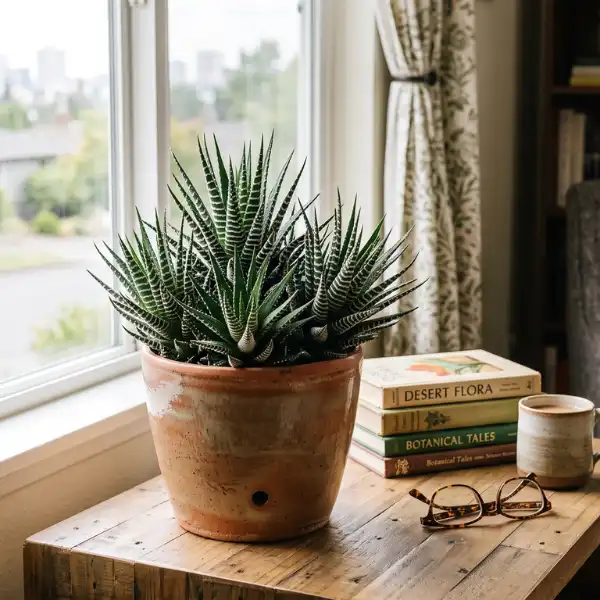
3. Haworthia (Zebra plant)
Haworthias are small and compact, with transparent striped leaves that prefer brilliant shade to direct sunlight, making them ideal for tables and shelves.

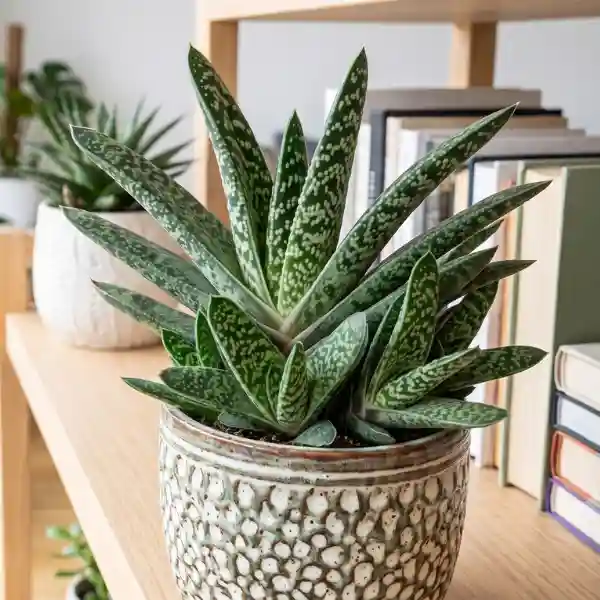
4. Gasteria
Known for its tongue-shaped, patterned leaves, gasteria is a slow grower that handles low light better than most rosette succulents.
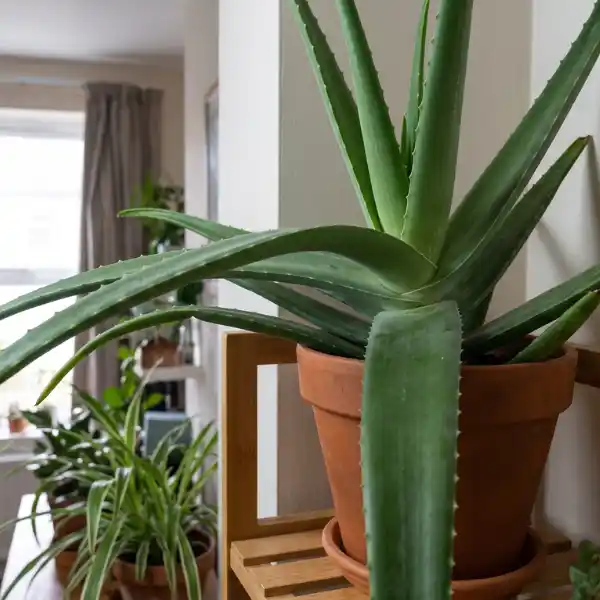
5. Aloe vera (in moderate shade)
Aloe enjoys bright light, although it may tolerate moderate shadow inside, particularly near an east-facing window.
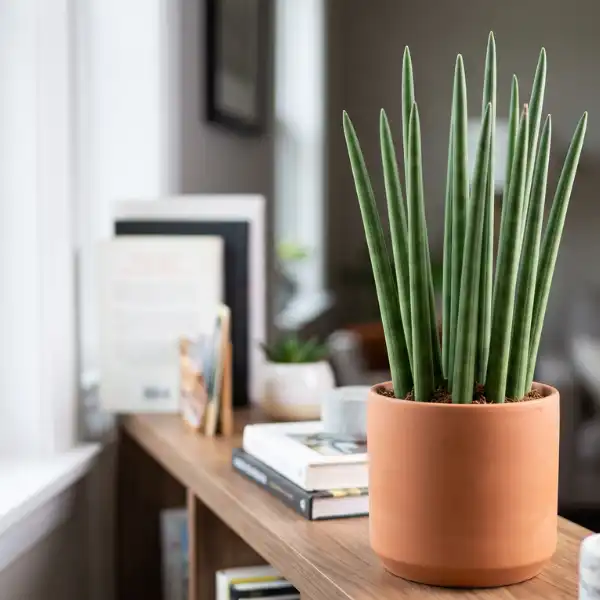
6. Sansevieria cylindrica
A cylindrical-leaved cousin of the snake plant, this variety is equally low-light tolerant and adds unique vertical texture.
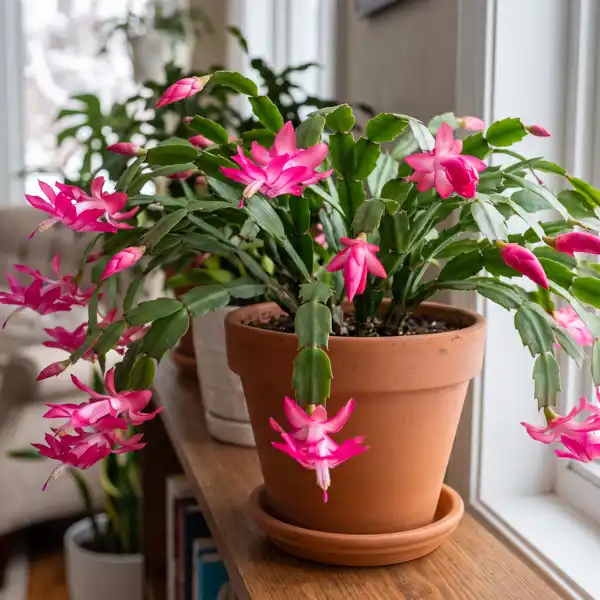
7. Christmas cactus (Schlumbergera)
Unlike desert cacti, this forest cactus naturally grows in shaded, humid environments and blooms beautifully with indirect light.
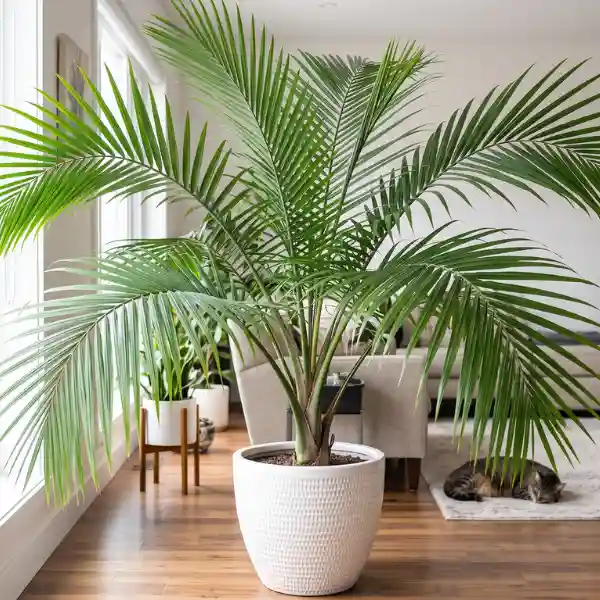
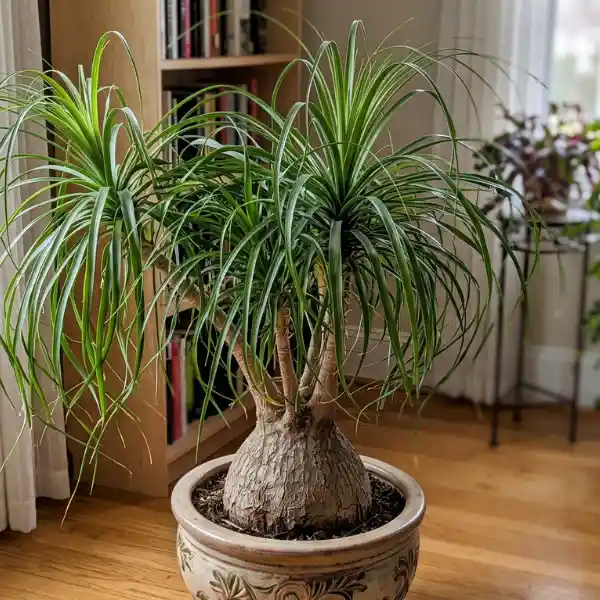
8. Ponytail palm (Beaucarnea recurvata)
Its bulbous base holds water, allowing it to withstand low light and sporadic watering with ease.
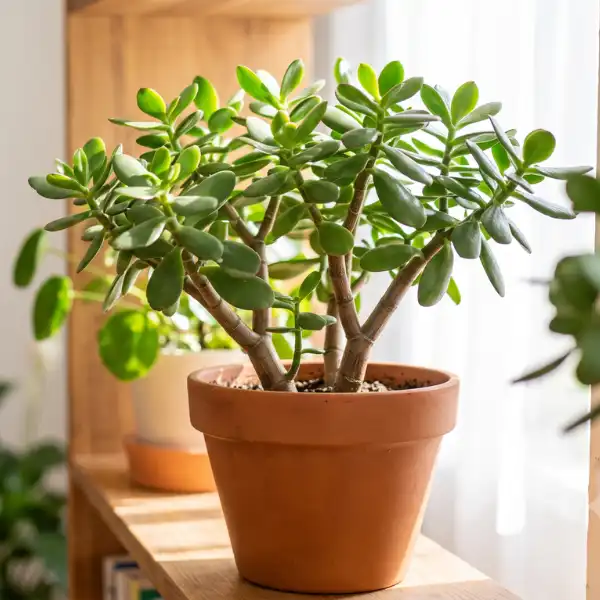
9. Jade plant (in bright shade)
While jade prefers sun, it can survive in bright indirect light, though growth will slow and leaves may appear slightly smaller.
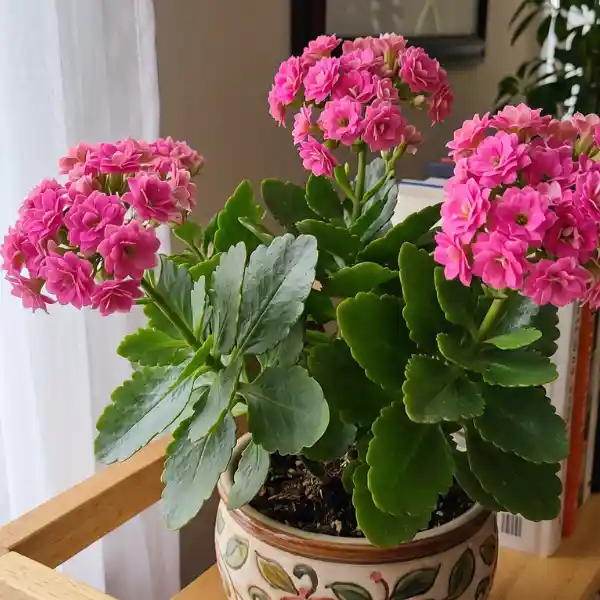
10. Kalanchoe (in filtered light)
Kalanchoe tolerates medium-to-low light levels, however flowering is best fostered by occasional bright light exposure.
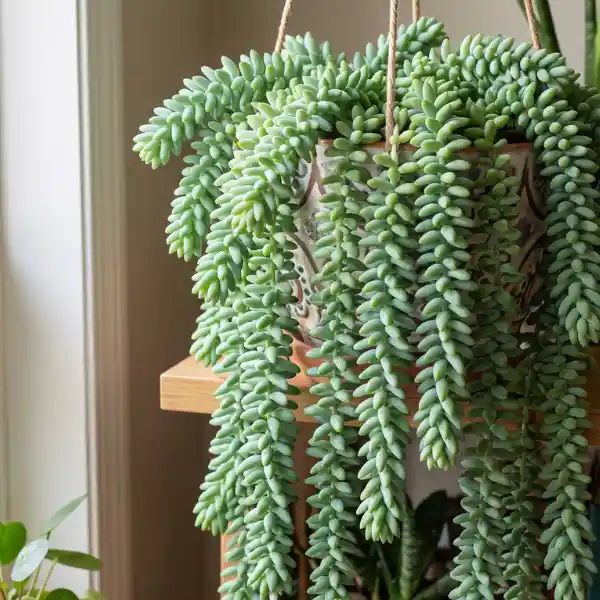
11. Burro’s tail (Sedum morganianum)
This trailing succulent handles low light better than most sedums, making it ideal for hanging baskets in shaded corners.
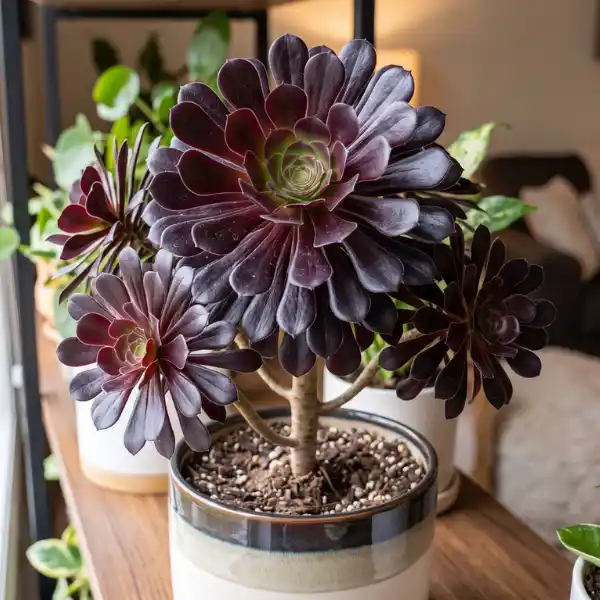
12. Aeonium
Aeoniums, with their rosette-shaped leaves, can survive cooler, shadier conditions better than many other succulents.
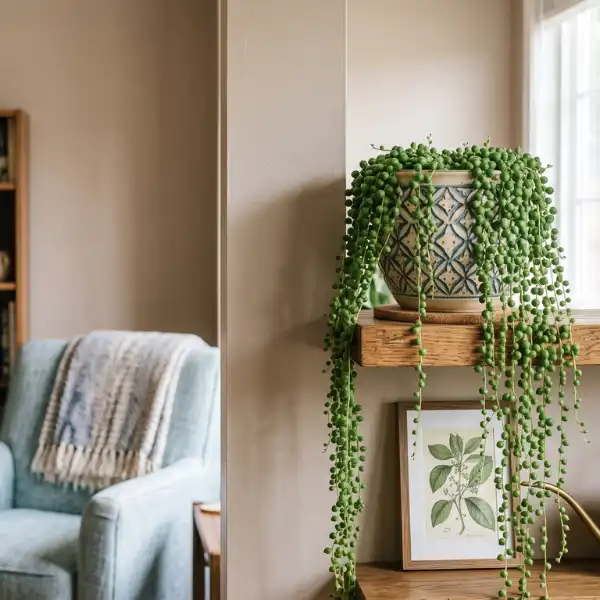
13. String of pearls (Senecio rowleyanus)
This trailing favorite prefers bright indirect light but can adapt to lower light with proper spacing and reduced watering.

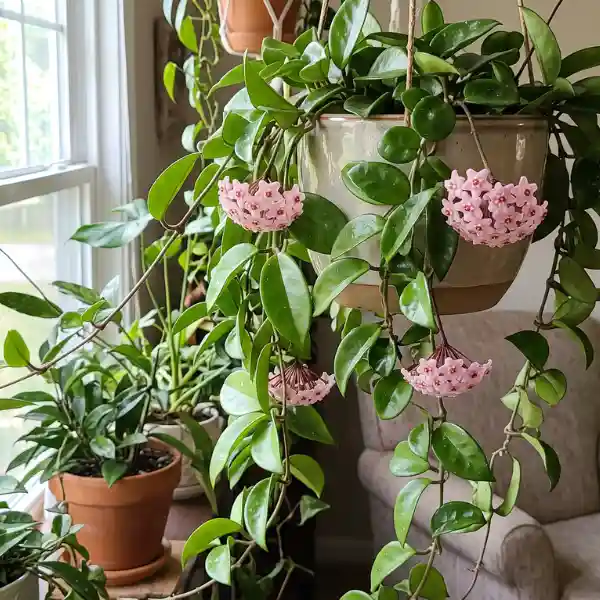
14. Hoya (Wax plant)
Though technically semi-succulent, hoyas thrive in medium to low light and are prized for their thick, waxy leaves and fragrant blooms.
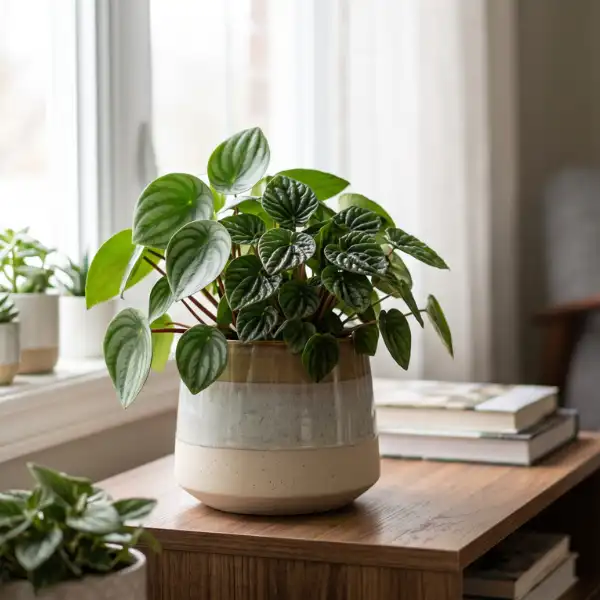
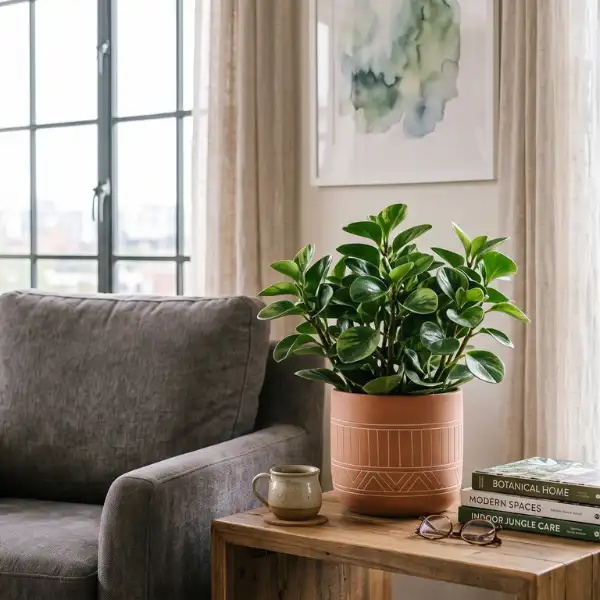
15. Peperomia
Compact, colorful, and highly adaptable, peperomia varieties handle low light exceptionally well, especially in office or bathroom settings.
How to care for low light succulents (Step-by-Step)
Step 1: Choose the right spot
Place your succulent within 3–5 feet of a window, even if it’s north-facing. Avoid completely dark corners — “low light” doesn’t mean “no light.”
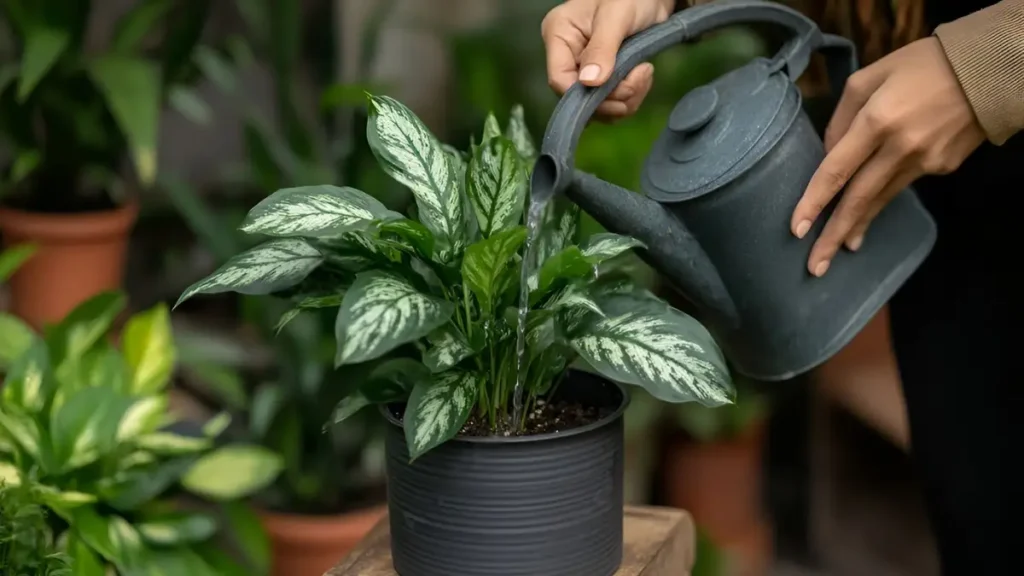
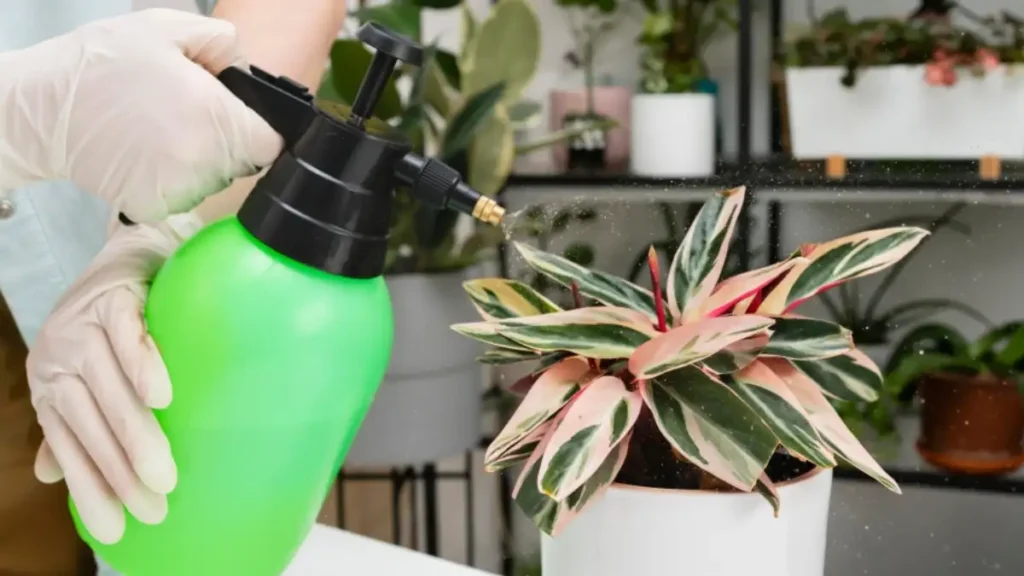
Step 2: Water less frequently
Low light slows metabolism, meaning succulents use water more slowly. Water only when the soil is completely dry — typically every 2–3 weeks indoors.
Step 3: Use well-draining soil
A cactus or succulent-specific potting mix prevents root rot, which is the most common cause of death in low-light conditions.
Step 4: Rotate the plant regularly
Turn your succulent a quarter turn every week to prevent it from leaning or growing unevenly toward the light source.
Step 5: Supplement with grow lights (Optional)
If your space has almost no natural light, a small LED grow light for 6–8 hours a day can dramatically improve plant health.
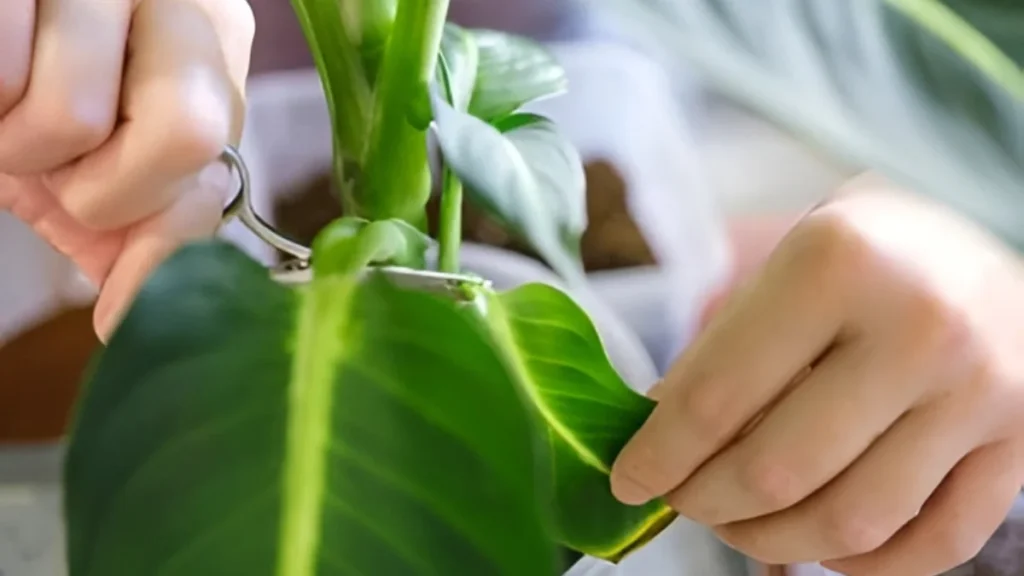
Step 6: Watch for etiolation
If your succulent starts stretching, developing pale leaves, or leaning dramatically, it’s a sign it needs more light — move it closer to a window or add artificial lighting.
Common mistakes to avoid
- Overwatering — the #1 killer of succulents in low light, since slower growth means slower water absorption.
- Choosing sun-loving varieties — Not all succulents tolerate shade; always check species-specific light needs before buying.
- Ignoring drainage — pots without drainage holes trap moisture and cause root rot faster in low light.
- Placing plants too far from any light source — even shade-tolerant succulents need some ambient brightness.
- Skipping fertilizer entirely — a diluted, balanced fertilizer once or twice during growing season supports slow but steady growth.
Best low light succulents for specific spaces
For office desks
ZZ Plant, Haworthia, and Peperomia handle fluorescent lighting and infrequent care schedules well.
For bathrooms
Snake Plant and Sansevieria Cylindrica tolerate humidity and limited window access.
For bedrooms
Gasteria and Aeonium add texture without needing a bright windowsill.
For hanging baskets in shaded corners
Burro’s Tail and String of Pearls trail beautifully even in filtered light.
Conclusion
Low light does not have to imply no succulents. With the correct species — such as snake plants, ZZ plants, haworthias, and gasterias — succulents can add beauty and low-maintenance appeal to practically any area. Choose shade-tolerant types, water sparingly, and monitor for indications of straining, and your low light succulents will provide you with years of simple, robust greenery.
Certainly! If you’d like to learn more, please consider following our WhatsApp Channel, Facebook, Instagram, YouTube, Twitter, and Pinterest.
Frequently asked questions low light succulents
Q1: Will low light succulents still grow, just slower?
A1: Yes. Growth will be noticeably slower in low light compared to bright, direct sun, but healthy species will still grow steadily over time.
Q2: Are low light succulents good for beginners?
A2: Yes. Many low light succulents like snake plants and ZZ plants are extremely forgiving, making them ideal for beginners or forgetful plant owners.
Q3: Can succulents survive without any sunlight at all?
A3: No. Even low light succulents need some indirect natural light or artificial grow light daily. Complete darkness will eventually kill any succulent.
Q4: What is the most low-light-tolerant succulent?
A4: The snake plant and ZZ plant are widely considered the most tolerant of low light, often surviving in offices with only fluorescent lighting.


")

")


")