A growing trend in today’s manufactured goods world is embracing natural alternatives. Making soap is one such undertaking. Making your soap allows you to choose the ingredients, alter the fragrances, and produce something that is exclusively yours. Crafting homemade soap is an exploration of chemistry and self-care, not merely a creative endeavor. This tutorial will take you through the fundamentals of creating soap, giving you the know-how and self-assurance to start your sudsy journey.
A basic guide on how to make homemade soap:
Homemade soap ingredients
- Shea butter, coconut oil, olive oil, and palm oil are typical choices. Every oil gives the soap a unique set of qualities (such as lather, hardness, or moisturizing).
- Sodium hydroxide, or lye, is an essential component in the creation of soap. It undergoes a reaction with the oils known as saponification to produce soap. Lye can burn people if handled carelessly because it is a corrosive substance. Put on safety gear, like gloves and goggles.
- Water for lye dissolution.
- Optional additives include natural pigments or micas suitable for cosmetic use as colorants, herbs or botanicals for texture or exfoliation, and essential oils for smell.
Tools
- Safety Equipment: To handle lye safely, wear protective clothes, gloves, and goggles.
- Heat-Resistant Containers: Combine oils and lye solution.
- Stick blender: To fully combine the oils and lye.
- Molds: Silicon molds or even cardboard boxes covered with parchment paper can be used, as can any non-reactive container.
- Thermometer: To keep an eye on temps while combining oils and lye.
- Scale: To measure ingredients precisely.
Homemade soap recipes
- Ensure that all of your components and tools are prepared. Check that there is enough ventilation in your workspace.
- If needed, use parchment paper to line your mold.
- Taking safety precautions, measure out the lye and water exactly as needed. Stir until the lye dissolves after adding it to the water—never the other way around. Let the mixture cool to around 38°C, or 100°F.
- If needed, melt any solid oils, then put all of your oils in a container that can withstand heat. After bringing them all to a gentle boil, let them cool to about 100°F (38°C).
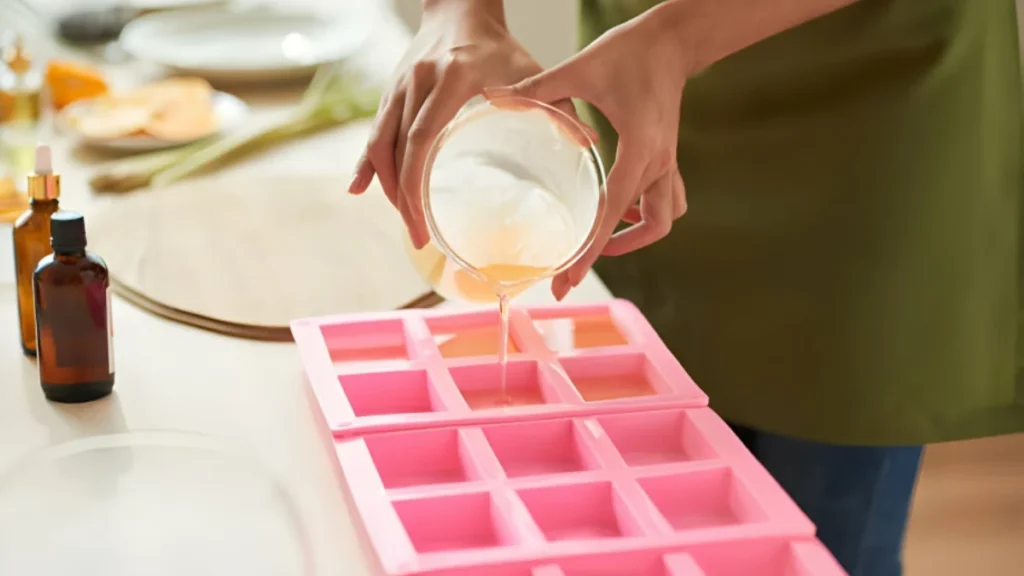
- Pour the lye solution into the oils gradually once they have reached about 100°F (38°C). Blend them with a stick blender until you achieve trace, which is the consistency at which a thin layer of the mixture remains visible when it is poured over the surface.
- Add fragrance, colorants, or any other additions at trace and mix well afterward.
- Fill the mold you’ve created with the soap mixture.
- Give the soap between 24 and 48 hours to cure the mold. At this point, if needed, you can unmold the soap and cut it into bars. After that, let the bars cure for four to six weeks on a rack in a well-ventilated environment. This makes it possible for extra water to evaporate, producing a softer and tougher bar of soap.
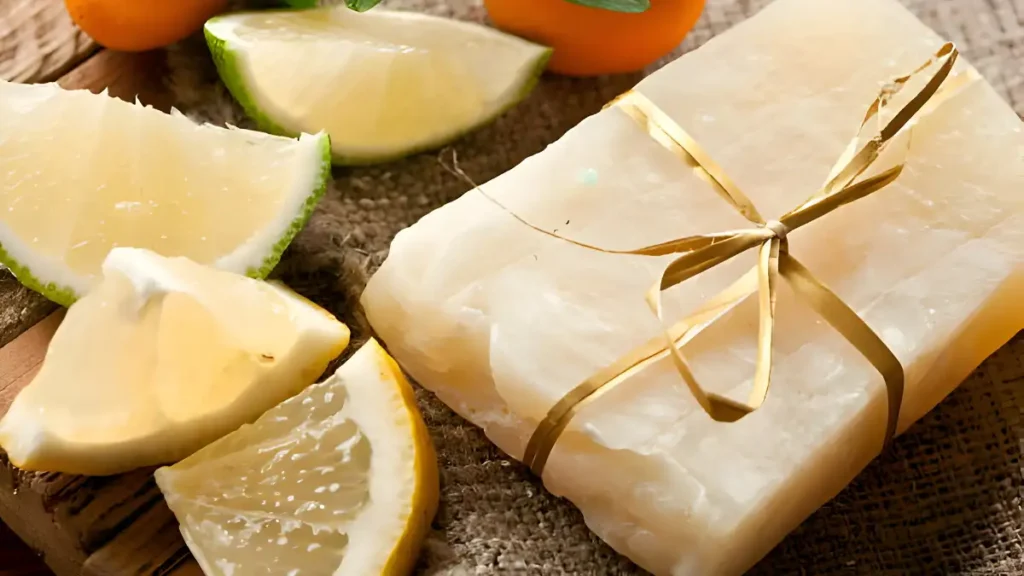
- Your soap is now ready to use or give as a present!
Conclusion:
To summarize, making homemade soap may be a fun and rewarding task that allows you to tailor the ingredients and scents to your preferences. You may make opulent, chemical-free, and skin-friendly bars of soap by taking the necessary safety procedures. The joy of creating something special and useful is unequaled, whether you’re making soap for your use or as kind presents for friends and family. So grab your tools, pull up your sleeves, and get ready to start the thrilling journey that is producing soap!
Certainly! If you’d like to learn more, please consider following our WhatsApp Channel, Facebook, Instagram, YouTube, Twitter, and Pinterest.
A frequently asked questions:
Q1: What is the lifespan of homemade soap?
A1: Proper storage allows homemade soap to last for a very long period. To assist the soap harden and last longer, it is ideal to let it cure for a few weeks after producing it. Homemade soap that has been properly preserved can last for several months or even years after it has been cured.
Q2: Can I use homemade soap for sensitive skin?
A2: Shea butter and olive oil are two examples of components that can be especially used for homemade soap formulations intended for sensitive skin. Reducing potential discomfort can also be accomplished by avoiding synthetic scents and colorants.
Q3: Why use homemade soap scum removers?
A3: Compared to commercial treatments, homemade removers are frequently more economical and ecologically friendly. Additionally, you have control over the ingredients, which makes delicate skin and surfaces safer.