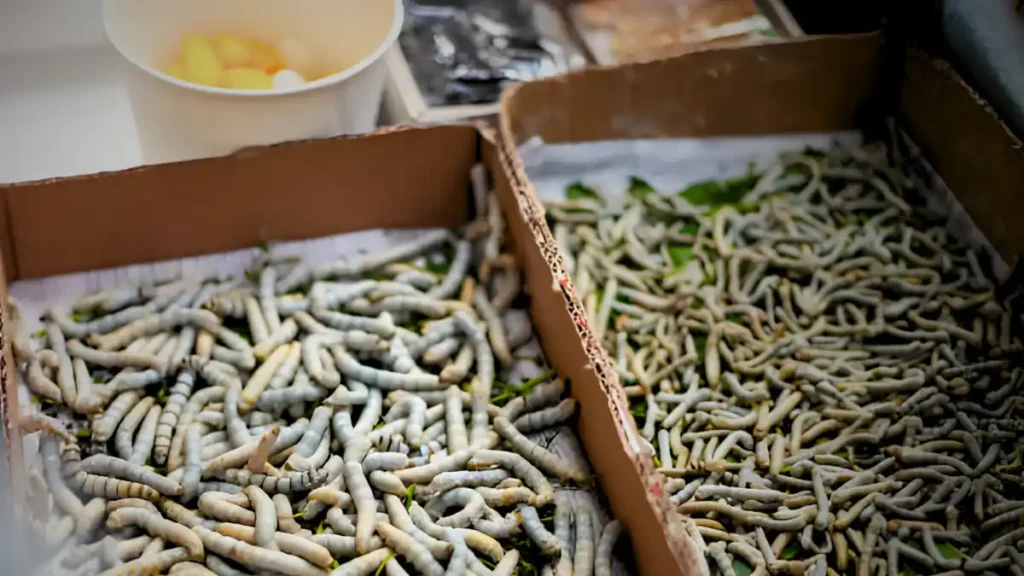
Mealworms are a great addition to a chicken’s diet because they are a high-protein, nutrient snack. A healthy and affordable approach to giving your chickens this important food source is to start a mealworm farm at home. In this in-depth guide, we’ll lead you through setting up and running a mealworm farm for your feathered friends. By growing your own, you ensure a fresh, natural food source that can improve your chickens’ health, boost egg production, and reduce feed costs. Whether you’re new to poultry keeping or an experienced chicken owner, a mealworm farm is a sustainable and cost-effective way to enhance your flock’s diet.
Steps on how to start a mealworm farm at home for chicken feed:
To begin your mealworm farm, you’ll need the following supplies:
- Plastic storage containers (ideally lidded)
- Oatmeal or Wheat Bran
- Raw fruits and veggies
- Cut potatoes
- Mealworms (available at pet stores or online)
- Airflow-facilitating ventilation mesh or tiny holes
- For moisture, use cotton balls or a water dispenser
How to establish a mealworm farm:
- The size of your operation should determine which plastic storage containers you need. To provide enough airflow and prevent moisture buildup, drill tiny holes or use a hot nail to create ventilation in the lids and sides of the containers.
Making the habitat:
- Fill each container with a layer of oatmeal or wheat bran. This is going to be your mealworms’ bedding. Add some raw fruits or vegetables, like apple or carrot slices, to provide the mealworms some moisture and nourishment. A few potato slices can be added to the bedding to provide extra nourishment and moisture.

Introduction to mealworms:
- Spread out the mealworms evenly as you carefully move them into the containers. Take care not to hurt the mealworms. Make sure they have enough space to walk about without restriction.
How to make a mealworm farm with correct care:
- Maintain your farm in a warm, dark place, preferably between 21°C and 27°C (70°F and 80°F). To keep the bedding just barely damp but not drenched, check the moisture levels frequently and add water as necessary. As the fruits, veggies, and potato slices are eaten or begin to mold, replace them.
Gathering mealworms:
- Your mealworms will grow into black pupae after two to three months. They are now prepared for harvesting. To distinguish the pupae from the mealworms, carefully sort through the bedding. Then, move the pupae to a different container. While the pupae can be utilized to generate a new generation of mealworms, the mealworms can be fed straight to your hens.
Conclusion:
In conclusion, establishing a mealworm farm at home for chicken feed can be an economical and fruitful venture. To keep your mealworm colony healthy and productive throughout the process, it’s imperative to maintain cleanliness, the right temperature, and the right amount of moisture. In addition, keeping an eye out for illnesses and pests is crucial to preventing contamination and preserving feed quality.
A frequently asked questions:
Q1: How do I maintain my DIY mealworm farm?
A1: To keep your homemade mealworm farm in good condition, make sure it has enough ventilation and temperature, remove trash and uneaten food regularly, and supply fresh food and water. Keep an eye on the moisture content to avoid mold formation and maintain a mealworm-growing environment.
Q2: How often should I clean my self-sorting mealworm farm?
A2: Regular cleaning of your farm is crucial to prevent bacteria and debris accumulation, and should involve removing uneaten food, dead mealworms, and frass every week.
Q3: Can I use a self-sorting mealworm farm for breeding?
A3: It is possible to breed mealworms in a self-sorting mealworm farm. Make sure the colony has enough beetles for mating to take place.


