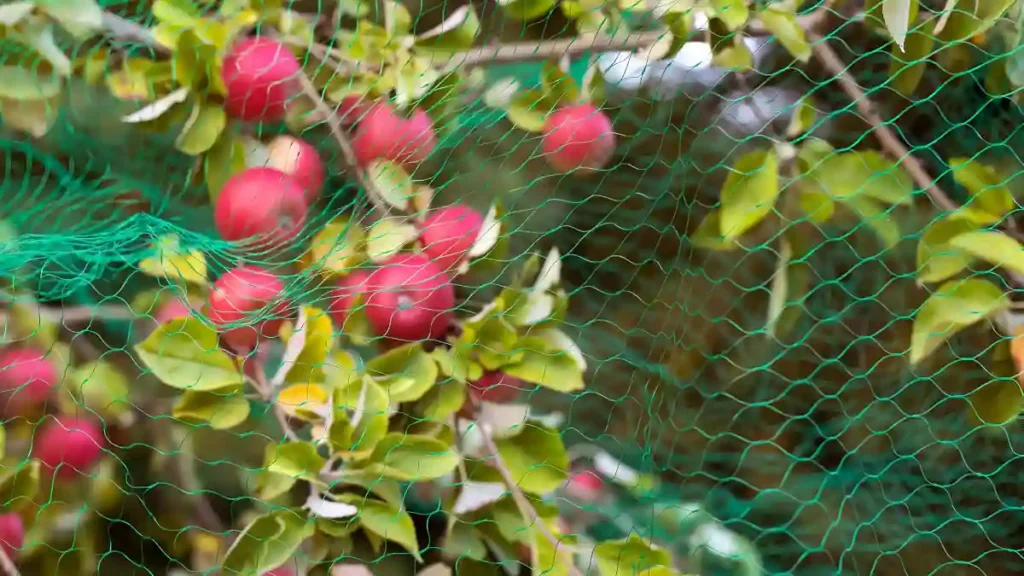
Apple, one of the world’s most popular and iconic fruits, is juicy, sweet, and crisp. Malus Gravenstein is the scientific name for it. Aside from aesthetics, flavor plays a big role in selecting a red apple for your garden. Apples are a wholesome and filling snack since they contain fiber, antioxidants, and nutrients. It takes an apple tree two to five years to produce fruit. Its fruit will ripen over the summer. This article will assist you in planting apple trees in your garden.
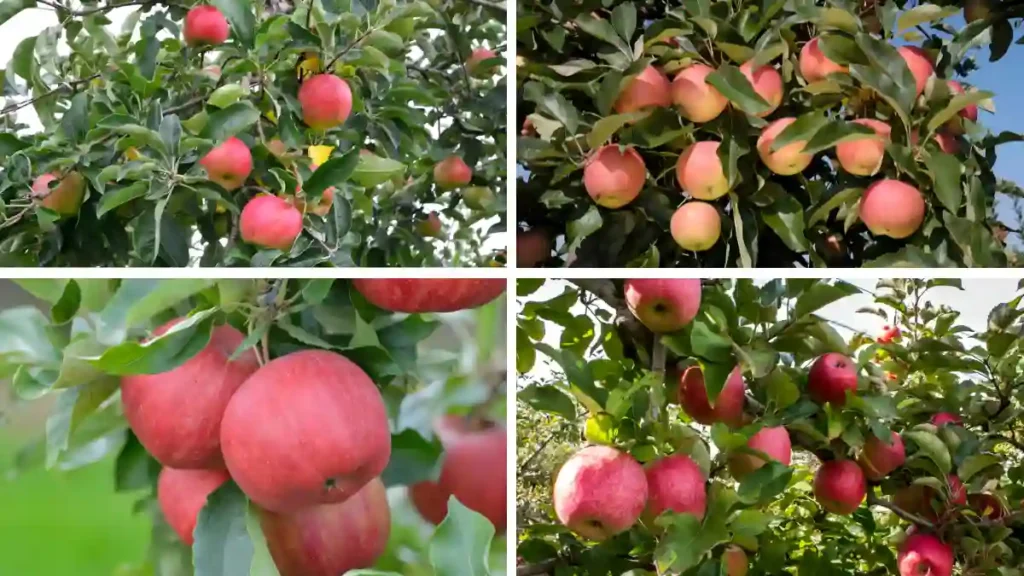
Discover the most well-known red apple varieties:
There are many different varieties of red apples; here are just a few examples. To find the one you like best, try a variety; each has its flavor, texture, and application.
Honeycrisp apple
- This is particularly Honeycrisp and delicious apple is grown in chilly climes and is a popular type recognized for its juicy and sweet flesh. When the ground is cold but not frozen, spring or fall is the ideal time to purchase and plant a Honeycrisp apple tree. Create a hole that is twice as deep and twice as wide as the root ball, with a cone-shaped mound of dirt in the middle. After putting in enough dirt to fill the hole halfway, dig a 2-inch-radius shallow trench surrounding the tree. Don’t overwater the trench; instead, use it to thoroughly water the tree.
Pink lady apples
- A striking pink blush covering a yellow or green background, pink lady apples are a rare variety of apples. Its flavor is sometimes characterized as both sweet and sour at the same time. Just be careful to use potting soil that permits appropriate drainage. Sustain them in bright, indirect sunshine at least 6 feet away from the windows. During the growing season, fertilize the plant every four times it receives water. Don’t allow your plant to sit in moist soil or be in a dark place for an extended period. Instead, give the soil a thorough irrigation to avoid overwatering.
Gala
- The well-known gala apple, a crunchy and tasty kind, may be easily recognized by its heart-shaped appearance and red striations on its yellow-gold peel. Sand that drains easily and has a bit of acidity is best for growing it. Before transplanting, spread out some decomposed organic manure; the planting hole should be around 40 cm deep and 60 cm in diameter. Applying primarily organic fertilizer and some quick-acting fertilizer is the best option. Applying fertilizer in the fall yields the best results after the soil has dried, thoroughly water and loosen it.
Braeburn
- It’s a crisp cultivar with brilliant red skin that leans toward sweetness and tartness. Its best growing conditions are in neutral or slightly acidic soil. It is advised to plant either in the early spring, just before budding, or in the early winter, after the leaves have fallen. For the plant to overwinter securely, provide a covering, such as mulch or wood chips, at the base of the plant. For your tree’s first year in the ground, it is better to forgo fertilizer. Make sure it’s getting the appropriate amount of water by focusing on that. A fruit tree-specific well-balanced fertilizer such as Espoma’s Organic Tree-Tone is a suitable choice.
Rome Beauty:
- Red color and delicate, delicious meat characterize this heirloom variety. Plant it in loamy soil in a place with at least 6-8 hours of sunlight every day, digging a hole twice the width and depth of the root ball. An inch of water each week is all that mature trees require. Following the manufacturer’s recommendations, apply a balanced fertilizer in the early spring. Form the tree and get rid of any dead, diseased, or crossing branches, prune in the late winter.
Fuji
- This type has red skin, a tinge of acidity, and is crisp and sweet. Fuji apple trees prefer full light and do best in well-drained soil. Plant two inches above the soil’s surface, and then give the area plenty of water to let the dirt settle around the roots. Before new growth starts in the early spring, apply a balanced fertilizer. According to the manufacturer’s directions, follow the application rates. When the tree is dormant in late winter, prune it.
Conclusion:
Red apples offer various flavors, textures, and applications. When selecting an apple tree, consider the region’s climate and the variety that grows well. The traditional Fuji is popular for its juicy, sweet-tart taste and crisp texture. More information on red apple varieties can be found in the guide.
Certainly! If you’d like to learn more, please consider following our WhatsApp Channel: Harvest Gardening
A frequently asked questions:
Q1. When to plant apple trees?
A1. The optimal seasons to plant apple trees are spring and fall.
Q2. Which crab apple varietals are in demand?
A2. Crab apples in the popular cultivars “Dolgo,” “Centennial,” “Chestnut,” “Prairifire,” and “Sargent.” Every variety has distinct qualities related to size, color, and flavor.
Q3. What is the best fertilizer for apple trees?
A3. Apple trees are best served by a balanced fertilizer with a 10-10-10 N-P-K ratio. Organic fertilizers, such as compost or well-rotted manure, can also help apple trees thrive.
Q4. How many apple varieties are there?
A4. Worldwide, more than 7,500 different kinds of apples are farmed. Every variation has a distinct flavor, texture, and application.
Q5. What are some popular varieties of green apples?
A5. Shizuka, Crispin (sometimes called Mutsu), and Granny Smith are a few common types of green apples.