Sweet Williams is a herbaceous perennial or biennial plant that grows to a height of approximately two feet. In general, it is grown for its annual flowers. Pollinators such as bees, hummingbirds, and butterflies are drawn to the vibrantly colored blossoms. It is a member of the Caryophyllaceae family, which also contains carnations and pinks, and is native to southern Europe and portions of Asia. The blooms are attractive in floral arrangements and decorative gardens because they frequently display complex patterns and contrasting hues.
Some guidance to cultivate sweet williams:
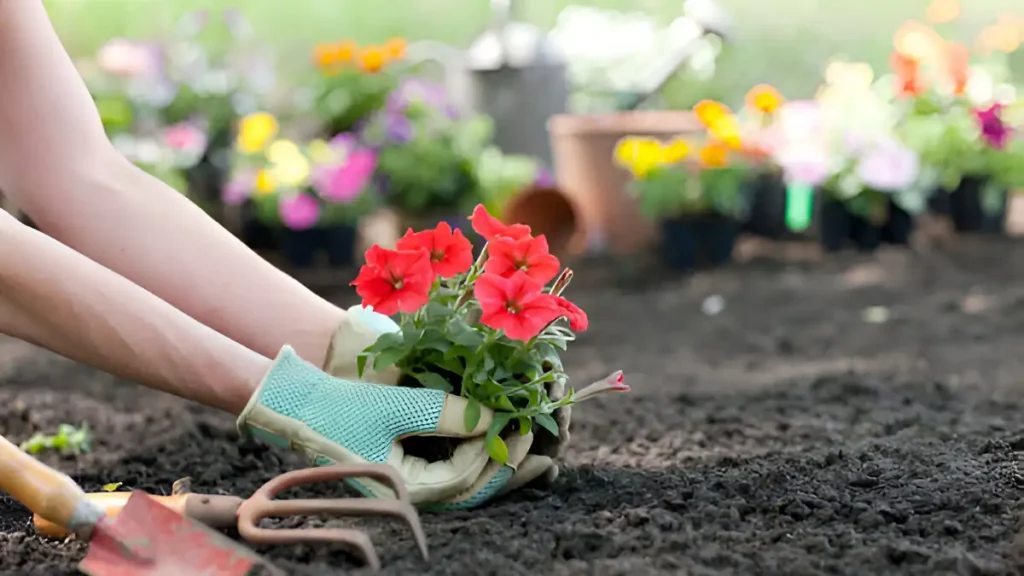
1. Determine a location
- Lights requirement:
Find a spot that gets either full sun or some shade. Sweet williams needs at least six hours of sunlight per day to thrive. It is ideal to have some afternoon shade in hot climates to assist extend the blooming period.
- Renovating the soil:
Sweet williams is resistant to a variety of soil types, except heavy, damp ones. Make sure the soil is well-drained. Although plants can thrive in a variety of pH ranges, they typically thrive in neutral to slightly alkaline soils. Before planting, some producers treat the soil with lime.
- Sowing:
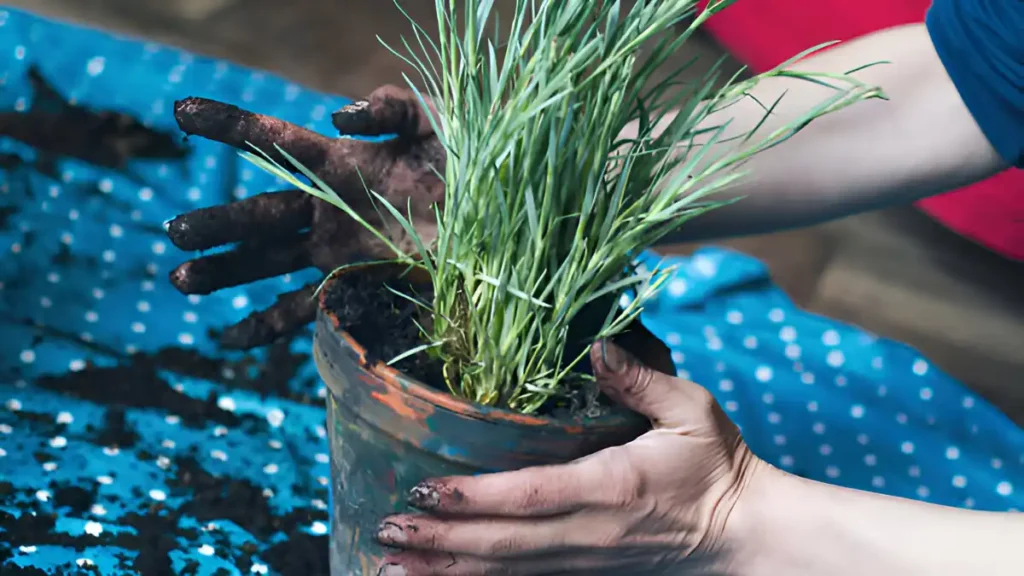
You could start with transplants or seeds. After dispersing the seeds around the soil’s surface, gently rake them in. Water softly. You can grow sweet William in the spring or the fall. If direct seeding is desired, plant in the early spring or late fall.
2. Care and maintenance of sweet williams:
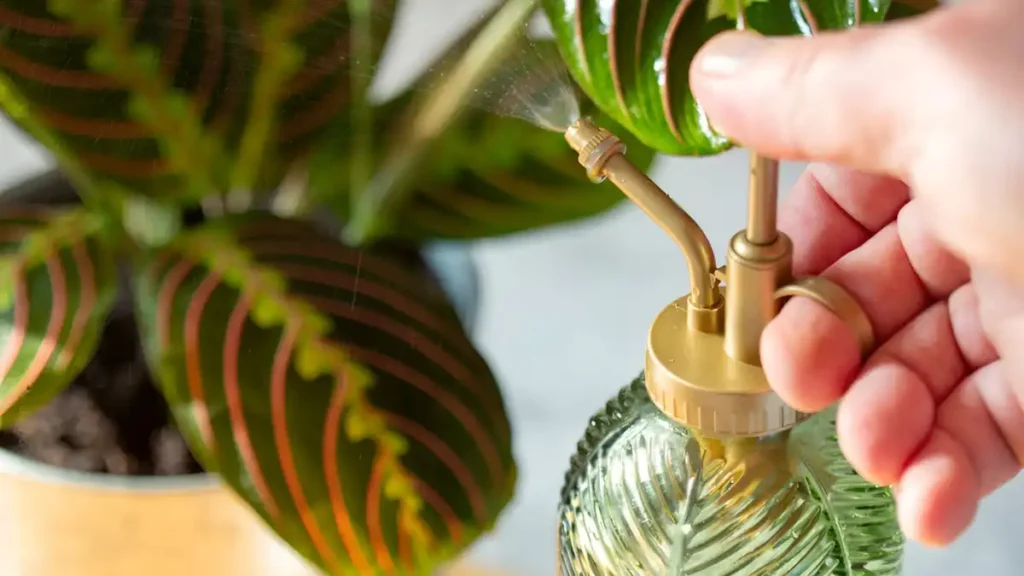
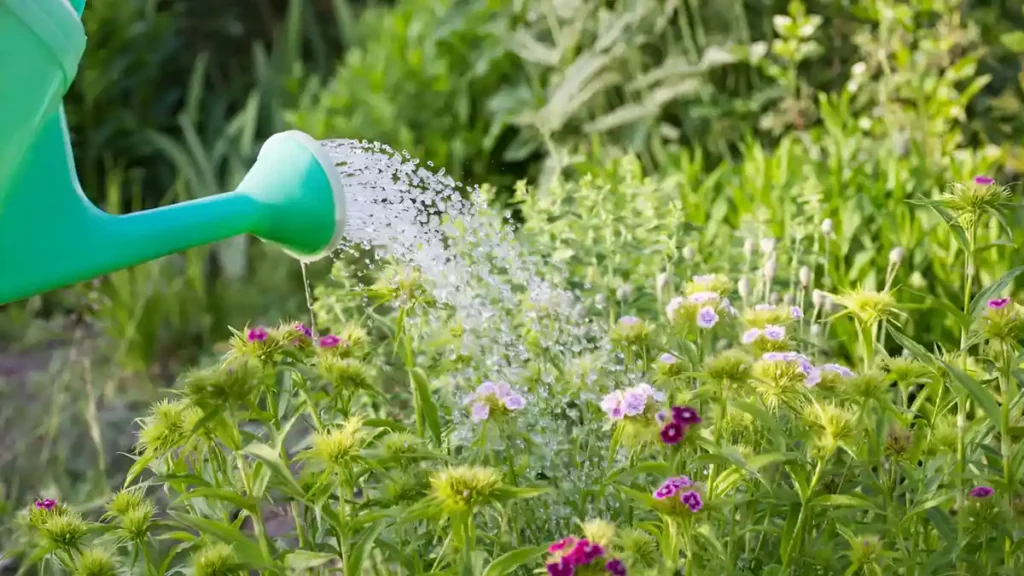
- Watering:
Ensure that the soil is constantly damp but not soggy. Water from the base up to prevent disease-causing wetness of the leaves. Throughout the growing season, give Sweet williams regular irrigation, being careful not to overwater. For this species, wet environments are conducive to fungal infections.
- Fertilizing:
During their growing season, sweet Williams plants should be fed with an all-purpose fertilizer every six to eight weeks. Avoid clear of overfertilizing, since this may result in an abundance of foliage and fewer flowers. Refer to the product label for directions on which quantity to use.
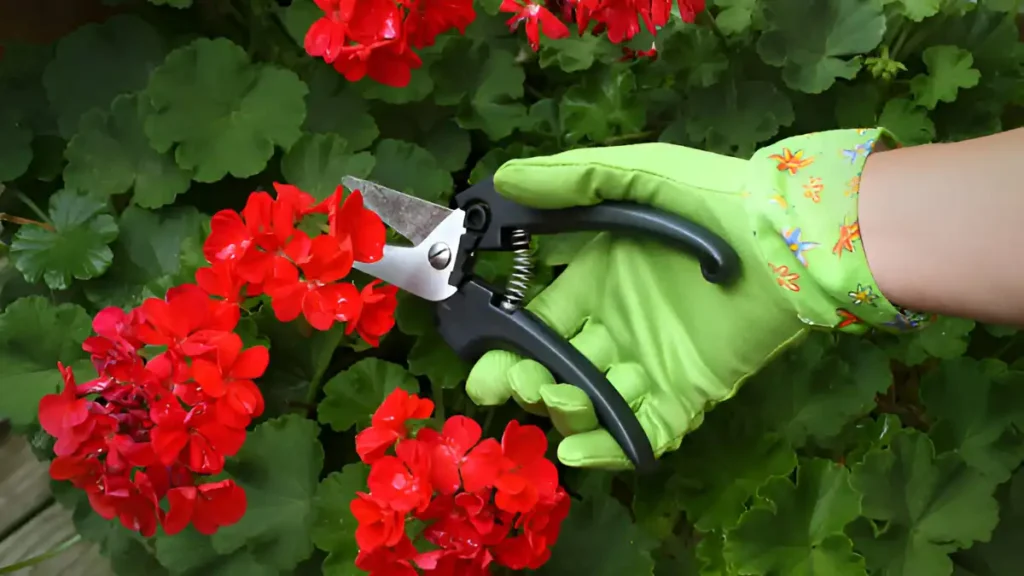
- Pruning and Deadheading:
Sweet williams should be trimmed in the late winter or early spring. Applying a dent at the location directly above the leaf nodes is where new growth will originate. Cut off the tops of the stems if the plant becomes too bushy. Thin down the stems and remove any that have gotten weak and lanky to promote ventilation. To promote ongoing blooming and avoid self-seeding, remove wasted blossoms.
- Propagation of Sweet Williams:
Sweet williams self-seeds frequently. Due to their limited lifespan, a lot of people just buy cold-treated plants in the spring and grow them as annuals. If you want fresh plants the next season, let some blossoms go to seed. Split clumps every two to three years to keep plants vigorous and revitalized.
- Temperature and Humidity:
Sweet williams is a relatively cold-hardy blooming plant. Light frosts won’t harm it, but prolonged freezing leads to the plant withering. High humidity does not suit this species well, and temperatures above 85°F may cause dormancy. For moisture retention and weed suppression, apply just a little bit of mulch. Spread a layer of mulch over the roots in late October in colder locations to shield them from cold temperatures.
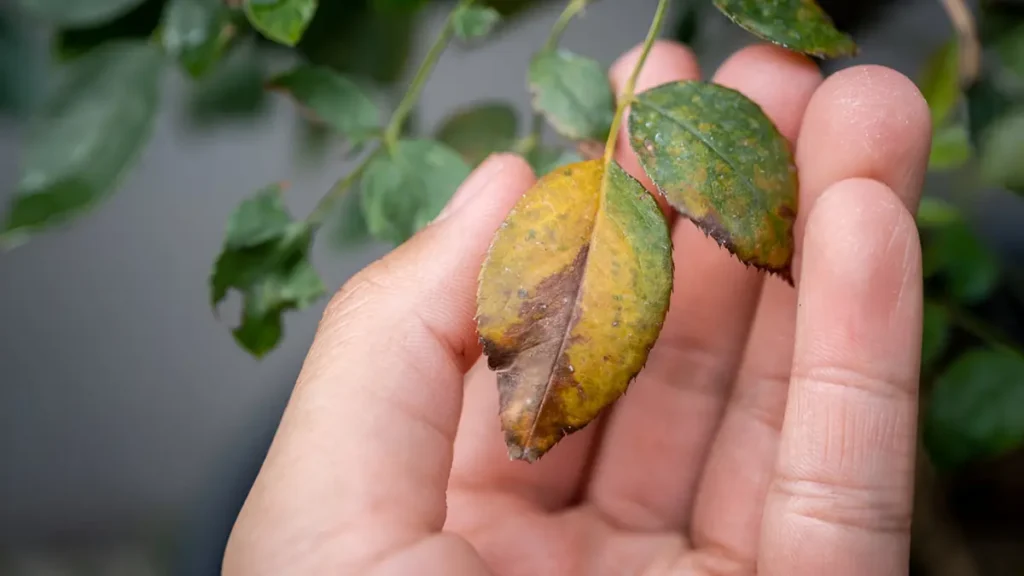
- Regular Plant Diseases & Pests:
If sweet williams is planted in poorly drained soil or is overwatered, fungal diseases like rust and crown rot may become an issue. Slugs and snails find it appealing as well. Look out for common pests such as aphids and spider mites. If needed, apply neem oil or insecticidal soap. Maintain adequate ventilation to ward against ailments such as rust and powdery mildew.
Seasonal care tips for sweet williams:
- In summer, water this plant frequently, especially in dry spells, to keep the soil evenly moist. To keep the plants moist and keep weeds at bay, mulch the area surrounding them. If desired, remove spent flower heads to promote ongoing blooming and stop self-seeding.
- Although sweet williams are often hardy, in regions with severe winters, cover the roots with a layer of mulch to shield them from below-freezing temperatures. When necessary, treat any symptoms of sickness or pest infestation that you spot. Savor the winter’s dormancy and anticipate the reappearance of amazing blossoms in the spring.
- At the beginning of spring sweet williams seeds or seedlings should be planted in full sun to moderate shade in well-draining soil. Over the growing season, consider the soil damp but not soggy. To avoid competing with the plants for water and nutrients, get rid of any weeds surrounding them.
Conclusion:
In conclusion, it can be stated that Dianthus barbatus, the scientific name for sweet williams, enthralls with its vivid hues and pleasant scent. To sum up, these lovely flowers have long been appreciated for their beauty and meaning. Fertilization is another approach to prolong the blooming period of sweet williams. The aforementioned instructions can be used to grow a sweet williams plant.
Certainly! If you’d like to learn more, please consider following our WhatsApp Channel: Harvest Gardening
A frequently asked questions:
Q1. Is it possible to cultivate Sweet Williams on the inside?
A1. Sweet Williams can be planted indoors in pots or containers set in a sunny spot, even though they are usually cultivated outdoors in gardens. Always ensure that the drainage is appropriate, and fertilize and water the plants frequently.
Q2. Is Sweet Williams poisonous to animals?
A2. If consumed, sweet willows are regarded as somewhat poisonous to animals. Ingestion symptoms can include diarrhea, vomiting, or upset stomach. It is advisable to store Sweet Williams away from pets’ reach to avoid any unintentional ingesting.
Q3. Are sweet williams a perennial?
A3. Indeed, Dianthus barbatus, or sweet williams, are perennial flowers; that is, they usually live for more than two years and bloom again the following year.
Q4: Why are my sweet williams not flowering?
A4: Sweet Williams may not bloom due to inadequate watering, poor soil, or lack of sunlight. Encouraging blooming involves planting in well-draining, nutrient-rich soil with at least six hours of sunlight.