Tag

fertilizer

Browsing

DIY liquid fertilizer is a practical and environmentally friendly approach to nourish plants with widely available, natural substances. Additionally eco-friendly, these fertilizers lessen the demand for artificial chemicals that can degrade the soil and ecology in the vicinity. Gardeners can maintain total control over the nutrients their plants receive with this DIY method, which is a more affordable option than store-bought fertilizers. Read the entire article to learn more about how this liquid fertilizer is made.

  • Granular fertilizers are applied at the soil’s surface or blended into the soil and consist of a mixture of separate particles. Plants can be sprayed directly into the soil or given a liquid fertilizer, which is just nutrients dissolved in water.
  • Liquid fertilizers are especially good for fresh seedlings and container plants. Throughout the growth season and in the early spring, they can also give bedding plants a boost.
  • One advantage of liquid fertilizer is that plants receive nutrients more quickly since it seeps into the soil instantly. A lot of farmers apply this kind of fertilizer early in the growing season to promote rapid root development and help plants take root when necessary.
  • According to the chemicals they provide, liquid fertilizers are more effective in bringing the pH of the soil into balance. Another reason liquid choices are frequently a wise choice for crops is that they can contribute to healthier plants.
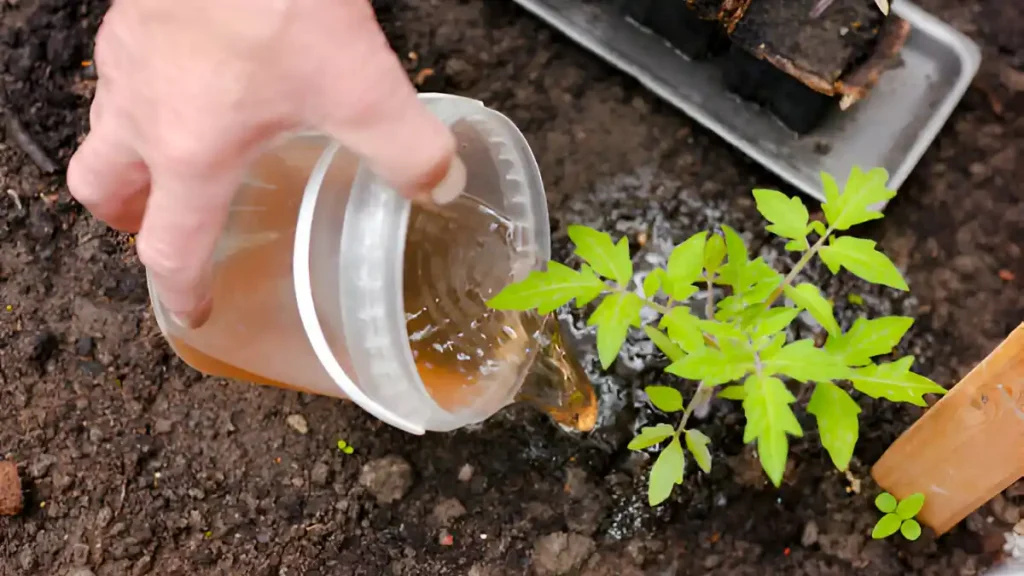
Although you can’t precisely control the ratios of nutrients in a homemade liquid tonic as you can with store-bought fertilizer, you can still make some adjustments by selecting different ingredients. 

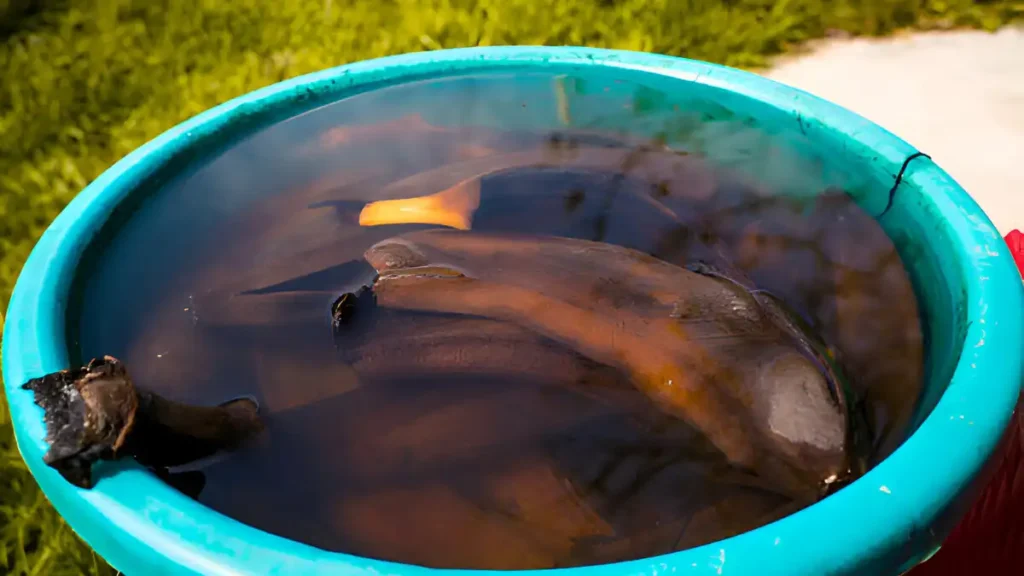
Banana peel tonic: 

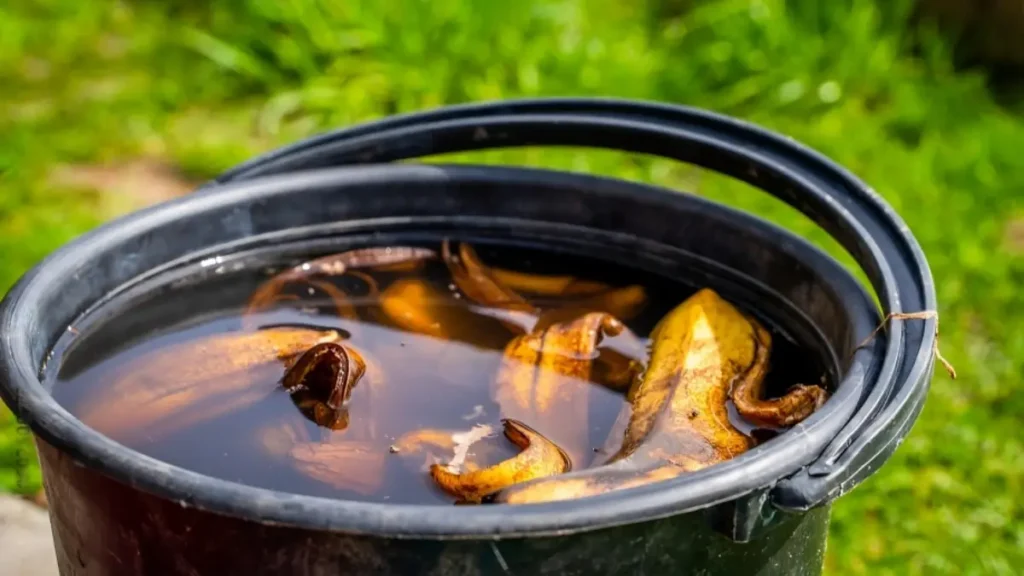
A creative and environmental the banana peel tonic uses the health benefits of the frequently wasted banana peels. Banana peel tonic supports more environmentally friendly gardening methods. 

Directions 

  • The banana peels should be chopped into little bits. Soak the pieces in water for 24 to 48 hours. 
  • Use the liquid that has been strained to water your plants. This tonic has a lot of minerals, including potassium.

Compost tea tonic: 

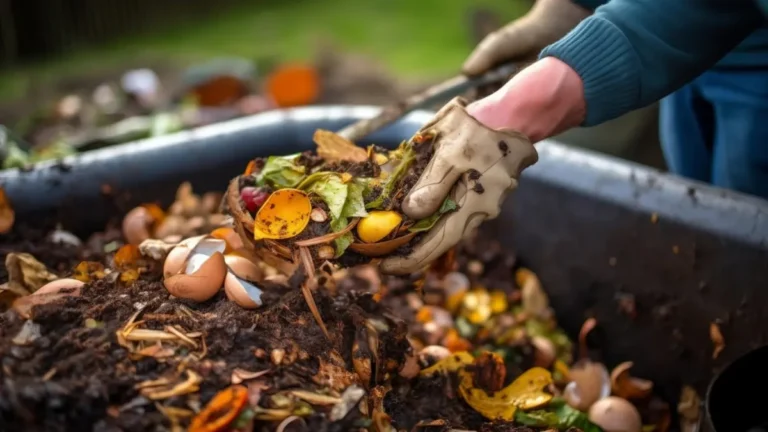
Compost tea can be made into a liquid fertilizer that you can apply whenever you want to encourage plant growth and health. 

Directions 

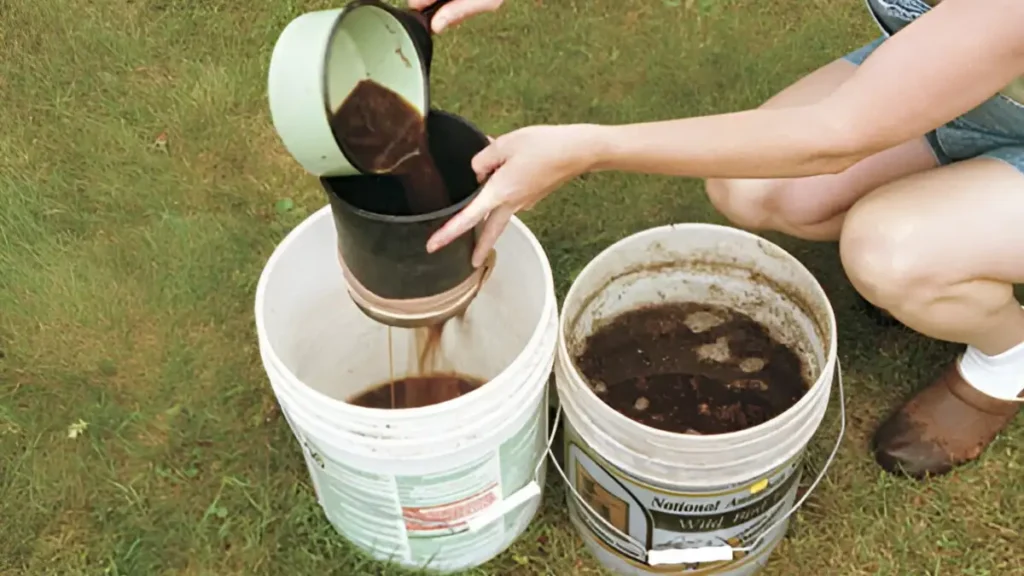
  • First, take out of the compost any larger waste particles that haven’t decomposed completely. Combine one part compost and five parts water in a big bucket. 
  • Mix thoroughly and soak, stirring often, for three to four days. Filter the liquid to get rid of the solids.
  • Use water to dilute the compost tea and water your plants. Applying it every two weeks, you can continue to generate more throughout the growth season.

Eggshell tonic: 

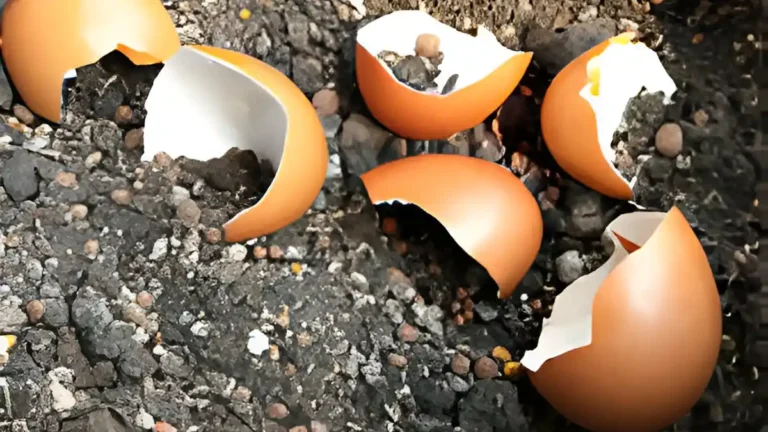
Eggshell tea contains calcium, a vitamin that is good for a lot of different plants. To encourage healthy growth and guard against blossom end rot in your vegetable garden, use this tonic.

Directions

  • Boil ten to twelve clean, empty eggshells in one gallon of water to create calcium fertilizer. Break the eggshells into tiny fragments. 
  • Put the eggshells in water and boil for a little while. Set aside the mixture to cool for the entire night.
  • After straining the mixture, water your plants with the remaining liquid. This tonic enriches the soil with calcium, a mineral essential to plant cell wall construction.
Coffee Grounds Tonic: 

An inventive and sustainable remedy is coffee grounds tonic. This improves the quality of the soil and encourages strong growth.

Directions

  • After gathering used coffee grinds, dry them. 5 gallons of water should be mixed with 1 cup of coffee grounds.
  • Stir the mixture periodically while letting it sit for a few days. Pour the liquid through a strainer. Enhances soil acidity and provides nitrogen with this tonic.

Weed tea tonic:

Rich in minerals, but devoid of seeds, weed tea draws nutrients from weeds. This is a basic method for making a tonic that may be used indoors or outdoors for houseplants and seedlings.

Directions

  • While pulling weeds, add them to a bucket. Add water to the bucket—ideally rainwater—when the weeds are about halfway filled. 
  • To prevent mosquitoes from depositing their eggs in the water, cover the bucket with netting. Leave the bucket alone for brewing for a few days or weeks. 
  • Use the liquid that remains after you strain the weeds as fertilizer. Remove the weeds from your garden or include them in your compost.

An inexpensive, environmentally friendly, and efficient substitute for commercial fertilizers is homemade liquid fertilizers. Not only do these DIY fertilizers cut down on waste, but they also enable customization according to the demands of individual plants. For gardeners wishing to improve the quality of their soil and plant vitality, homemade liquid fertilizers are all things considered, a viable option. With the aforementioned procedures, you may quickly produce your liquid fertilizer and apply it to your plants.

Certainly! If you’d like to learn more, please consider following our WhatsApp Channel: Harvest Gardening

Q1. Is it possible to use liquid fertilizer on any kind of plant?

A1. Yes, most plant species, including vegetables, houseplants, and garden plants, can be fertilized using liquid fertilizer.

Q2. What is the definition of organic liquid fertilizer?

A2.Rich in nutrients, organic liquid fertilizer is made from organic materials such as plants and animals and is applied to improve soil fertility and plant development.

Q3. What is the best liquid fertilizer for vegetables?

A3. A balanced combination of nitrogen, phosphorus, and potassium (N-P-K), such as a 10-10-10 or 20-20-20 formula, is usually found in the best liquid fertilizer for plants. Seaweed extract and fish emulsion are two more fantastic natural solutions that supply vital nutrients for wholesome veggie growth.

Q4. How to use liquid fertilizers for indoor plants?

A4. As directed on the label, dilute the liquid fertilizer by mixing it with water. During the growth season, use it every two to four weeks.

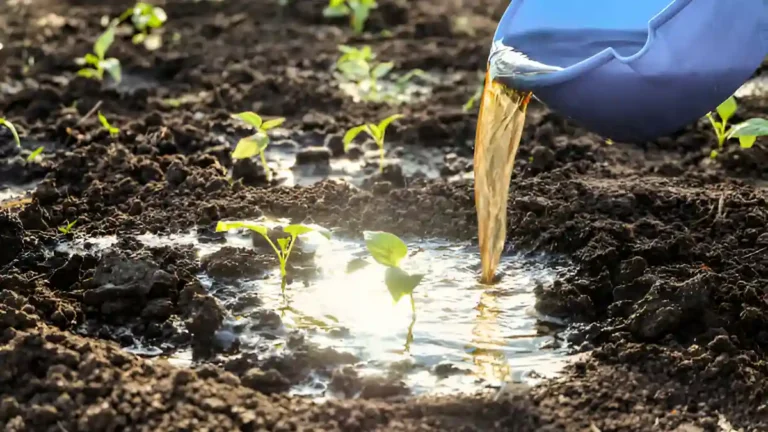
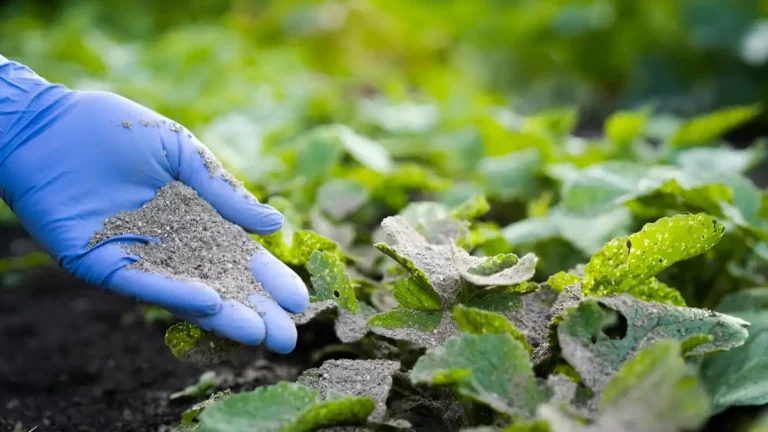
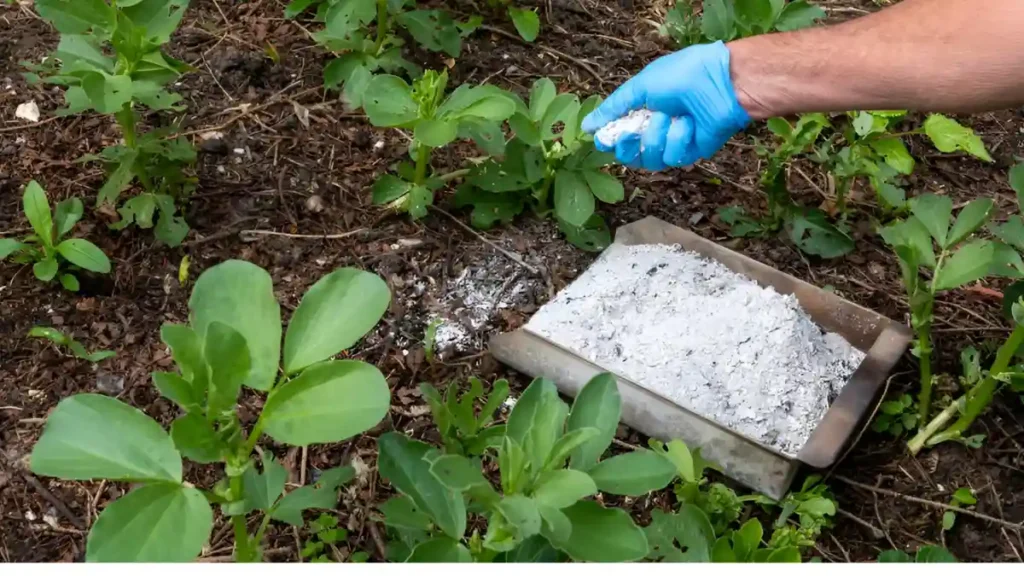
Ancient people were aware of the advantages of using wood ashes in their gardens. Potassium, phosphorus, and trace minerals are among the many minerals found in wood ash. Wood ash can quickly make the soil too alkaline, and plants can readily burn from the high salt content, thus it must be applied sparingly. When handled properly, wood ash can help deter pests and pathogens. A flexible and sustainable gardening option is provided by wood ash. Learn how to utilize wood ash safely and improve your garden by reading this extensive tutorial.

  • There are more nutrients in hardwood ashes than in softwood ash. Never use pressure-treated wood ash. Among other hazardous substances, pressure-treated wood has carcinogens. It is never recommended to burn pressure-treated wood and to utilize the ash in the garden because doing so will harm the soil.
  • In most cases, ash from any wood fire will suffice. Wood stoves, boilers, incinerators, fire pits, burned brush pits, burning barrels, and fireplaces are what this often refers to. 
  • Hardwood ash is preferred since it contains more nutrients, which can speed up the composting process. You can use it sparingly to prevent excessive pH elevation, which could interfere with composting. 
  • Although it usually contains fewer useful minerals and has a rougher texture, softwood ash can still be utilized.
  • Wood ash has a low nitrogen content, therefore it’s not usually thought of as fertilizer. Wood ash contains considerable amounts of calcium, carbon, magnesium, manganese, sulfur, potassium, phosphorus, copper, iron, and chromium, among other minerals that are essential for plant growth in addition to being organic and soluble in water.  
  • While lye and salt together won’t harm your plants in tiny doses, they might burn them in bigger doses. Diverse wood ash fertilizers exist.
  • The nutrients and minerals in your wood ash will be significantly higher if the fireplace ashes in your compost are mostly composed of hardwoods like oak and maple. 
  • The most popular usage for wood ash is pH adjustment of the soil. Acidic soil can be swiftly neutralized by wood ash because of its high alkaline pH of 10 to 12. However, because it can quickly make the soil too acidic, it should only be used sparingly.
  • Moreover, wood ash works well to keep pests away. Pests such as slugs, snails, and certain soft-bodied invertebrates can be eliminated by the salt included in wood ash. Wood ash can be used as a pesticide by simply sprinkling it about the base of plants that soft-bodied bugs are attacking. 
  • The quality of compost can be increased by adding wood ash, which can also help balance the pH and add vital nutrients. Wood ash’s alkaline composition can aid in balancing out compost pile smells.
  • Wood ash should be added to bare soil at least a few weeks before planting, but not too soon as it will wash away nutrients due to its solubility. The wood ash should be raked or dug out you don’t want to plant seeds in it, and combining it with soil a few weeks in advance allows the ash to begin decomposing.
  • Wood ash can easily damage germination seeds due to its high salt content, therefore avoid applying it close to them. Avoid going overboard. Limit its frequency to once a year since excessive amounts of wood ash or several fertilizers may render certain nutrients inaccessible to plants.
  • Your garden may get overrun with ash if you heat your home solely with wood. Don’t make heavy, repetitive applications in the same area of your garden. Think about distributing some throughout the grass or mixing some with fresh compost pile additions.
  • Ash treatments are ineffective for your plants that prefer acid, including rhododendrons, azaleas, blueberries, and raspberries. Even with acidic soil, avoid these plants.

In conclusion, The study’s findings demonstrate that adding wood ash to forest soil can significantly alter the amount, diversity, richness, and composition of bacteria in the community. In the garden, wood ash is an essential ingredient. It will promote the growth of the garden if applied in compliance with the previously mentioned rules. There’s going to be a stunning garden. 

Certainly! If you’d like to learn more, please consider following our WhatsApp Channel: Harvest Gardening

Q1. What plants don’t like wood ash?

A1. Plants that do not like wood ash are pear, apple, and peach trees. Sweet potatoes, parsley, rhubarb, eggplant, and sweet corn. fruit such as raspberries, blueberries, and most others.

Q2. What are the disadvantages of wood ash?

A2. Never use pressure-treated, painted, or wood ash from the trash since these materials can include heavy metals and other substances that are harmful to plants. Because most wood ash material contains trace levels of heavy metals, care should be taken when handling it.

Q3. Is wood ash good for grass?

A3. Sure, to increase the overall quality of your soil, correctly distribute firepit ash to your lawn.

Q4: How to spread wood ash on lawn?

A4: Apply wood ash to lawns using a yard spreader or hands, avoiding over 20 pounds per 1,000 square feet. Water the area after application for proper incorporation.

Because they are heavy feeders, tomato plants need a balanced diet to thrive and yield an abundant crop. Fertilizers are vital in supplying these necessary nutrients, guaranteeing strong development and fruit health. Understanding the fundamentals of fertilizer for tomato plants is critical to effective tomato growing.

  • Organic Compost: Compost is an excellent all-natural tomato fertilizer. It strengthens the structure of the soil, adds necessary minerals, and promotes the growth of healthy microbes. Compost is available for purchase from gardening stores or can be made yourself.
  • Liquid Seaweed Fertilizer: Packed with growth hormones, trace minerals, and other healthy ingredients, liquid seaweed fertilizer can improve tomato yield and growth. Additionally, it is believed to increase plants’ resistance to stress. Apply it as a soil drench or foliar spray after diluting it with water.
  • Fish Emulsion: Fish waste is used to make fish emulsion, a liquid fertilizer. Because of its high nitrogen content and other nutrients, it is perfect for encouraging robust tomato growth. Apply it to your plants after diluting it with water as directed on the container.
  • Bone Meal: Bone meal is a slow-acting fertilizer that supplies phosphorus, an essential mineral for growing tomato roots and fruits. Before planting, mix it into the soil, or scatter it around the base of existing plants.
  • Epsom Salt: Also known as magnesium sulfate, Epsom salt helps enhance the vitality and quality of tomato plants’ fruits. It supplies magnesium, which is necessary for producing chlorophyll and photosynthesis. Epsom salt can be sprayed directly on foliage or applied to the soil surrounding plants after being dissolved in water.

To sum up, there are several benefits that organic fertilizer for tomato plants offers. Because of its natural makeup, the soil is healthier, encourages microbial activity, and fosters sustainable development without leaving behind hazardous chemical residues. In addition to improving nutrient uptake and general plant vitality, organic fertilizers help produce healthier tomatoes with better flavor and nutritional value. Additionally, using organic fertilizers lowers the danger of soil erosion and water contamination while supporting eco-friendly practices. Consequently, using organic fertilizers is a sensible decision if you want to grow healthy tomato plants and give the environment’s long-term sustainability priority.

Certainly! If you’d like to learn more, please consider following our WhatsApp Channel: Harvest Gardening

Q1: Can I use any type of fertilizer for tomato plants?

A1: No, it’s crucial to apply a fertilizer made especially for tomato plants to make sure they get the nutrients they need for healthy growth and fruit production.

Q2: What is the best time to fertilize tomatoes?

A2: Tomato fertilization is most effective when done at planting and during the growing season. Before planting, start by adding organic matter to the soil. After the plants are established—usually every three to four weeks during the growing season—apply a balanced fertilizer.

Q3: What is the best fertilizer for tomato plants?

A3: Nitrogen, phosphorus, and potassium (N-P-K) in a balanced ratio are among the most important nutrients found in the best fertilizer for tomato plants. For healthy tomato development, look for fertilizers branded expressly for tomatoes or vegetables, as these often contain the right nutrient balance.

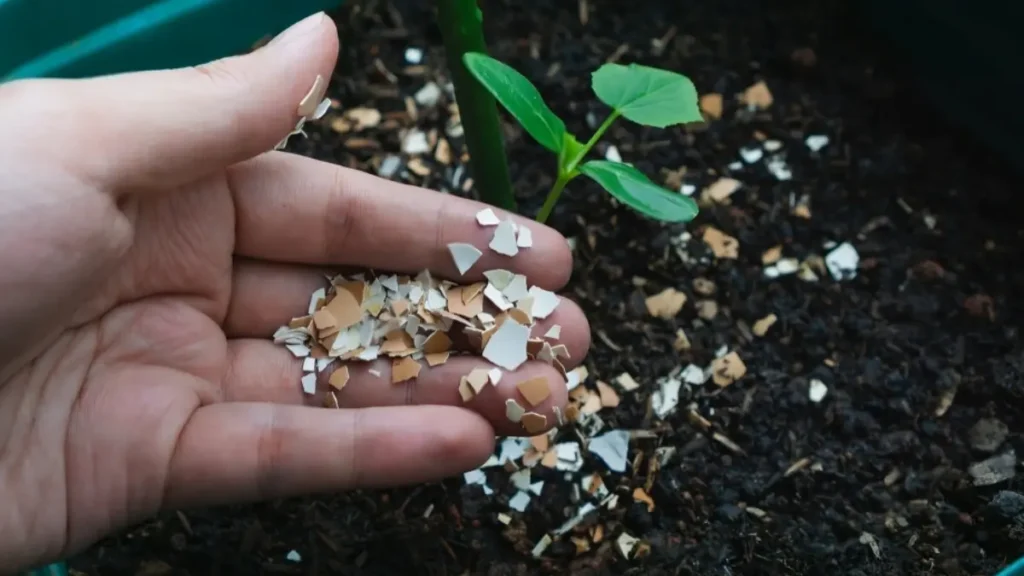
Are you trying to find an inexpensive and natural technique to boost the development of your plant? All you have to do is search your kitchen! Eggshells, which are frequently thrown away as waste, have a remarkable capacity to improve the health and vigor of your plants. Let us reveal the secret weapon of eggshells for plants.

  • Plants need these vital minerals for optimum growth, and eggshells are a great source of them. Their main component is calcium carbonate, which is an essential ingredient for plant growth. In plants, calcium is essential for the synthesis of cell walls, the functioning of enzymes, and the uptake of nutrients. To further enhance the soil, eggshells also contain trace amounts of other helpful minerals like magnesium, potassium, and phosphorus.
  • Eggshells that have been crushed serve as a natural barrier against pests that could damage your plants. Slugs, snails, and other crawling insects are prevented from getting to your priceless plants by the barrier formed by the sharp edges of the broken shells.
  • Plants must keep the soil’s pH at the right level to absorb nutrients. Because they are mostly made of calcium carbonate, eggshells can help raise the pH of acidic soil and neutralize it. Crush eggshells to help balance the pH and promote healthy plant growth in acidic soils.
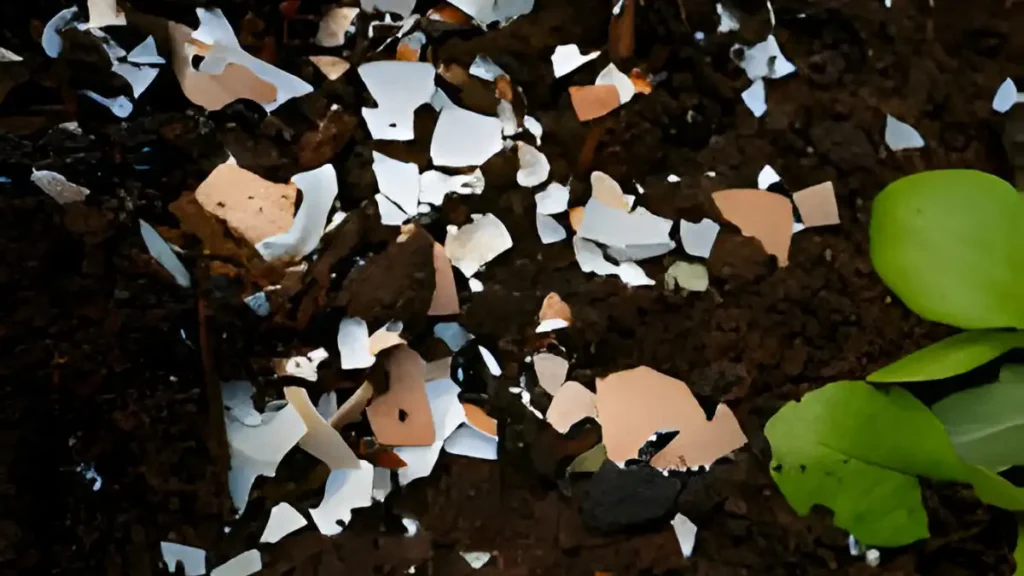
  • First, give your eggshells a thorough cleaning and drying. After they have dried, use a rolling pin or a mortar and pestle to break them up into small bits.
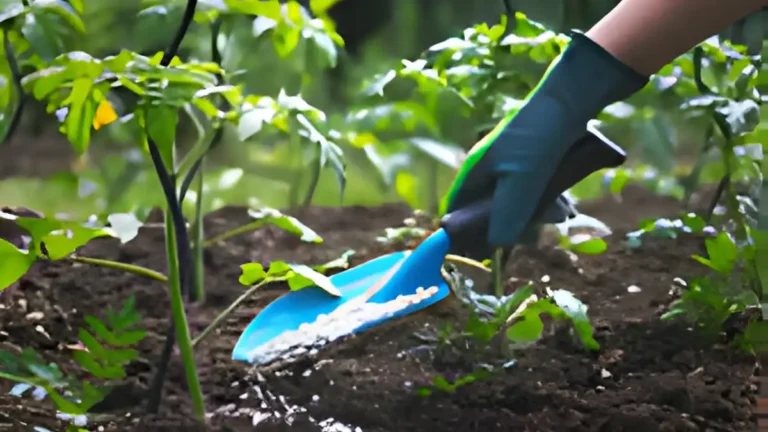
  • Sprinkle crushed eggshells on top of the soil or mix them straight into the soil surrounding your plants. Make sure they are thoroughly mixed in to enable the release of nutrients gradually.
  • You may also add eggshells to your compost pile to add essential nutrients to the compost. You can utilize this nutrient-rich compost to feed your plants in the long run.
  • Cover your mulch with a layer of crushed eggshells for extra advantages. This improves moisture retention, controls soil temperature, and enriches the soil with nutrients.

Finally, do not underestimate the benefits of eggshells for plants development and health. You can recycle these food leftovers into your garden to give your plants vital nutrients, keep pests away, and foster ideal growth conditions. Thus, keep in mind to conserve the egg shells for your flourishing garden the next time you crack an egg!

Certainly! If you’d like to learn more, please consider following our WhatsApp Channel: Harvest Gardening

A frequently asked questions:

Q1: Is it possible to fertilize indoor plants with eggshells?

A1: Indeed, you may use eggshells as indoor plant fertilizer. Toss them into the soil of your potted plants after crushing them.

Q2: How do I prepare eggshells for plants?

A2: Break up eggshells into little bits and let them air dry. After they’re dry, use a blender or mortar and pestle to ground them into a fine powder.

Q3: How should I grind eggshells for plants?

A3: Using a mortar and pestle or a blender, finely grind the eggshells into small bits.

You may find everything you need to prepare homemade fertilizer in your kitchen and yard, which can help you achieve lush, colorful plants. These homemade mixtures save money, encourage sustainable gardening methods, and lessen the need for dangerous pesticides.

Homemade fertilizer made from banana peels:

  • Potassium is abundant in banana peels, encouraging plants to blossom and bear fruit.
  • To make a potassium-rich liquid fertilizer, just slice up banana peels and bury them around the base of your plants or soak them in water for a few days.

Using compost Tea:

  • For your plants, compost tea is like liquid gold because it offers a variety of nutrients in an easily absorbed form.
  • Fill a bucket with water, then top it off with compost. Stir it once in a while as you let it steep for several days. Use the nutrient-rich liquid that remains after straining out the sediments to water your plants.

Fish emulsion fertilizer:

  • A powerful fertilizer high in phosphorus, nitrogen, and trace minerals is fish emulsion.
  • Fish heads or leftovers should be blended with water until liquefied. To fertilize your plants, strain out any sediments and dilute the mixture with water.

Homemade Fertilizer with eggshells:

  • Calcium from eggshells is excellent for preventing blossom end rot in tomatoes and peppers.
  • Dried eggshells can be ground into a fine powder and added to the soil before planting, or they can be sprinkled around the base of your plants.

Fertilizer made of weed tea:

  • Make good use of those annoying weeds by converting them into fertilizer rather than throwing them out.
  • Add a good handful of weeds to a bucket of water. For a few weeks, let them break down, stirring now and then. Use the resulting “weed tea” as a plant food by diluting it with water.

You may lessen your need for chemical fertilizers and provide your garden with natural, nutrient-rich solutions by using these homemade fertilizer tips. Try out a variety of recipes and methods to see what suits your plants and soil the best.

Certainly! If you’d like to learn more, please consider following our WhatsApp Channel: Harvest Gardening

Q1: Can I fertilize any kind of plant with homemade fertilizer?

A1: A vast range of plants, including decorative plants, fruits, vegetables, and flowers, can be fertilized with homemade fertilizer. However because overfertilization can damage plants, it’s imperative to use it sparingly. It’s also a good idea to investigate your plants’ needs before applying homemade fertilizer, as some delicate plants could need particular kinds of fertilizer.

Q2: What are the benefits of using homemade fertilizer?

A2: A few advantages of homemade fertilizer are affordability, sustainability, and the capacity to adjust nutrient levels to meet the requirements of certain plants.

Q3: Can I use coffee grounds as homemade fertilizer for indoor plants?

A3: It is possible to use coffee grinds as indoor plant fertilizer. All you have to do is scatter the coffee grounds around the base of your plants, making sure they don’t bunch together. Nitrogen, potassium, magnesium, and other minerals that are good for plant growth can be found in coffee

Trench composting is a proven method for improving garden soil health and vitality. Integrating organic matter directly into the soil, reducing waste, and making composting easier for gardeners of all skill levels. We will examine the fundamentals of trench composting and its advantages and useful applications in this extensive tutorial.

  • Select a Location: For trench composting, choose a location in your yard or garden that works well. It should be in a location where you can readily add organic waste and where there is enough sunshine.
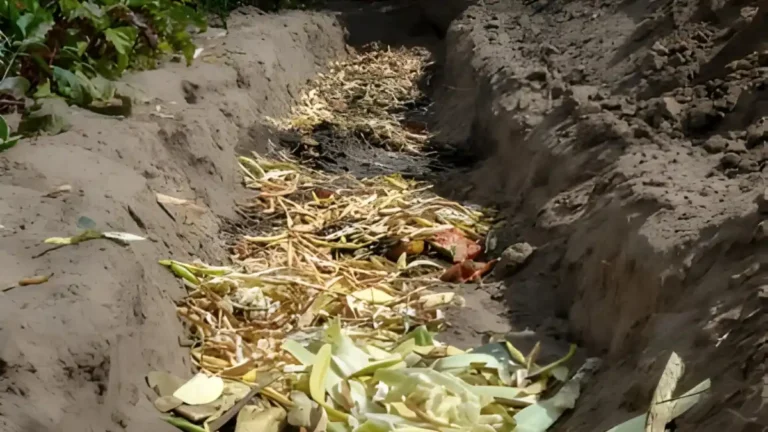
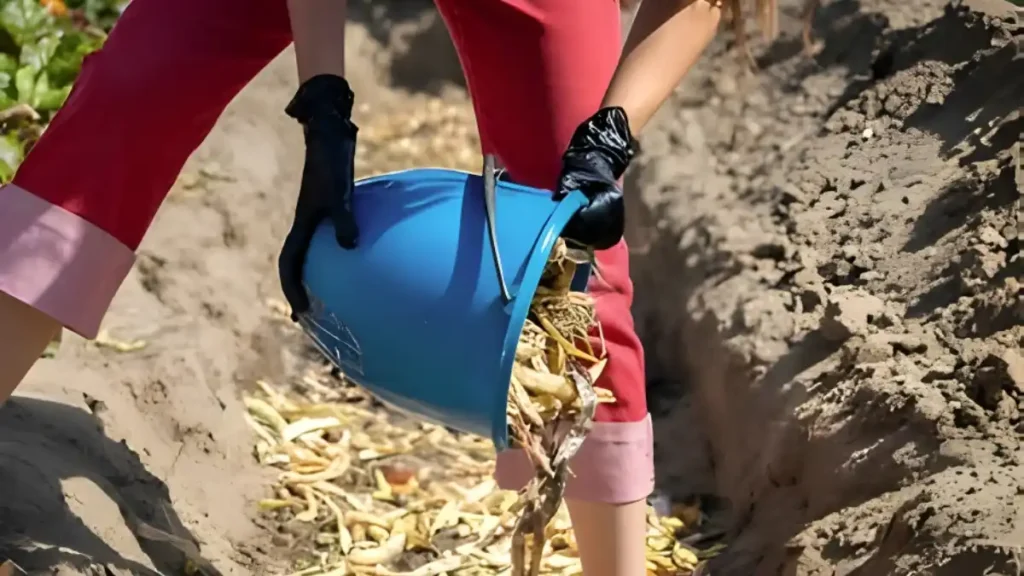
  • Excavate a trench: Cut a trench that is between one and two feet deep using a shovel or spade. Depending on the amount of organic waste you have and the space you have available, the trench’s breadth and length may change.
  • Layering: Begin filling the trench with layers of organic materials. To produce a balanced compost mix, alternate layers of green (nitrogen-rich) and brown (carbon-rich) materials. Kitchen leftovers, grass clippings, and plant trimmings are examples of green materials; dried leaves, straw, and newspaper are examples of brown materials.
  • Wrapping: Once you’ve filled the trench with organic trash, add a layer of dirt. This keeps pests away and aids in controlling the composting process.
  • Maintenance: As organic waste breaks down in the trench, add more of it regularly. The process of stacking green and brown materials remains unchanged. Watering the trench on occasion will also assist in keeping it moist, which is important for the composting process.
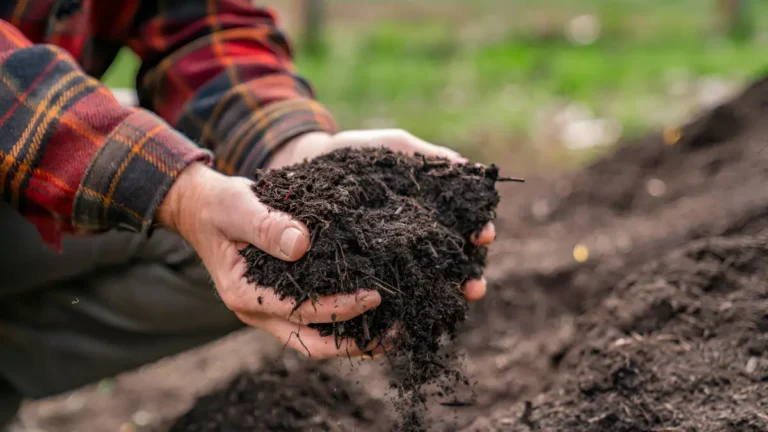
  • Await Decomposition: The organic materials in the trench will eventually break down and transform into compost that is rich in nutrients. Depending on variables including moisture content, temperature, and the kind of materials utilized, this process may take several months to a year.
  • Applying organic matter directly to the soil by trench composting improves its quality. The fertility and structure of the soil are enhanced as a result of the organic material’s decomposition, which releases nutrients.
  • Trench composting minimizes nutrient loss and maximizes plant uptake by allowing nutrients to be directly taken by plant roots, in contrast to standard composting procedures where nutrients may seep away.
  • This composting is an efficient approach to recycling organic waste, such as kitchen leftovers and garden detritus, minimizing garbage sent to landfills.
  • This composting can help reduce weed development by covering the rotting organic material with dirt. This stops weed seeds from germinating by reducing their exposure to light.
  • The addition of organic matter via trench composting enhances the soil’s ability to hold water. This can lessen the need for frequent irrigation, which can be especially helpful in drought-prone areas.

Finally, trench composting provides an easy and efficient way to increase the fertility of plant soil. Organic waste can be directly buried in the garden bed to release nutrients over time, enriching the soil and encouraging healthy plant development. This method contributes to a more productive and sustainable garden environment by decreasing waste while also improving soil structure and microbial activity.

Certainly! If you’d like to learn more, please consider following our WhatsApp Channel: Harvest Gardening

Q1: Can I trench compost in winter?

A1: Yes, you can compost in a trench over the winter. Even though the breakdown process happens more slowly in colder climates, it still happens.

Q2: Will trench composting attract pests in winter?

A2: In winter, properly maintained trench composting shouldn’t draw pests. Meat, dairy, and fatty meals should not be composted since they attract rodents and other pests.

Q3: Will trench composting cause unpleasant odors?

A3: There’s a chance that this composting site will smell, especially in the early phases of decomposition. This can be problematic, especially in crowded or metropolitan location

In gardening, lovers frequently look into natural and alternative ways to care for their plants to achieve the best possible health and vitality. A tried-and-true, environmentally beneficial method is making your compost tea. However, It is a superfood for plants, full of organic matter, microbes, and vital minerals that support strong, resilient growth.

Making your compost tea brewer

To begin, what you’ll need is as follows:

  • Compost: Make use of well-aged compost that has a blend of brown and green components. This will guarantee a wide variety of microbes and nutrients.
  • Water: Make sure it’s chlorine-free. Before using your tap water, let it sit for a full day if it includes chlorine.
  • Molasses: Rich in beneficial microbes, can be used without sulfur, as sulfur inhibits microbial activity.
  • Aeration Equipment: To guarantee proper aeration, you’ll need an aquarium pump, airstones, or a compost tea maker. So, this encourages the growth of aerobic microorganisms that are useful.
  • Strainer or Cloth Bag: To remove bigger particles from this.

Instructions:

  • Gather water, molasses, compost, and aeration supplies.
  • To maintain a healthy water supply, mix 1 cup of well-aged compost with one or two tablespoons of molasses for every gallon of water.
  • The compost can be steeped like a tea bag by placing it in a cloth bag or directly into water, ensuring it is securely tied.
  • Mix molasses with water and compost mixture, as molasses serves as a food source for microbes.
  • Set the airstones in its mixture and turn on the aquarium pump. If using a compost tea brewer, aerate the tea according to the manufacturer’s directions.
  • Give the compost tea a full day or two to brew. To promote microbial development, occasionally stir the liquid.
  • So, After fermentation, remove the compost bag and strain it using cheesecloth or a fine mesh sieve to remove any remaining solids.
  • To use concentrated compost on plants, dilute it with water using a 1:10 ratio.
  • It can be used as a water source for plants, and applied to the soil and leaves using a sprayer or watering can.
  • For optimal results, use it immediately and store it in a shaded area for a day or two.

Making your compost tea is an innovative way to farm that not only feeds plants but also revitalizes the soil, supporting organic gardening that is sustainable and reduces the need for synthetic fertilizers.

Certainly! If you’d like to learn more, please consider following our WhatsApp Channel: Harvest Gardening

Q1: What is compost tea?

A1: It is a liquid fertilizer made by soaking compost in water, containing nutrients and organic materials, which also promotes soil health and plant development.

Q2: Can compost tea be used on all types of plants?

A2: A multipurpose plant fertilizer. So, it provides organic nutrients to a wide range of plant species, including flowers, vegetables, fruits, and trees.

Q3: What is a compost tea brewer?

A3: It is a device used to create this tea, a liquid fertilizer rich in beneficial microorganisms. After that, it involves steeping compost in water, aerating it, and extracting the microbial essence for plant health.