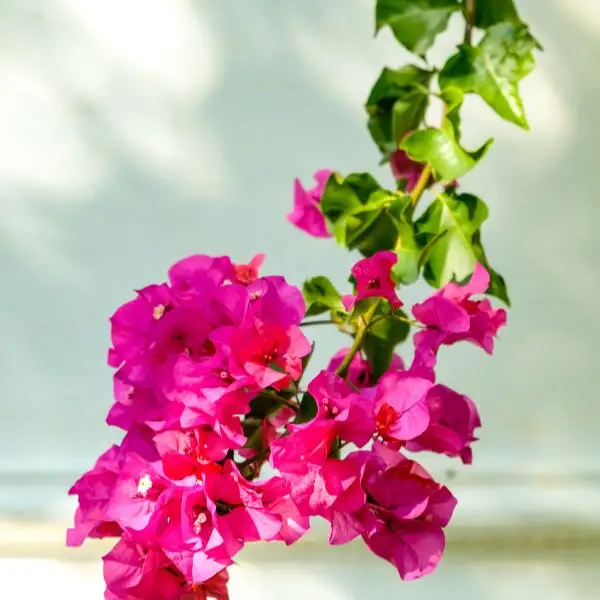
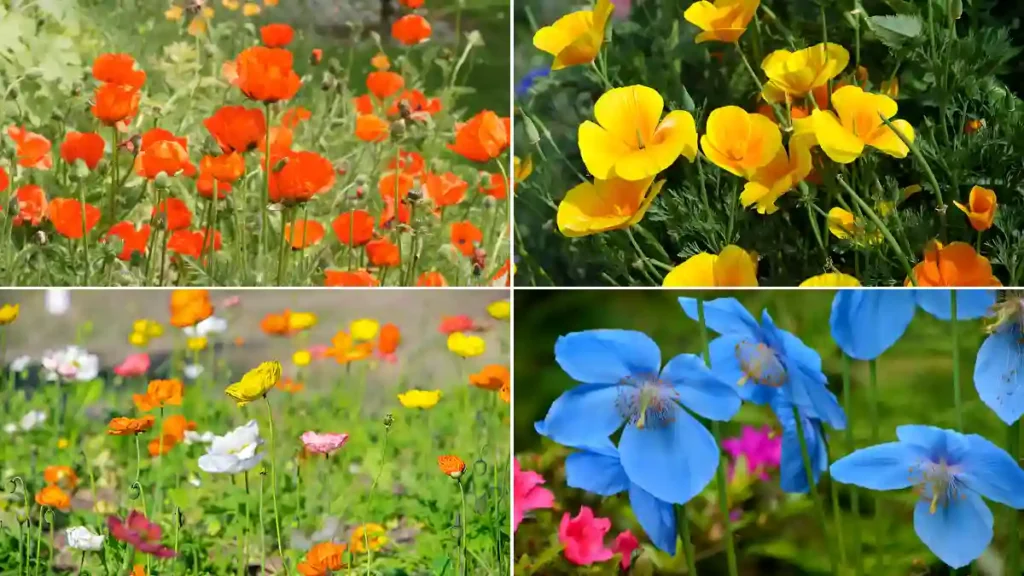
People have cultivated and utilized herbs for their culinary and therapeutic properties for thousands of years. Any landscape is aesthetically beautiful and fragrant by its fragrant and ornamental features. You won’t go back after you’ve experienced the flavor difference between fresh and dried herbs. Fresh herbs taste better and are more nutrient-dense than store-bought varieties. Growing and harvesting your herbs also costs less. Here are some pointers on how to grow herbs in your garden at home.
Top herbs to grow indoors or outdoors:
- Basil: Known for its potent flavor and scent, basil is a widely used herb. It grows nicely indoors with lots of sunlight and soil that drains properly. Growing basil in your own house, be it on a sunny windowsill, garden, or balcony, maybe a fulfilling experience.
- Parsley: Growing parsley indoors is simple and flexible. It likes frequent watering and shaded spots.
- Chives: Chives are hardy herbs that thrive in indoor environments. They need wet soil and mild sunlight.
- Mint: Mint is a hardy herb that grows well indoors but may easily take over outdoor gardens. It likes soil that is regularly moist and partially shaded.
- Rosemary: A fragrant herb, rosemary lends a savory flavor to a variety of meals. It needs well-drained soil and lots of sunshine.
- Oregano: With enough sunlight and well-drained soil, oregano is a hardy herb that can grow indoors. Growing oregano indoors is an easy and rewarding process, regardless of your level of gardening experience.
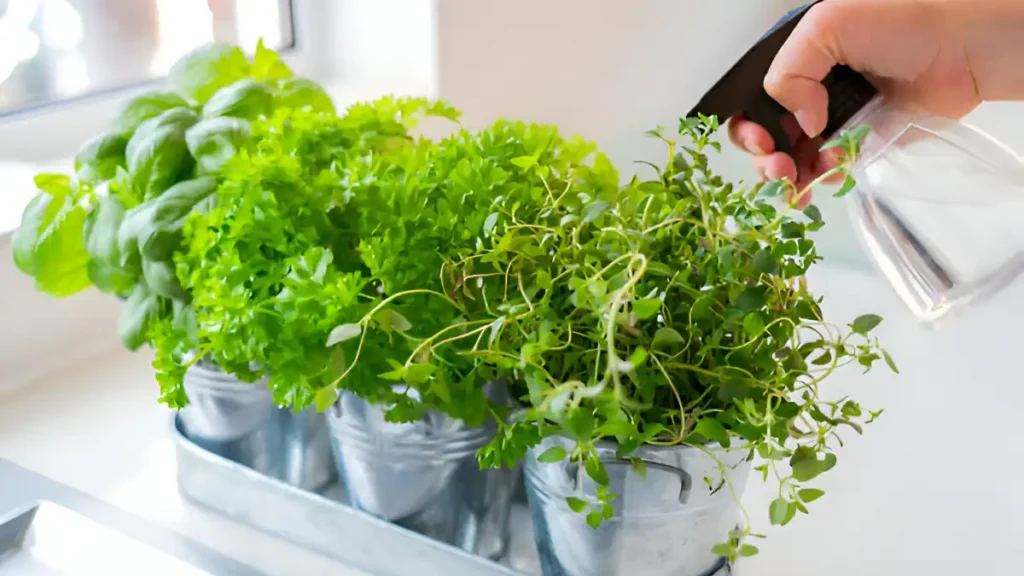
Here are some useful hints for how to grow herbs indoors:
- Select an interior location that receives 6 to 8 hours of sunlight per day, such as a window facing south.
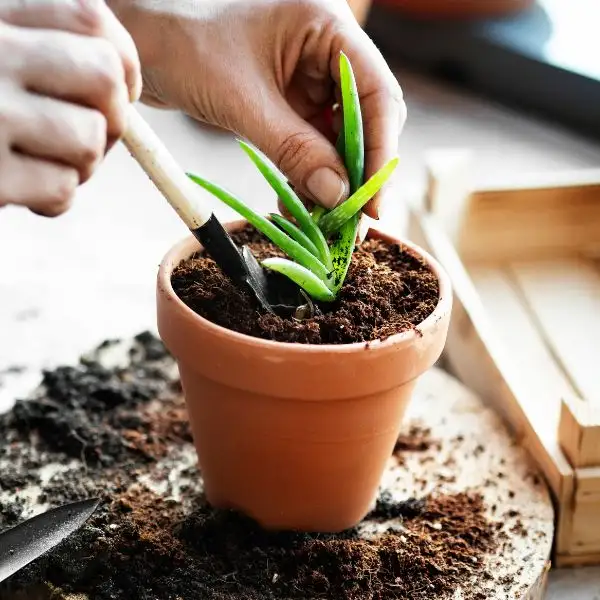
- As long as they have adequate drainage, use containers with holes for drainage to avoid waterlogging and root rot. Some examples of such containers are repurposed jars, plastic containers, and terracotta pots.
- Make sure the potting mix you use is well-drained.
- Let the soil dry out a little bit in between waterings. It’s time to water if the soil is dry to a depth of one inch.
- Every two weeks, use an all-purpose water-soluble fertilizer at half the suggested strength.
- Arrange the herbs in a well-ventilated space with a temperature between 60 and 75 degrees Fahrenheit.
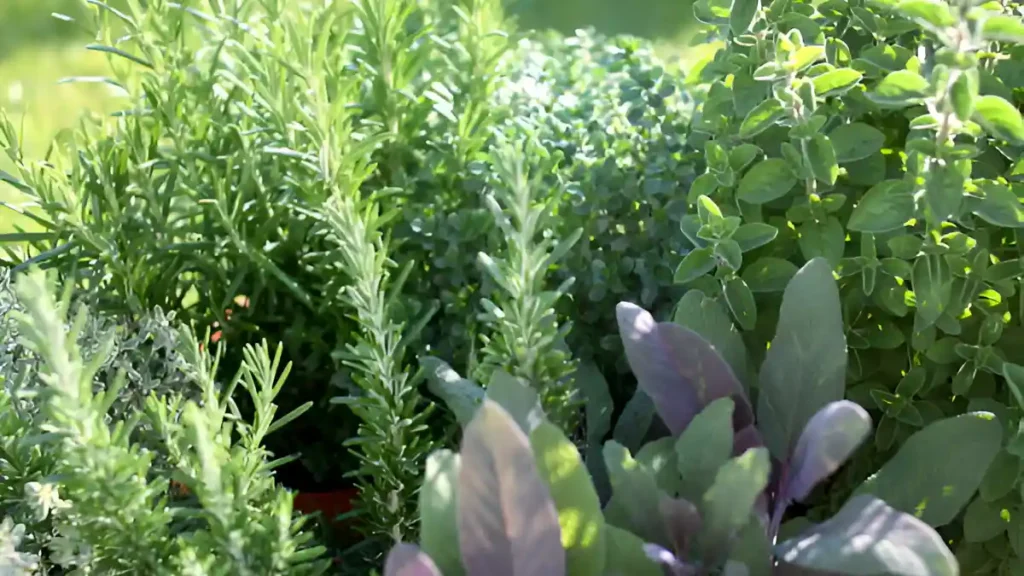
Some helpful tips for how to grow herbs outdoors are as follows:
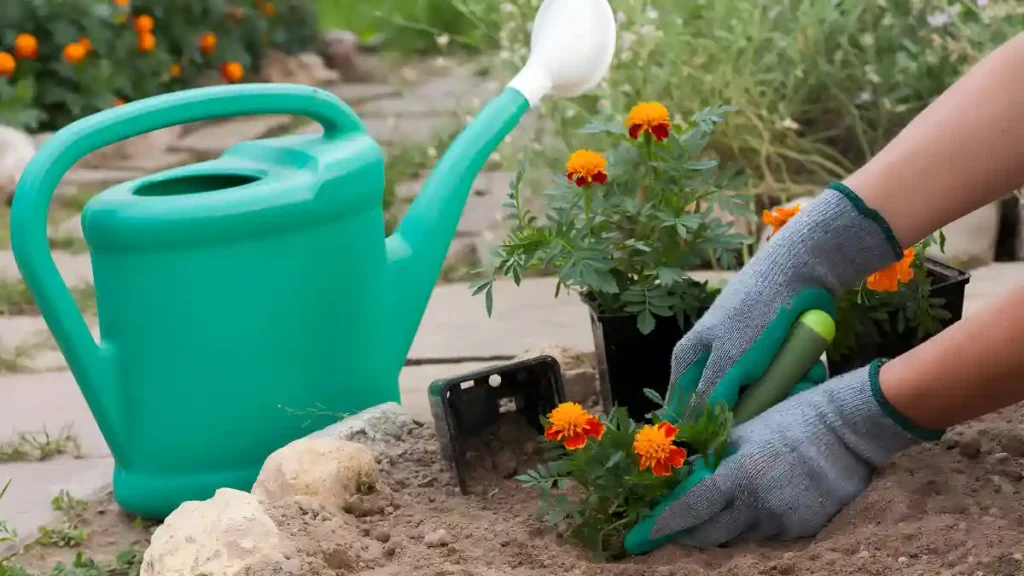
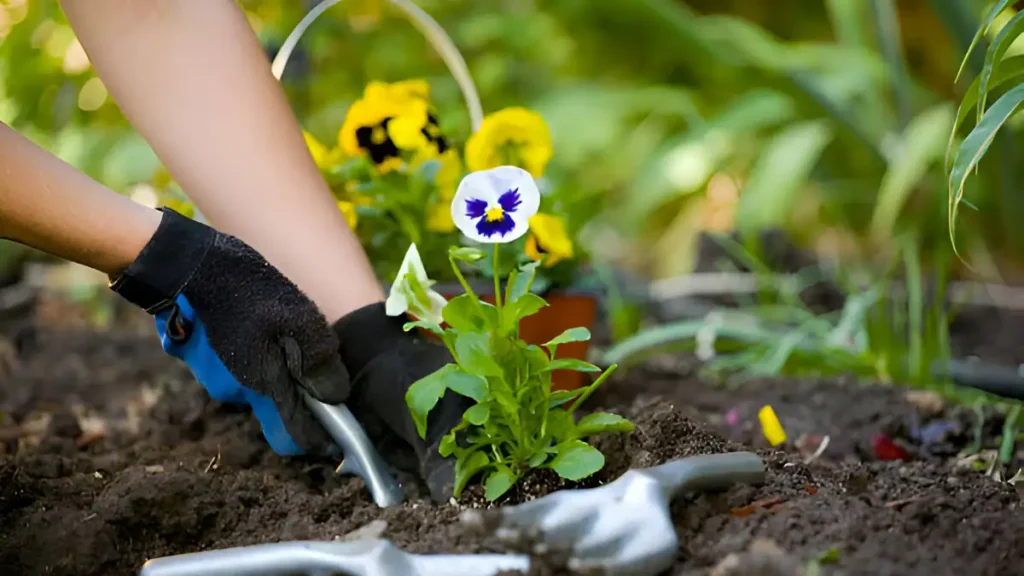
- Select a location in your garden that gets at least 6 to 8 hours of sunlight per day as most herbs prefer full sun. Make sure the soil in the region drains properly to avoid waterlogging.
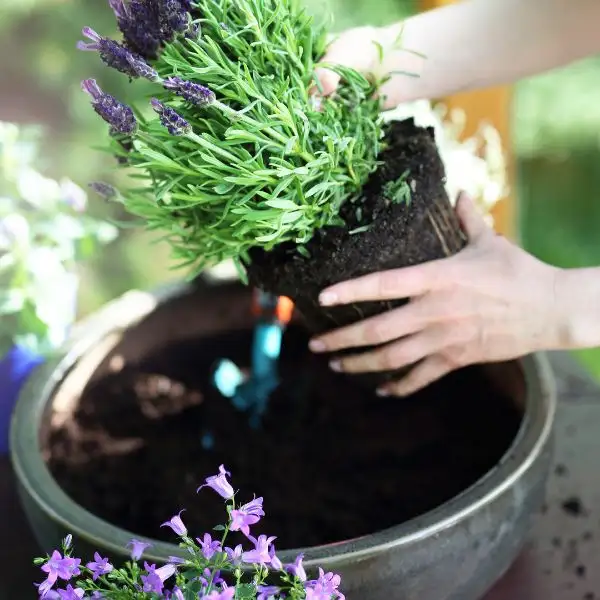
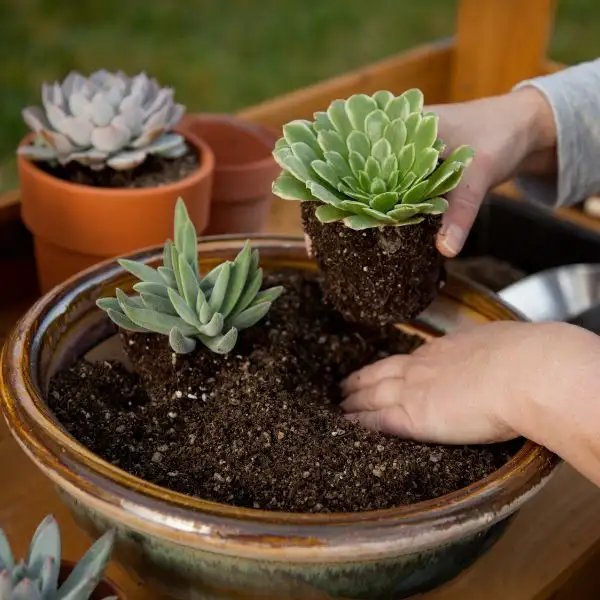
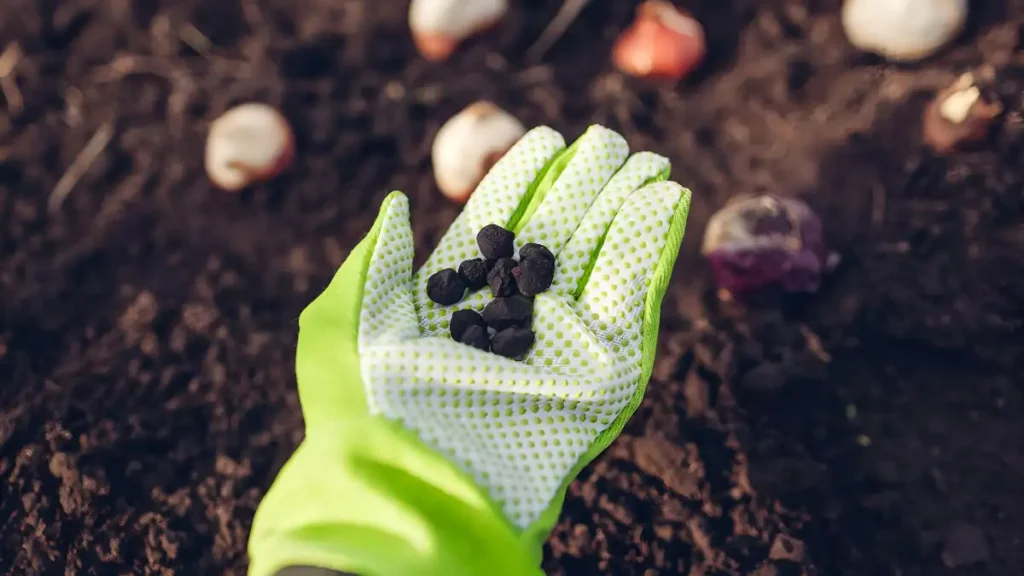
- Add organic matter, like compost or manure, to the garden soil and make sure it has enough drainage. The pH needs of different types of herbs vary. For window boxes, hanging baskets, and containers, use premium, well-draining soil like Proven Winners Premium Potting Soil.
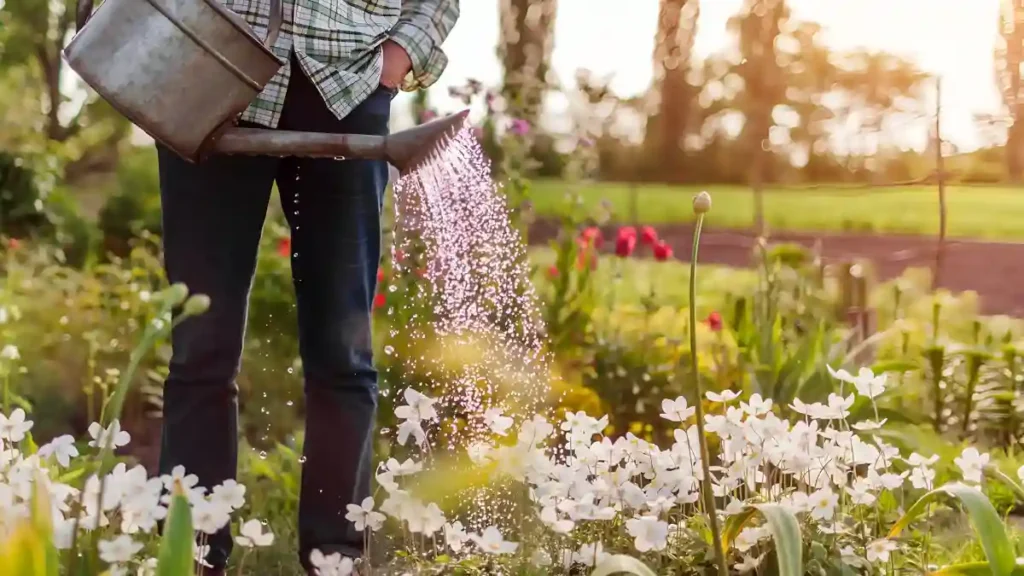
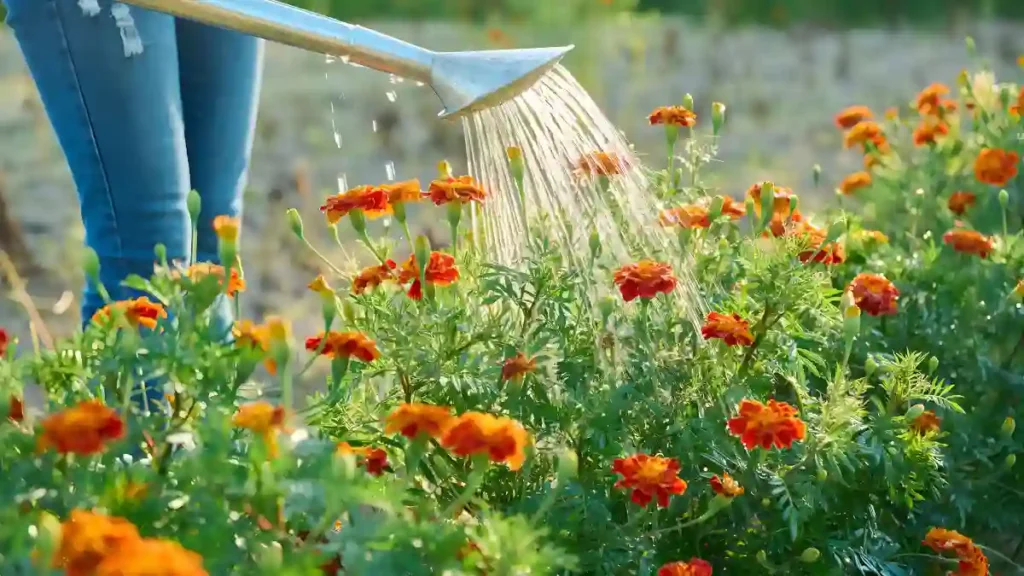
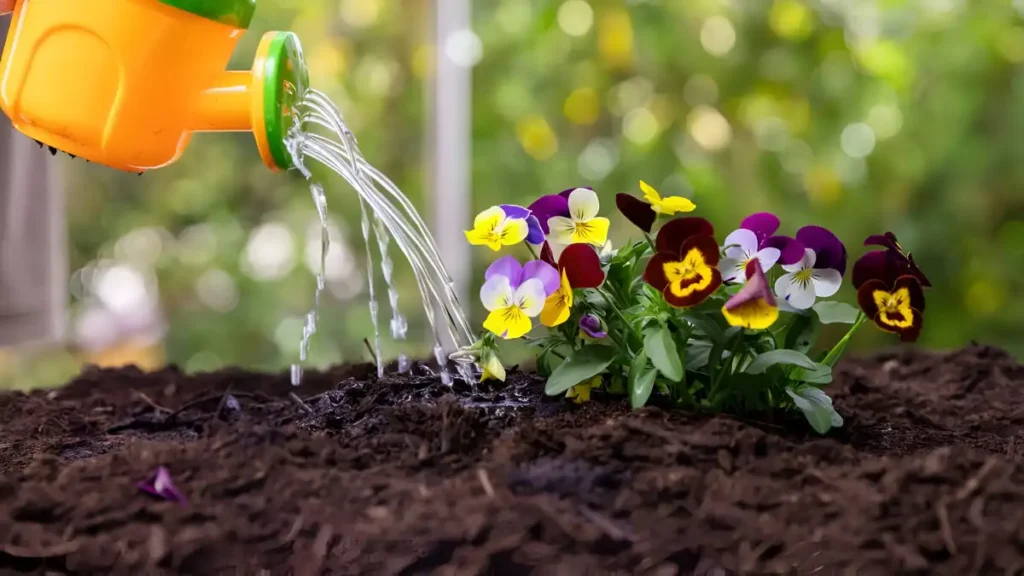
- Herbs grown outdoors can need to be watered more frequently, particularly in hot, dry weather. Make sure to keep the soil uniformly moist but not soggy by giving it regular, deep watering.
- The majority of herbs require little to no additional fertilizer. When planting, incorporate a slow-acting fertilizer into the soil, such as cottonseed meal, blood meal, or bone meal fertilizer spikes; add more water-soluble fish emulsion as needed.
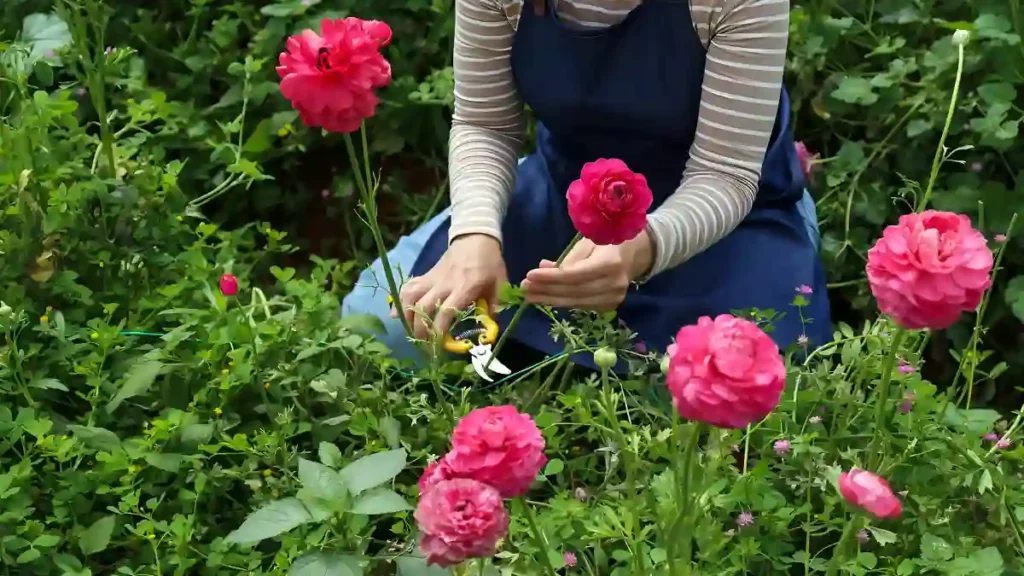
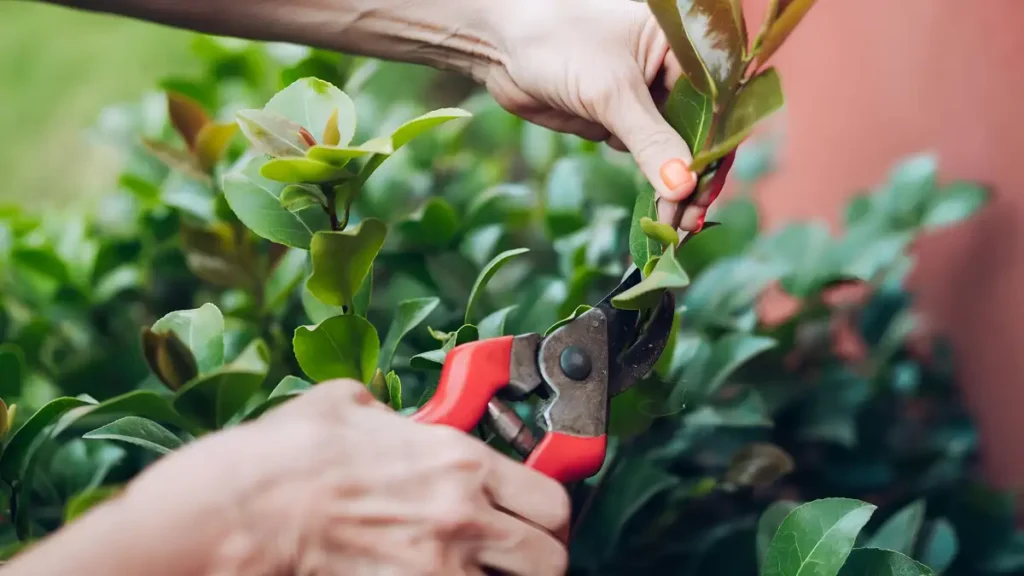
- For the best flavor, pluck outdoor herbs in the morning when their essential oils are concentrated, and trim them frequently to encourage bushy growth and prevent legginess.
Conclusion:
To sum up, there are a few important aspects that need to be considered when learning how to grow herbs. These tips can help you maintain a healthy herb garden that will bring you fresh flavor and aromatic delights all year long, whether you want to grow it indoors or out. Growing herbs is a fun and satisfying project, whether you’re using them to make tea with freshly picked mint or as a garnish for foods made with basil.
Certainly! If you’d like to learn more, please consider following our WhatsApp Channel, Facebook, Instagram, YouTube, Twitter, and Pinterest.
A frequently asked questions:
Q1: How do I prevent pests and diseases in my indoor herb garden?
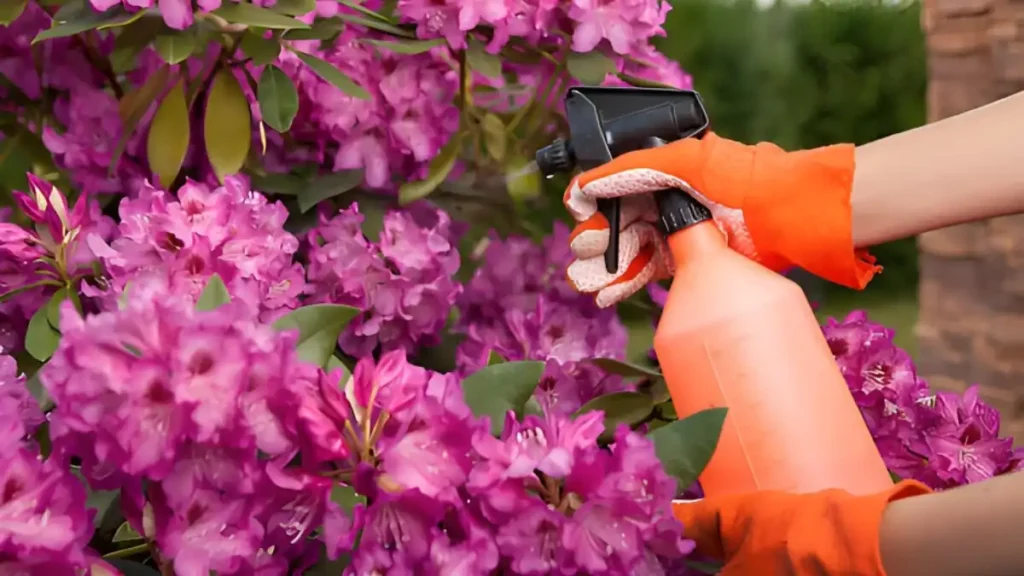
A1: To prevent fungal illnesses, regularly check herbs for pests, keep the indoor garden area clean, apply neem oil or insecticidal soap, and refrain from overwatering.
Q2: How to grow herbs in winter?
A2: If you want to cultivate herbs in the winter, you can use grow lights or indoor pots placed near windowsills that receive plenty of sunlight to ensure good growth.
Q3: How often should I water my outdoor herb garden?
A3: Water when the top inch of soil feels dry to the touch since herbs enjoy slightly moist soil. Watering strongly and seldom is preferable to watering softly every day.