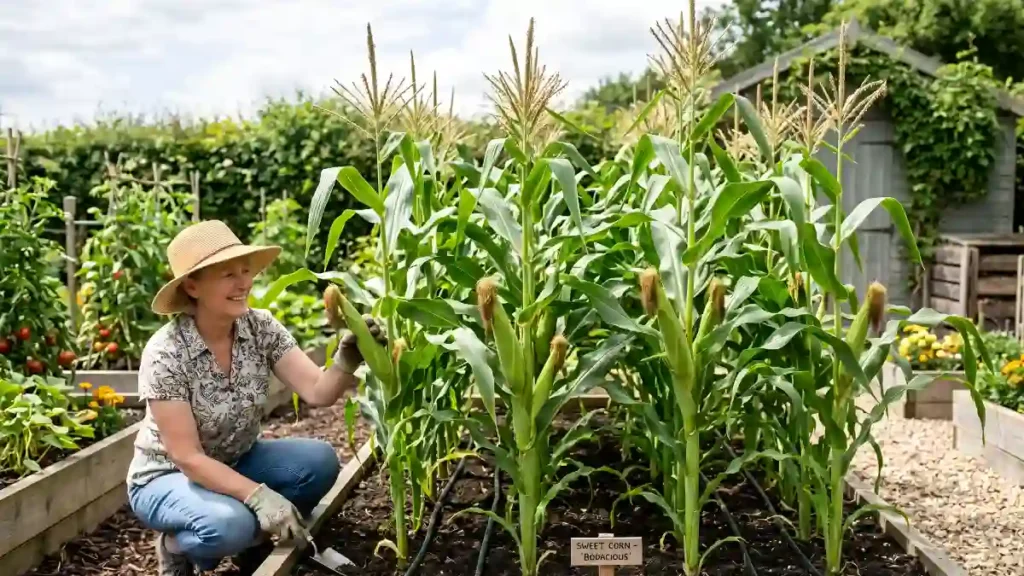
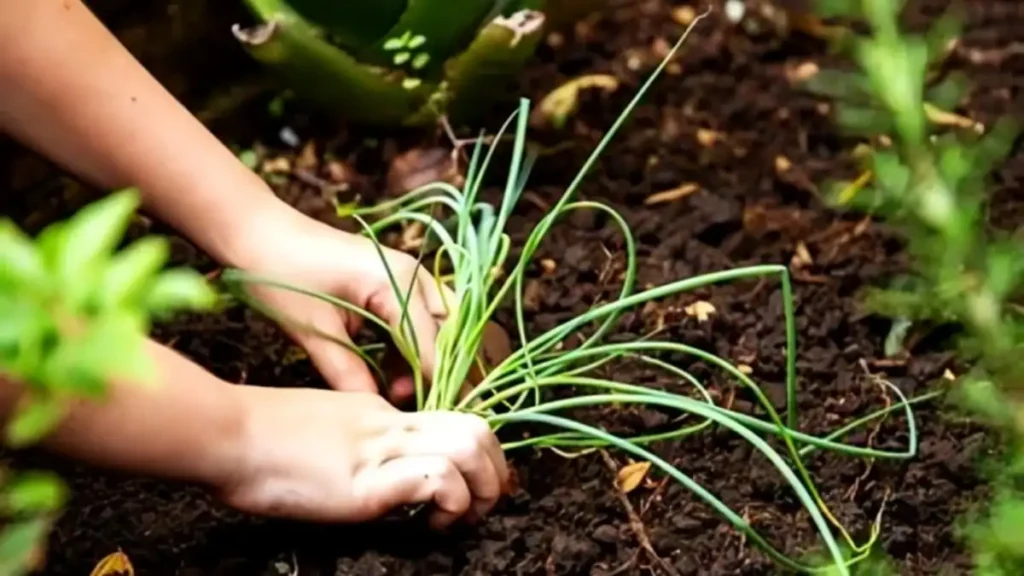
Imagine harvesting fresh, flavour-packed greens in just 7–14 days — no backyard, no experience, no fuss. That’s the magic of microgreens. Chefs pay premium prices for them. Nutritionists rave about their density. And the best part? You can grow them on a kitchen windowsill for pennies per tray.
Whether you’re a first-time grower or looking to level up your indoor gardening game, this guide covers everything you need to know about how to grow microgreens from seed to harvest — with zero guesswork.
What are microgreens (And why should you care)?
Microgreens are the seedling stage of vegetables and herbs, harvested just after the first true leaves appear — typically between 1 and 3 inches tall. They’re not sprouts (which are grown in water and eaten root-to-seed) and they’re not baby greens (which are older).
They are at the nutritional sweet spot. According to research, certain microgreens have up to 40 times more nutrients than their mature counterparts, such as vitamins C, E, and K, as well as antioxidants and beta-carotene.
Popular varieties include:
- Sunflower — crunchy, nutty, filling
- Pea shoots — sweet, delicate, brilliant in salads
- Radish — spicy kick, ready in under 7 days
- Broccoli — mild flavour, loaded with sulforaphane
- Basil — aromatic, perfect for pastas and pizzas
- Amaranth — stunning magenta colour, earthy taste
What you need to grow microgreens
Before you start, gather your supplies. The great news: it’s a short, affordable list.
Essential equipment
Growing trays: Use shallow trays (1010 size is usual, approximately 10×10 inches). You’ll need two: one with drainage holes (for the seeds) and one solid tray beneath to catch water.
Growing medium: A decent potting mix or coconut coir works great. Avoid garden soil, since it compacts quickly and can harbor illness. Coconut coir is very clean and sustainable.
Seeds: Purchase seeds labeled particularly for microgreens or sprouting. Regular vegetable seeds also work, but untreated, organic seeds produce the cleanest results. Aim for 1-2 oz (28-56g) of seeds per 10×10 tray, depending on the type.
Light source: A sunny south-facing windowsill works for many varieties. For consistent, year-round growing, a simple LED grow light (even a cheap one) makes a significant difference. Aim for 12–16 hours of light per day.
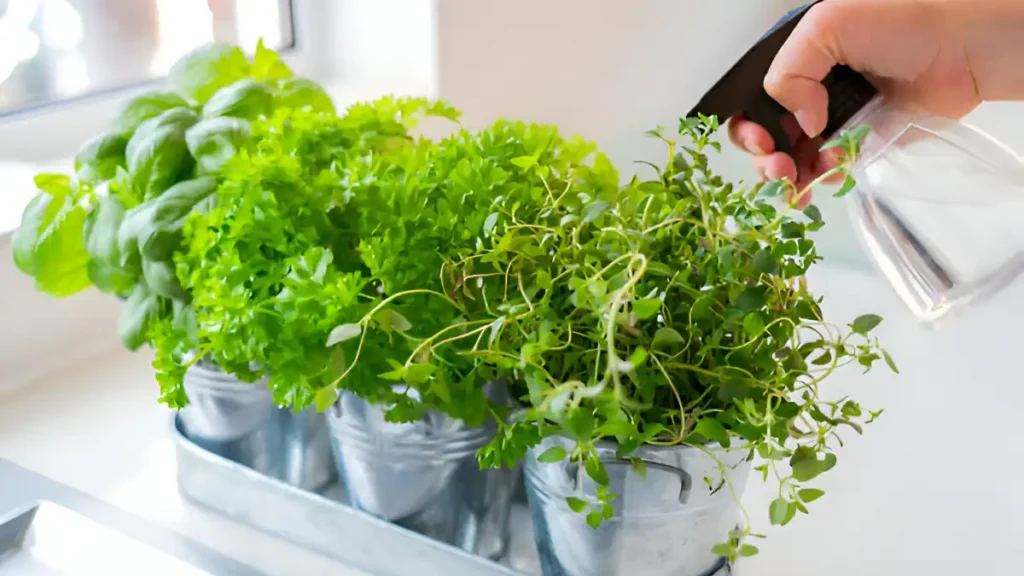
Spray bottle: For gentle, even watering during germination without disturbing seeds.
A weight or cover: A second tray or a dark lid used to press seeds down and encourage germination (the “blackout method”).
Optional but helpful
- A small fan for airflow (reduces mould risk)
- pH strips if you’re using tap water (aim for pH 6.0–7.0)
- A kitchen scale for precise seeding
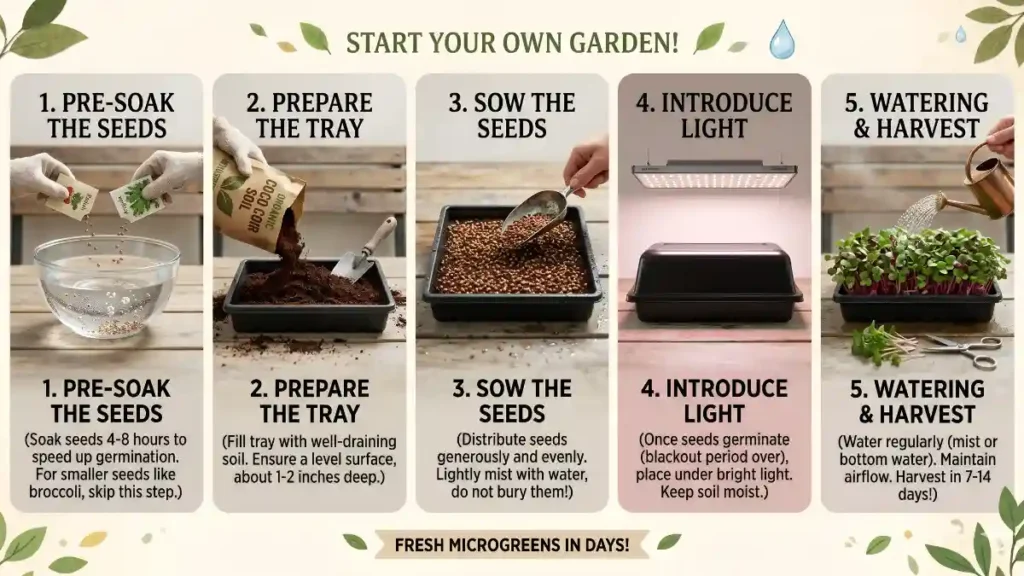
How to grow microgreens: Step-by-Step
Step 1: Pre-soak your seeds (Optional but recommended)
Larger seeds, such as sunflower, peas, and beets, benefit from an 8-12 hour soak before planting. This weakens the seed coat, accelerating germination. Small seeds, such as radish or broccoli, do not require soaking.
Soak the seeds in room temperature water and thoroughly clean them thereafter.
Step 2: Prepare your tray
Fill your tray (with holes) with 1-1.5 inches of wet growth material. Press it down gently so the surface is flat and even — not compacted, just firm. An uneven surface causes uneven germination.
Step 3: Sow your seeds
Scatter seeds evenly across the surface of the growing medium. Aim for a dense single layer — seeds should be close together but not piled on top of each other. Different varieties have different seeding rates:
| Variety | Seeds per 10×10 Tray |
| Radish | 1 oz (28g) |
| Broccoli | 0.5 oz (14g) |
| Sunflower | 2 oz (56g) |
| Pea shoots | 3 oz (85g) |
| Basil | 0.5 oz (14g) |
Step 4: The blackout period (Days 1–4)
Place your solid tray on top of the seeded tray and weight it (a full water bottle works well). This causes darkness and downward pressure, like what occurs beneath. It promotes healthy root formation and straight stem growth.
Maintain a warm environment, ideally 65-75°F (18-24°C). Check once a day and spray if the surface seems dry.
After 2-4 days, you’ll notice seeds pushing up against the top tray, which is your cue to proceed to the next phase.
Step 5: Introduce light (Days 4–10)
Remove the cover tray and transfer your microgreens to the light source. At this point, they will be pale and slightly leggy (etiolated), which is just typical. After being exposed to light for 12 to 24 hours, they will quickly become green thanks to photosynthesis.
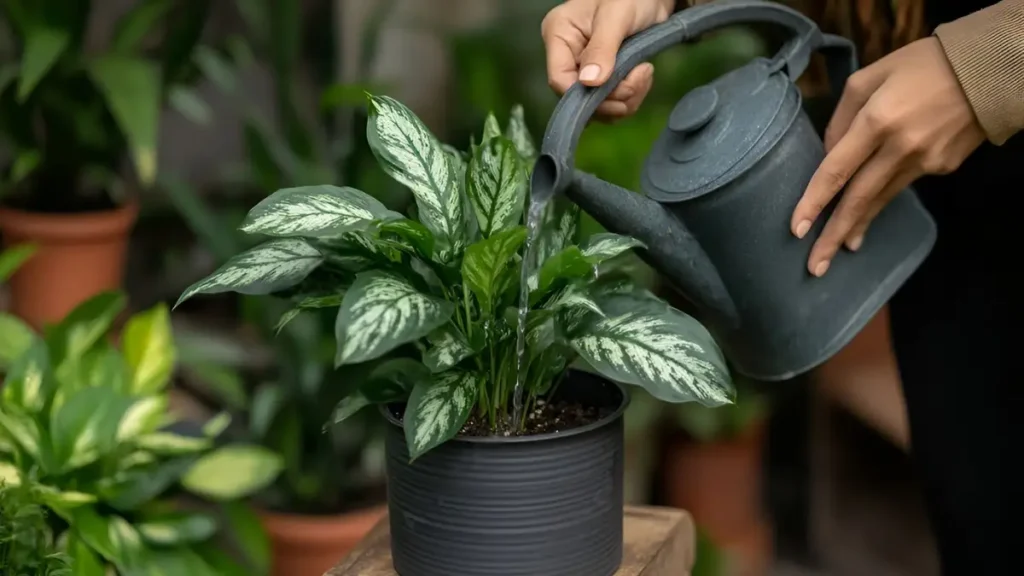
Watering method switch: From this point, bottom-water your tray instead of misting. Pour water into the solid bottom tray and let the growing medium absorb it upward. This keeps leaves dry, dramatically reducing the risk of mould.
Water once or twice each day, depending on how rapidly the medium dries.
Step 6: Watch and wait (Days 7–14)
Most microgreens are ready to harvest when they reach 1-3 inches in height and the first real leaves (the second to develop) have just begun to emerge. The cotyledons, or seed leaves, should be completely open and a rich, brilliant green.
Taste one to see! The flavor peaks shortly before the actual leaves fully mature.
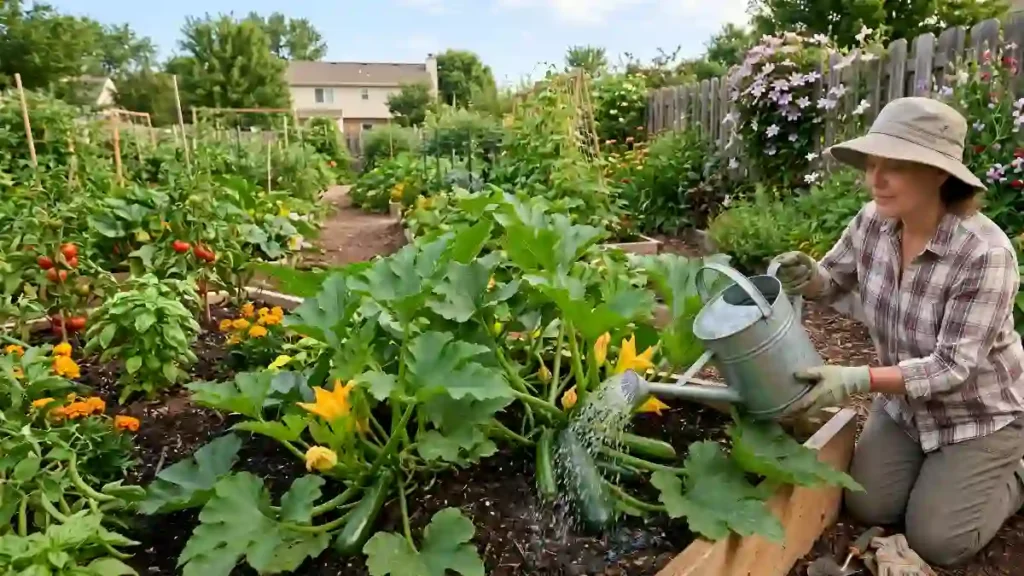
How to harvest microgreens
Harvesting is the most satisfying part. Use sharp, clean scissors or a knife and cut the stems just above the soil line. Aim to harvest all at once rather than in stages — microgreens don’t regrow well after a full harvest.
Rinse and spin dry before eating or storing.
Storage: Wrap loosely in a paper towel, place in an airtight container, and refrigerate. Most microgreens stay fresh for 5–7 days.
Troubleshooting common microgreen problems
Mould on the growing medium
Cause: Overwatering, poor airflow, or seeds too densely packed.
Fix: Switch to bottom-watering, introduce a small fan, and reduce seeding density next time.
Leggy, weak stems
Cause: Not enough light, or the blackout period extended too long.
Fix: Move closer to your light source or add a grow light. Remove the cover tray as soon as seeds are pushing against it.
Uneven germination
Cause: Uneven seed spread, dry patches in the medium, or temperature fluctuations.
Fix: Level your growing medium carefully before seeding and ensure consistent warmth.
Seeds not germinating
Cause: Old seeds, seeds too cold, or growing medium too dry or too wet.
Fix: Buy fresh seeds from a reputable supplier, keep the tray at 68°F+ (20°C+), and ensure consistent moisture during the blackout phase.
Best microgreens for beginners
If you’re just starting out, these five varieties are fast, forgiving, and delicious:
1. Radish — Fastest grower (5–7 days), spicy and satisfying. Perfect for testing your setup.
2. Sunflower — Big, crunchy, nutty cotyledons that are deeply satisfying to eat. Kids love them.
3. Pea Shoots — Surprisingly sweet, they bulk out salads and stir-fries beautifully.
4. Broccoli — Mild tasting with exceptional nutritional credentials. Germinates reliably.
5. Mustard — Peppery punch, vivid green, and incredibly fast-growing.
The nutritional power of microgreens: What the science says
You’ve definitely heard that microgreens are “super nutritious” – but what exactly does that imply, and is it supported by evidence?
A landmark research published in the Journal of Agricultural and Food Chemistry (2012) examined 25 commercially available microgreens and discovered that the majority had much greater amounts of vitamins and carotenoids than their mature plant counterparts. Red cabbage microgreens, for example, were discovered to have 6 times more vitamin C and 69 times more vitamin K than mature red cabbage.
Key nutrients found in microgreens
Vitamin C — critical for immune function and skin collagen production. Found in high concentrations in red cabbage, broccoli, and radish microgreens.
Vitamin K — essential for blood clotting and bone health. Amaranth and red cabbage microgreens are among the richest sources.
Vitamin E — a powerful antioxidant that protects cells from oxidative stress. Sunflower and cilantro microgreens are particularly rich.
Beta-carotene — the precursor to vitamin A, important for eye health and immune response. Carrot, fennel, and beet microgreens are excellent sources.
Sulforaphane — a potent bioactive compound found in broccoli family microgreens, extensively studied for its potential anti-cancer, anti-inflammatory, and detoxifying properties.
Lutein and Zeaxanthin — carotenoids strongly linked to reduced risk of age-related macular degeneration (AMD) and cataracts. Found in pea shoots, spinach, and kale microgreens.
The reason microgreens are so nutritionally packed for their small size is due to nature. During germination, the seed uses all of its stored energy and nutrients to drive rapid initial development. The seedling stage is simply a concentrated package containing everything the plant requires to launch, which is precisely what you’re ingesting.
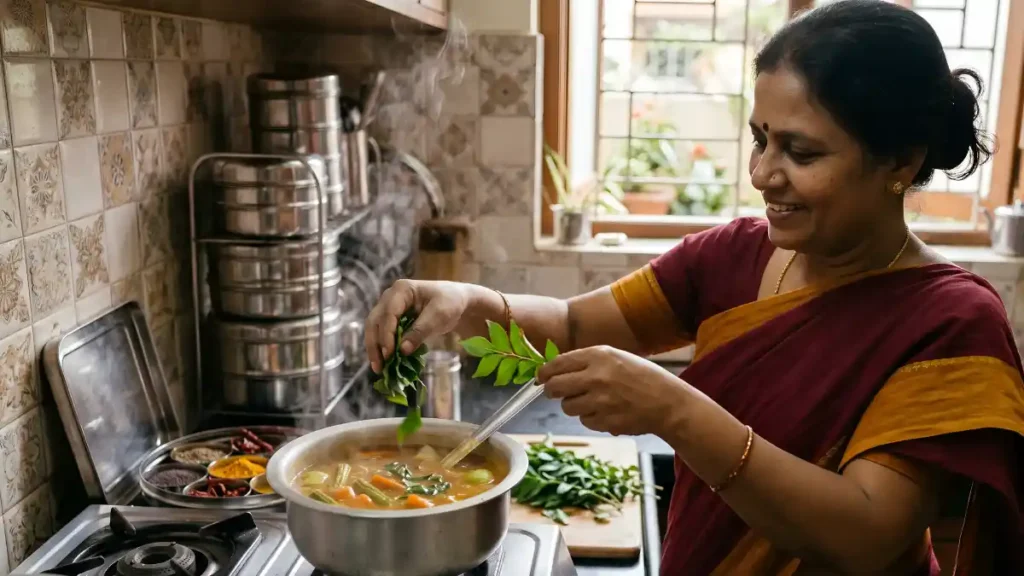
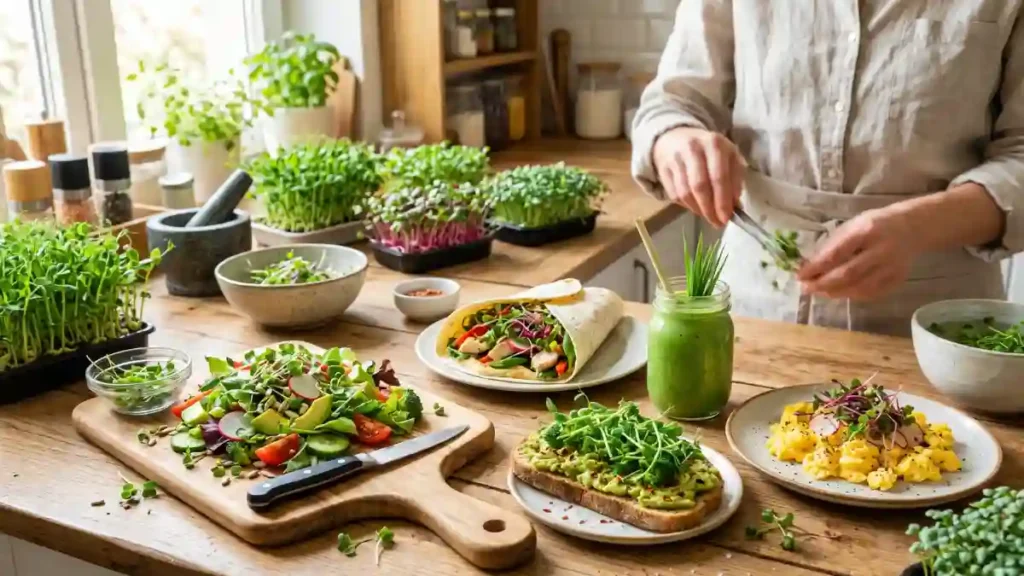
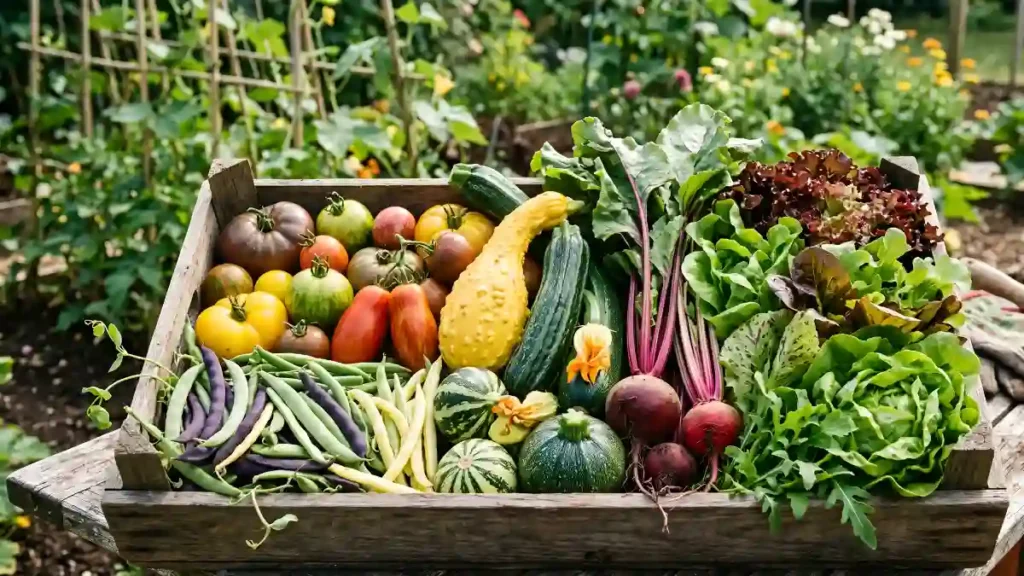
How to use microgreens in your kitchen
Growing microgreens is only half the story. Knowing how to actually eat them transforms your cooking.
Raw applications (Where they shine most)
Salads: Microgreens work as either a base or a garnish. Sunflower and pea shoots provide enough body to anchor a full salad. Radish, mustard, or watercress microgreens add a peppery top note to milder leaves.
Sandwiches and wraps: A handful of broccoli or alfalfa microgreens instantly upgrades a sandwich — adding texture, nutrition, and a fresh green flavour without the bulk of full lettuce.
Smoothies: Mild varieties like pea shoots or sunflower blend invisibly into fruit smoothies and add genuine nutritional value without changing the flavour.
Eggs: Scatter microgreens over scrambled eggs or an omelette the moment they come off the heat. The residual warmth wilts them slightly — just enough.
Avocado toast: A classic pairing. Radish microgreens on avocado toast have become a cafe staple for good reason.
Light cooking applications
Microgreens lose some heat-sensitive nutrients (particularly vitamin C) when cooked, but remain nutritious and delicious when used as a last-minute addition to hot dishes.
Soups: Stir into the bowl right before serving — the heat wilts them down like spinach.
Stir-fries: Add pea shoots or sunflower microgreens in the final 30 seconds. They soften quickly and absorb surrounding flavours.
Pasta and risotto: A small handful stirred in at the end adds colour and a mild freshness that contrasts beautifully with rich, creamy sauces.
Pizza: A favourite among chefs — bake the pizza normally, then pile fresh arugula or radish microgreens on top immediately before serving.
Microgreen pairings by variety
| Microgreen | Flavour Profile | Best Paired With |
| Radish | Spicy, peppery | Avocado, cured meats, Asian dishes |
| Sunflower | Nutty, crunchy | Salads, wraps, hummus bowls |
| Pea shoots | Sweet, fresh | Stir-fries, soups, smoothies |
| Broccoli | Mild, earthy | Eggs, sandwiches, grain bowls |
| Basil | Aromatic, sweet | Pizza, pasta, caprese |
| Amaranth | Earthy, mild | Salads, decorative garnish |
| Mustard | Hot, pungent | Tacos, curries, cheese boards |
| Beet | Sweet, earthy | Goat cheese, citrus dressings |
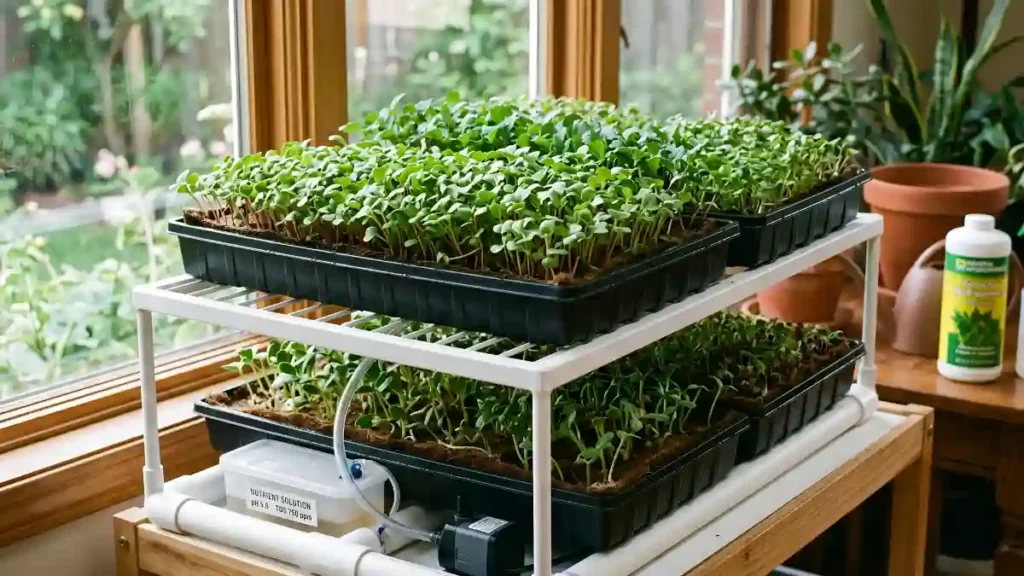
How to grow microgreens hydroponically
Soil is not the sole choice. Hydroponic microgreen cultivation, which uses water and a growing mat rather than soil, is gaining popularity because to its cleanliness, uniformity, and quickness.
What is hydroponic microgreen growing?
Instead of a soil-based growth medium, seeds are grown on a customized mat (hemp, jute, or coconut fibre) submerged in a shallow pool of water. The roots drink straight from the reservoir, so there is no dirt to bother with.
Advantages
Cleaner: No soil mess. Harvested greens are cleaner at the root end and easier to rinse.
Faster: Some growers report 10–20% faster germination and growth in hydroponic systems, as roots access water immediately without having to search through a growing medium.
Lighter: Soil trays are heavy. Hydroponic mats are minimal in weight — ideal if weight is a concern on shelving.
Less mould risk: Good-quality growing mats have naturally lower mould susceptibility than some soil mixes if managed correctly.
Disadvantages
Cost: Growing mats cost more per tray than bulk potting mix or coconut coir.
Nutrients: Soil provides trace minerals that water alone doesn’t. Some growers add a diluted hydroponic nutrient solution to the reservoir to compensate — though for the short grow cycle of microgreens, it’s rarely necessary.
Learning curve: Getting water levels right in a hydroponic tray requires more attention than soil-based growing, at least initially.
Conclusion:
Learning how to grow microgreens is one of the most rewarding, lowest-barrier ways to produce real food at home. No outdoor space. No green thumb required. Just a tray, some seeds, water, and a little light, and within two weeks you’re harvesting something genuinely nutritious and delicious.
Whether you grow a single tray on your kitchen counter or build a shelf system that feeds your whole household (and maybe a local restaurant), the fundamentals never change: healthy seeds, clean medium, moisture, darkness, then light. That’s the whole system.
Start with one tray of radish this weekend. You’ll be hooked by harvest day. And a month from now, you’ll wonder how your kitchen ever functioned without them.
Certainly! If you’d like to learn more, please consider following our WhatsApp Channel, Facebook, Instagram, YouTube, Twitter, and Pinterest.
Frequently asked questions about how to grow microgreens
Q1: Do microgreens need sunlight?
A1: Microgreens need bright light but not necessarily direct sunlight. A south-facing windowsill works well in summer, but an inexpensive LED grow light provides more consistent results year-round, especially in winter or darker climates.
Q2: Can you grow microgreens without soil?
A2: Yes. Microgreens grow well in coconut coir, hemp mats, jute mats, or even paper towels for very small batches. These soil-free media are clean, lightweight, and ideal for beginners.
Q3: How much does it cost to grow microgreens at home?
A3: A basic starter setup — two trays, a bag of coconut coir, and a packet of seeds — costs around £10–£20 / $12–$25. Each subsequent tray costs only the price of seeds and growing medium, typically under £1–$1.50 per harvest.


 Is Missing")