")
Walk into any stir-fry restaurant, salad bar, or Asian grocery store, and you’ll spot those small, pale-yellow, finger-shaped vegetables stacked neatly in cans, jars, or fresh produce bins. That’s baby corn — a crunchy, mildly sweet vegetable that has quietly become one of the most versatile ingredients in global cooking.
Unlike regular corn, baby corn is collected before the kernels mature, so you can consume the entire cob — husk removed, no shelling required. It’s low in calories, high in fibre, and lends a delicious crunch to stir-fries, salads, and pickles.
In this guide, we’ll cover everything you need to know about baby corn: what it actually is, its nutritional profile, health benefits, how to cook it, how to grow it at home, and answers to the most commonly asked questions.
What is baby corn?
Baby corn is exactly what it sounds like: young, immature corn picked just a few days after the silk (the thread-like strands) develop, usually when the ear is only 4 to 10 centimetres long. The kernels have not yet grown, thus the entire cob is soft enough to eat whole.
Is baby corn a separate plant species?
This is among the most popular myths. Baby corn is not a genetically different plant than regular corn. It is usually derived from the same Zea mays species that produces regular sweet corn or field corn. Farmers either utilise baby-corn cultivars developed for early harvesting or just select conventional corn plants early, before the ears grow into the corn we see on the cob.
How is baby corn different from regular corn?
| Feature | Baby Corn | Mature Corn |
| Harvest time | 1–3 days after silk emerges | 60–100 days after planting |
| Texture | Crisp, tender, edible whole | Firm kernels, fibrous cob |
| Taste | Mild, slightly sweet, nutty | Sweet, starchy |
| Preparation | Eaten whole (no shelling) | Kernels removed or eaten off cob |
| Common use | Stir-fries, salads, pickles | Side dish, cornmeal, popcorn, ethanol |
Nutritional profile of baby corn
Baby corn is often praised as a “guilt-free” vegetable, and the nutrition numbers back that up. Here’s an approximate breakdown per 100 grams of raw baby corn:
- Calories: 26–30 kcal
- Carbohydrates: 5–6 g
- Protein: 2 g
- Fat: 0.2 g
- Fiber: 2 g
- Water content: Around 90%
Vitamins and minerals in baby corn
Baby corn contains meaningful amounts of:
- Vitamin C – supports immune function and skin health
- Folate (Vitamin B9) – important for cell growth and especially valuable during pregnancy
- Potassium – helps regulate blood pressure and fluid balance
- Magnesium – supports muscle and nerve function
- Iron – contributes to oxygen transport in the blood
- Antioxidants – including small amounts of beta-carotene and phenolic compounds
Because it’s harvested so early, baby corn has far fewer calories and less starch than mature corn, making it a popular choice for people watching their carbohydrate or calorie intake.
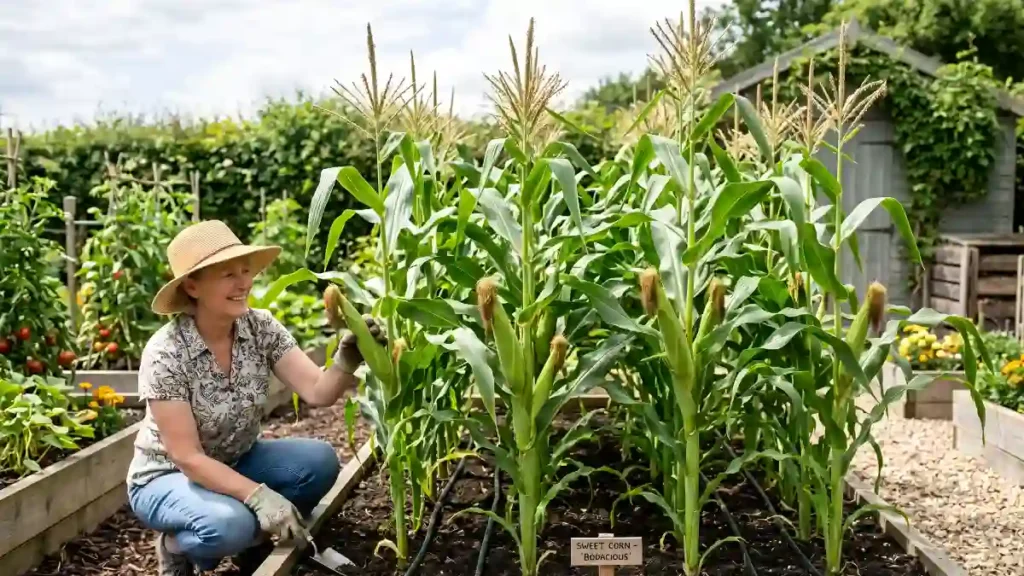
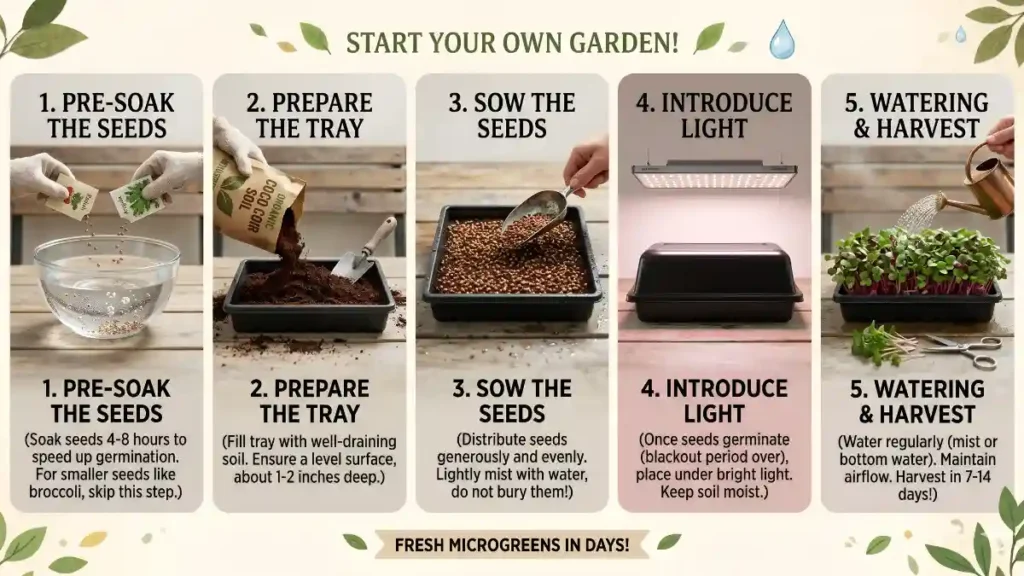
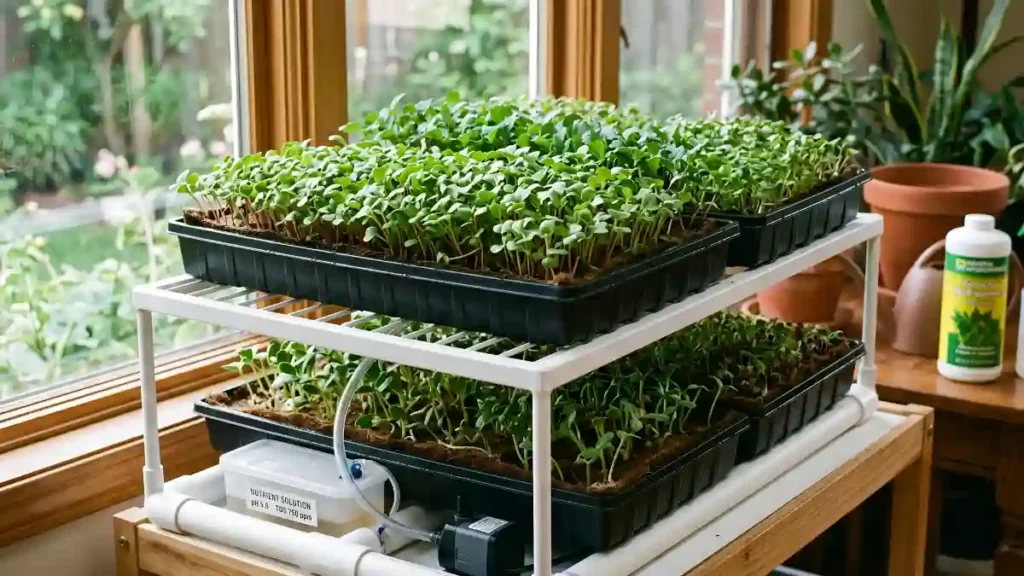
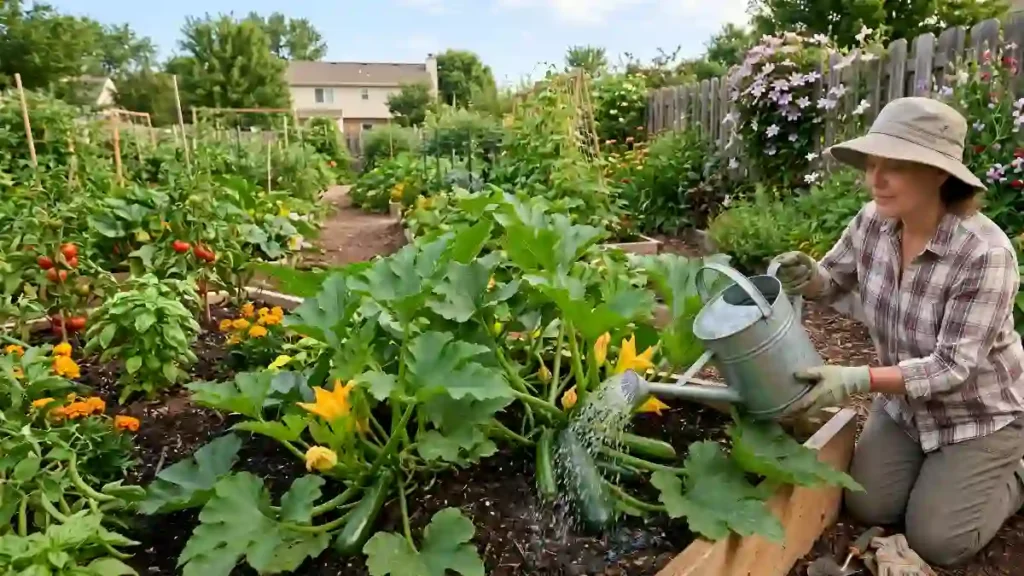
How to grow baby corn at home
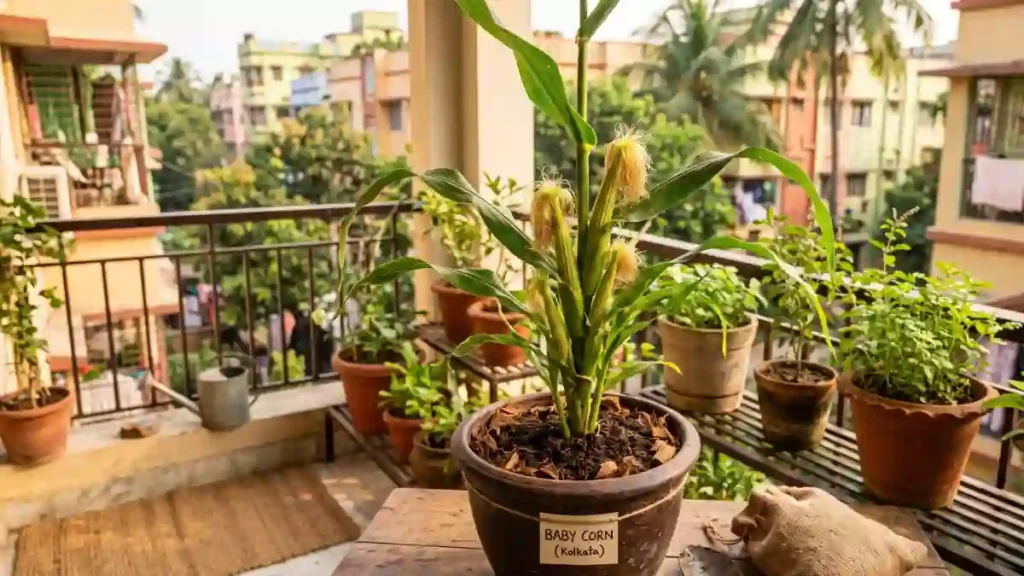
If you have a vegetable garden, growing your own baby corn can be surprisingly rewarding — and faster than growing full-sized corn.
Growing conditions
- Soil: Well-drained, fertile soil with a pH between 5.5 and 7.5
- Sunlight: Full sun, at least 6–8 hours daily
- Spacing: Plant seeds closer together than regular corn (about 15–20 cm apart) since you’re harvesting early
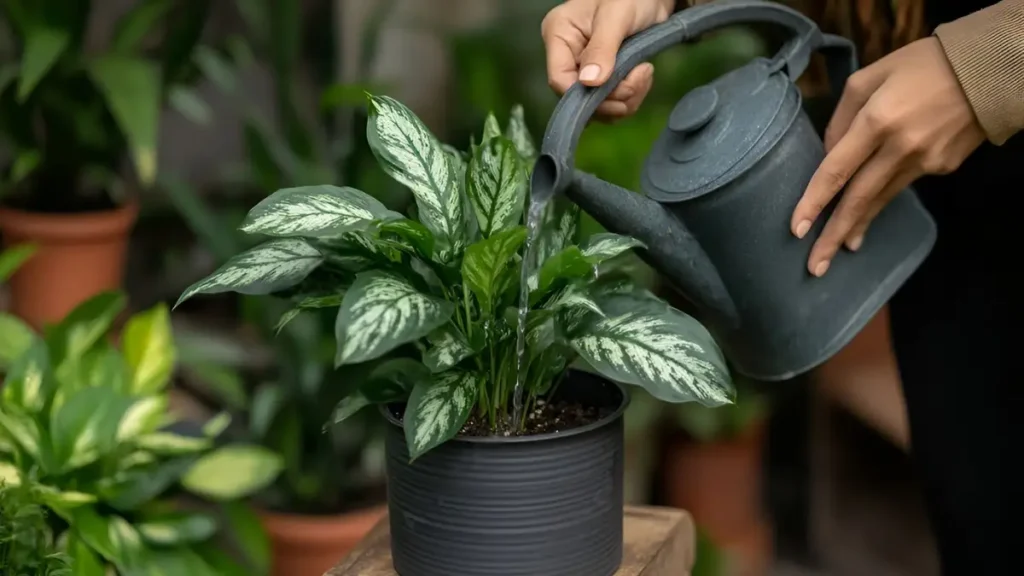
- Watering: Regular, consistent watering, especially during silking
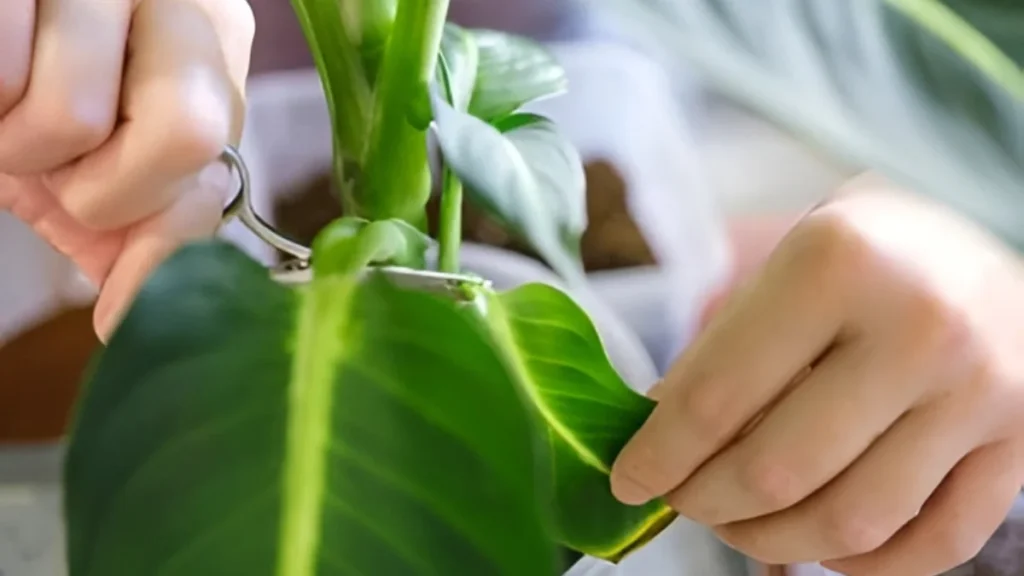
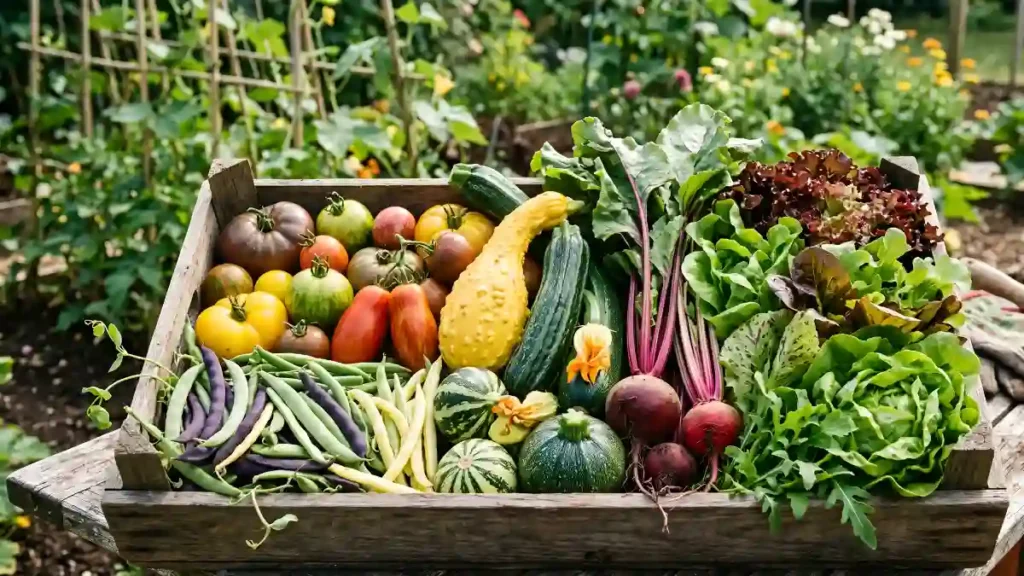
Harvesting baby corn
The key to perfect baby corn is timing. Harvest the ears within 1 to 3 days of the silk’s first appearance; waiting even a week results in overdeveloped kernels that lose their trademark sensitive bite. Check plants frequently after silking begins, as the harvest window is limited.
Health benefits of baby corn
1. Supports weight management
Baby corn, with its low calorie density and high water and fibre content, can help you feel full without adding considerably to your daily calorie count. It’s an excellent addition to salads, soups, and stir-fries for anyone watching their weight.
2. Aids digestive health
The fibre in baby corn promotes regular bowel movements and nourishes healthy gut bacteria. A healthy gut microbiota is increasingly associated with improved immunity, metabolism, and mood control.
3. May help regulate blood sugar
Because baby corn contains less starch than mature corn, it has a more benign influence on blood sugar levels. With its fibre content, it can be a reasonable choice for persons watching their glycaemic response — though portion size and preparation manner remain important.
4. Promotes heart health
Baby corn has both potassium and magnesium, which help to maintain good blood pressure. Fibre also helps to control cholesterol levels, which benefits overall cardiovascular health.
5. Supports eye health
Baby corn has both potassium and magnesium, which help to maintain good blood pressure. Fibre also helps to control cholesterol levels, which benefits overall cardiovascular health.
6. Good for skin and immunity
Vitamin C plays a dual role — it supports collagen production for skin health and strengthens the immune system’s ability to fight off infections.
7. Pregnancy-friendly nutrient: folate
Folate is required during early pregnancy to ensure appropriate foetal neural tube development. While baby corn should not be used as a substitute for prenatal nutrition, it can be a delicious way to increase folate intake.

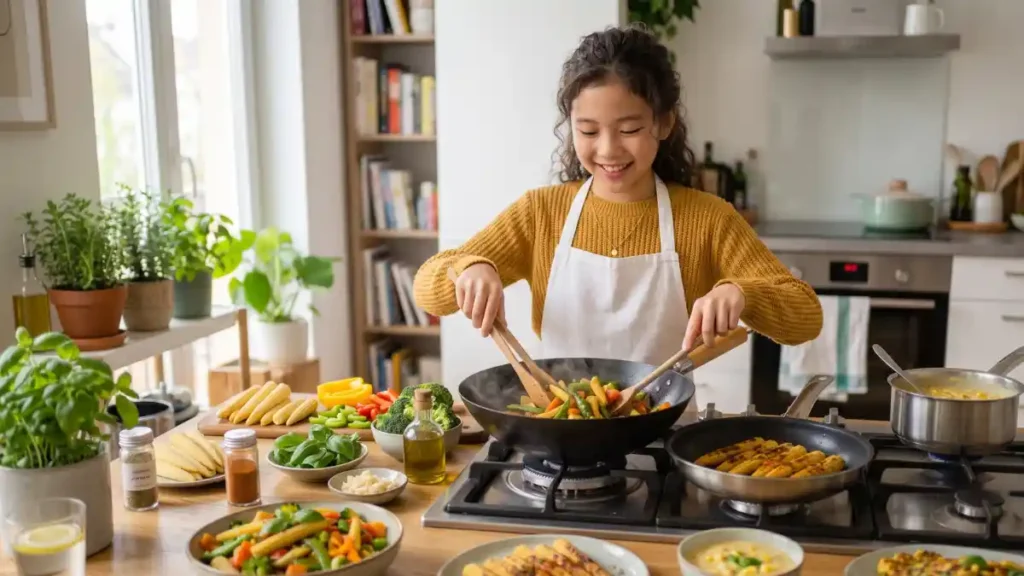
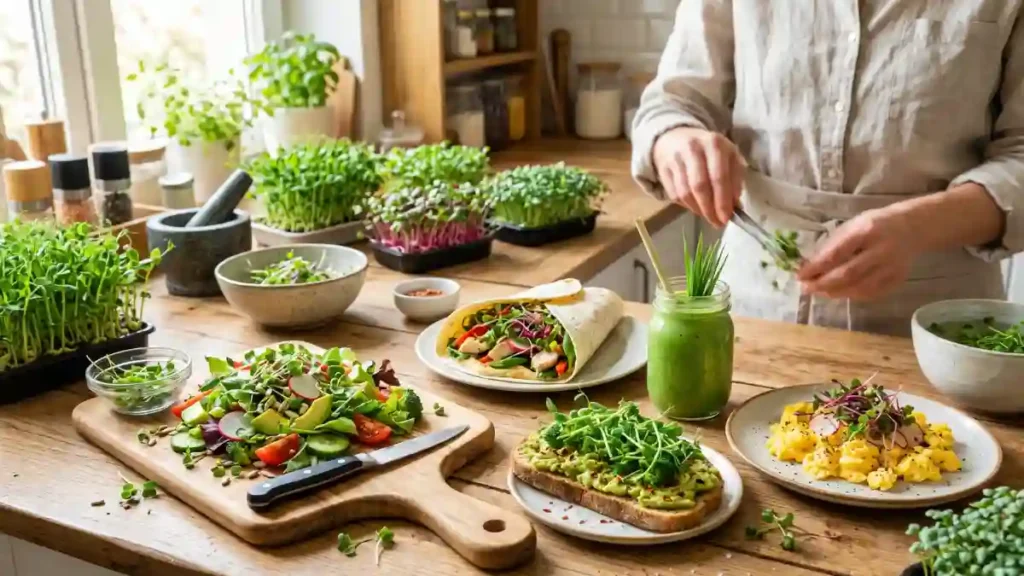
How to cook baby corn
One of the main reasons why baby corn is so popular is its adaptability. It absorbs flavours effectively, retains crunch long after cooking, and requires little preparation.
Basic preparation
- Rinse fresh or canned baby corn under cool water.
- Trim the stem end if using fresh cobs.
- Slice diagonally for stir-fries, leave whole for salads or skewers, or halve lengthwise for a more elegant presentation.
Popular cooking methods
Stir-Frying Baby corn is a staple in Chinese and Southeast Asian stir-fries. Toss it with garlic, ginger, soy sauce, bell peppers, and your choice of protein for a quick, crunchy meal.
Steaming or Blanching Lightly steaming baby corn (2–3 minutes) preserves its crunch and bright color while softening it slightly for salads or crudité platters.
Grilling or Roasting Brushed with oil and grilled over medium heat, baby corn develops a lightly charred, smoky flavor — excellent as a side dish or skewered with vegetables.
Frying Battered and deep-fried baby corn, often served with a spicy dipping sauce, is a popular appetizer in Indo-Chinese cuisine.
Pickling Baby corn pickles well due to its firm texture, making it a great addition to relishes, antipasto platters, or as a tangy snack.
Simple recipe idea: Garlic baby corn stir-fry
Ingredients:
- 200g baby corn, halved lengthwise
- 1 tbsp oil
- 3 cloves garlic, minced
- 1 tbsp soy sauce
- 1 tsp chili flakes (optional)
- Spring onions for garnish
Method:
- Heat oil in a wok over high heat.
- Add garlic and sauté for 30 seconds until fragrant.
- Add baby corn and stir-fry for 3–4 minutes until slightly charred.
- Add soy sauce and chili flakes, tossing to coat evenly.
- Garnish with spring onions and serve hot.
Baby corn vs. Other popular vegetables
Baby corn vs. Sweet corn
Sweet corn is allowed to fully mature, resulting in plump, juicy kernels rich in natural sugars. Baby corn, on the other hand, is harvested before it reaches maturity, resulting in a significantly lower sugar and calorie content but a firmer, crunchier texture.
Baby corn vs. Water chestnuts
Both are famous in Asian stir-fries due to their crunch, but they are from completely different plant families. Water chestnuts are aquatic tubers, and baby corn is an immature cereal crop. Baby corn has a milder flavour than water chestnuts, which are slightly sweeter and starchier.
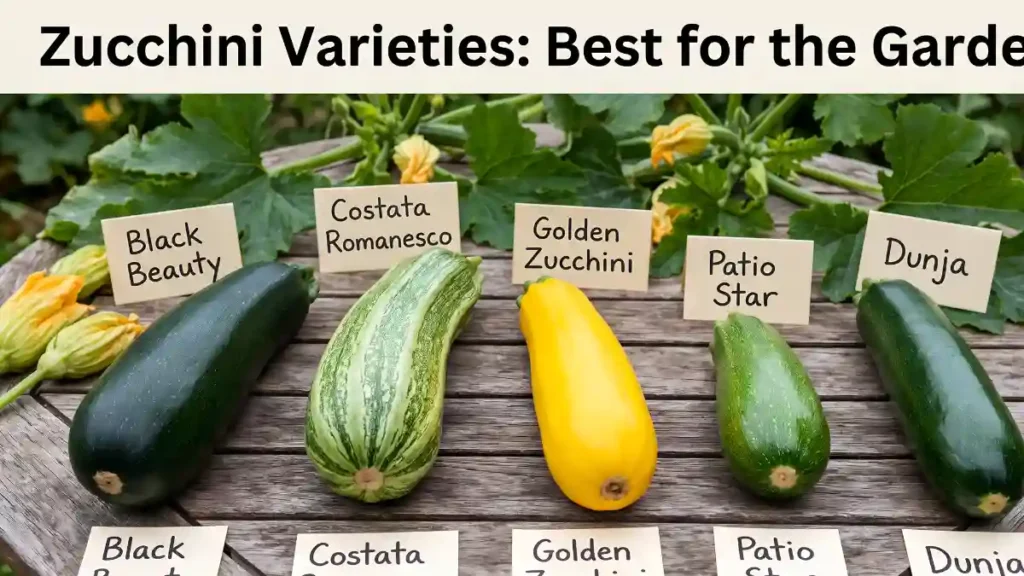
Baby corn vs. Zucchini
Both are low-calorie veggies that are commonly used as pasta or rice alternatives in health-conscious dishes, but baby corn has more fibre and has a notably crunchier texture than cooked zucchini.
Conclusion
Baby corn might be small, but it holds a big place in kitchens worldwide — thanks to its crunchy texture, mild sweetness, low-calorie profile, and impressive versatility across cuisines. Whether you’re tossing it into a quick stir-fry, adding crunch to a salad, or growing your own patch in the backyard, baby corn is an easy, nutritious ingredient worth incorporating into your regular rotation.
Its benefits extend beyond flavour, including weight management and heart health. So, the next time you go grocery shopping or design a garden, give baby corn the care it deserves.
Certainly! If you’d like to learn more, please consider following our WhatsApp Channel, Facebook, Instagram, YouTube, Twitter, and Pinterest.
Frequently asked questions about baby corn
Q1: Can you eat baby corn raw?
A1: Yes, baby corn can be eaten raw. It has a mild, slightly sweet, crunchy texture that works well in fresh salads, crudité platters, or as a snack straight from the jar if it’s pickled or canned.
Q2: Is baby corn good for weight loss?
A2: Baby corn is low in calories and high in water and fiber, which can help you feel full without consuming excess calories, making it a helpful addition to a weight-conscious diet when eaten as part of a balanced meal.
Q3: How long does baby corn take to grow?
A3: Baby corn is typically harvested very early, often within a few days of the silk first appearing on the ear — much sooner than the 60 to 100 days required for regular corn to fully mature.
Q4: Can diabetics eat baby corn?
A4: Baby corn has a lower starch content than mature corn, which generally makes it a more blood-sugar-friendly option. However, people with diabetes should monitor portion sizes and consult a healthcare provider regarding their overall diet.


 Is Missing")