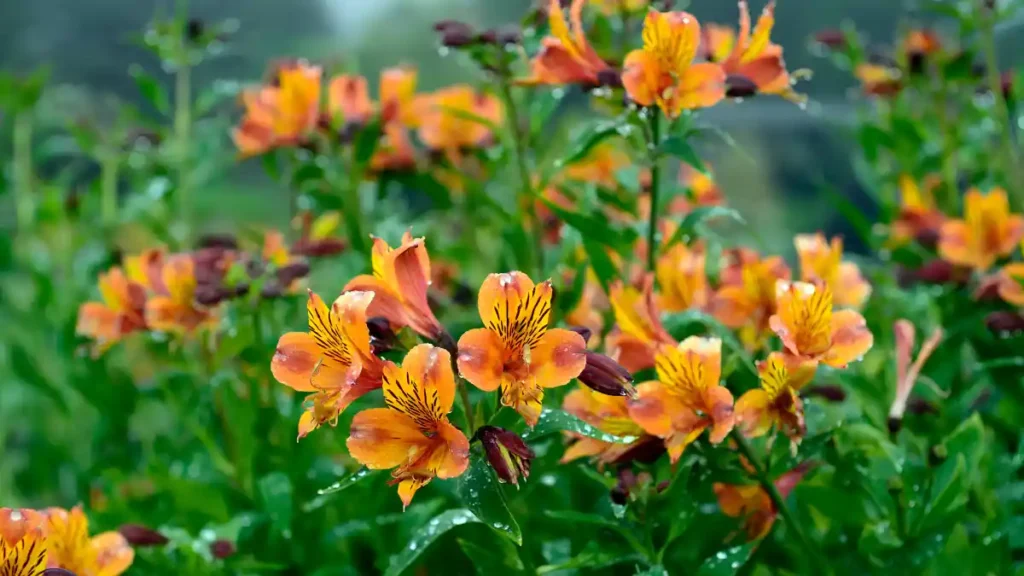
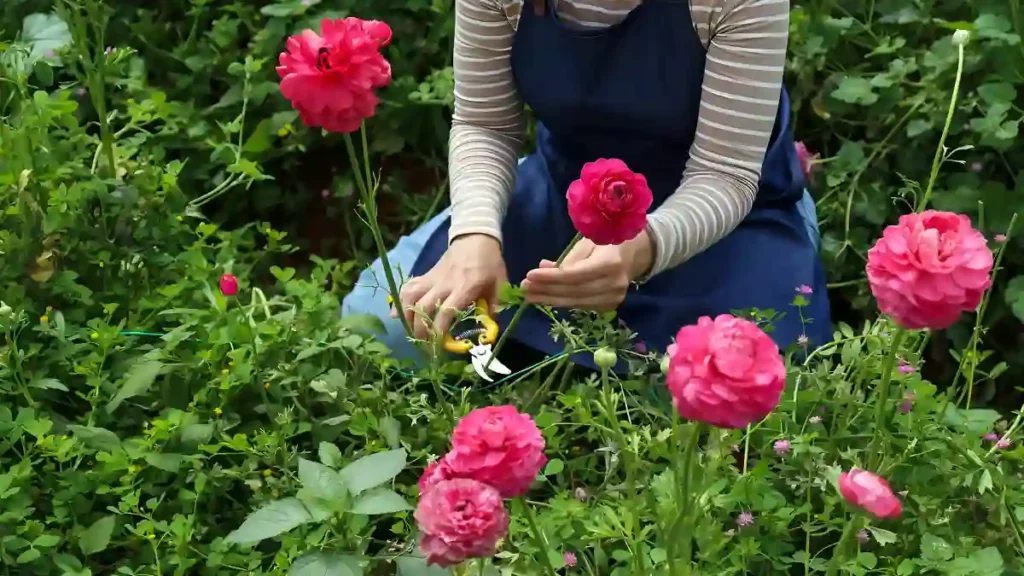
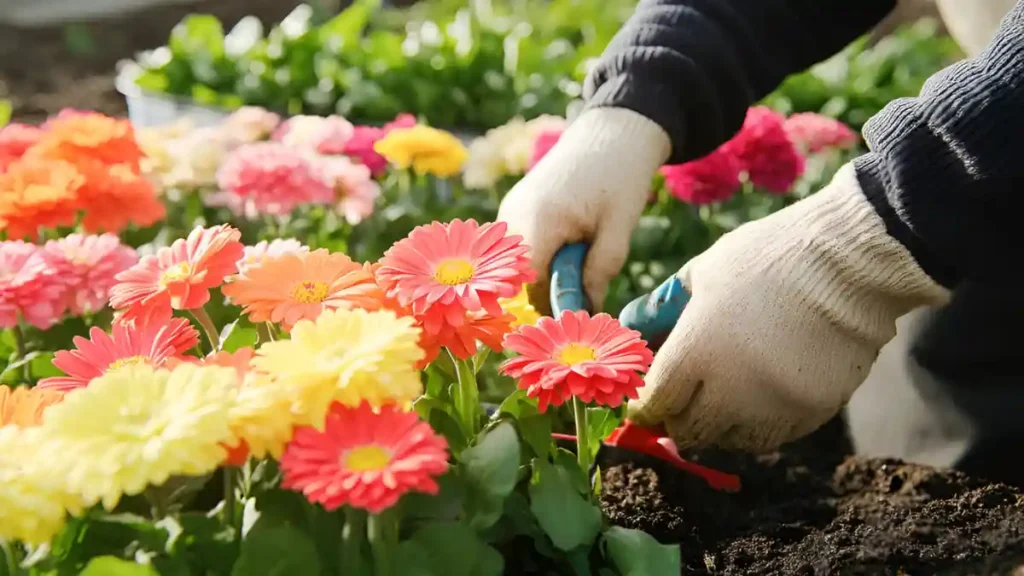
Gardeners who wish to quickly add greenery and beauty to their landscape should choose low maintenance outdoor plants. These plants need no fertilizer, watering, or trimming and can thrive in a range of environments. In the middle of a hectic schedule, they are ideal for people who want a lovely outdoor area. Well-drained soil is ideal for most of these plants, and they can tolerate some neglect. These trees will be covered in more detail below.
A low maintenance outdoor plants are one that thrives with little attention. It doesn’t demand frequent watering, pruning, or fertilizing. These plants adapt to different weather conditions and resist common pests — basically, they take care of themselves while still making your garden look vibrant.
Learn about low maintenance outdoor plants:
You can add color and foliage to a landscape with low maintenance outdoor plants that don’t need regular attention. These plants are fantastic for outdoor use.

1. Snake Plant (Sansevieria trifasciata)
The snake plant is nearly indestructible! With its upright, sword-like leaves, it adds modern flair to your garden or patio. It thrives in low light and can survive with minimal water — perfect for busy homeowners.
Care Tips:
Water only when the soil feels dry. Avoid overwatering to prevent root rot. This plant also helps purify the air naturally.
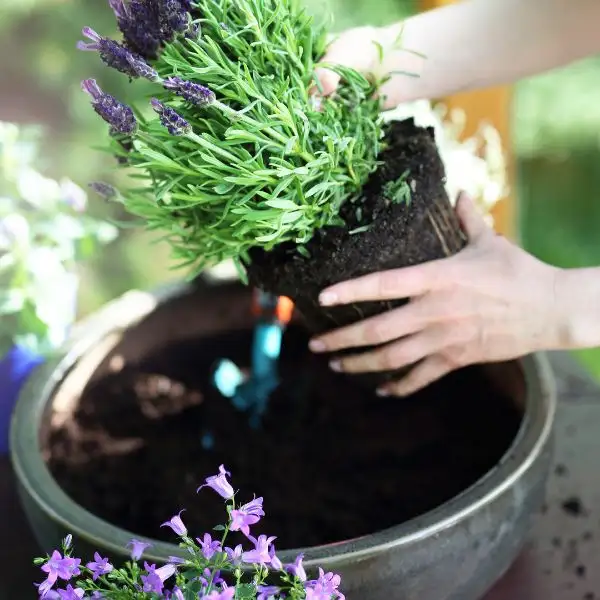
2. Lavender (Lavandula)
Who doesn’t love the calming scent of lavender? Beyond its fragrance, it’s a hardy, drought-tolerant plant that thrives in full sunlight. Lavender is best planted in the spring.
Ideal Growing Conditions:
Lavender loves well-drained soil and lots of sunlight. Once established, it needs watering just once a week or even less during cooler months.
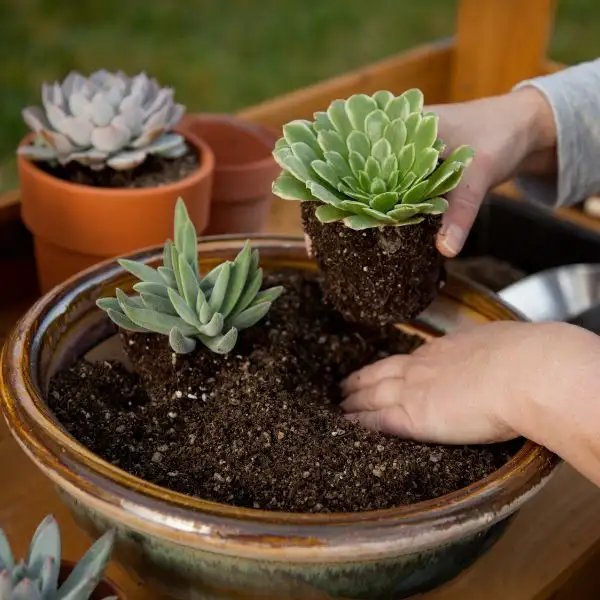
3. Succulents
Succulents come in all shapes and colors — and they’re the definition of “easy care.” Perfect for borders, rock gardens, or pots, they store water in their leaves, making them perfect for dry climates.
Watering & Sunlight:
Water sparingly — once every 10–14 days is often enough. They prefer bright light but can tolerate partial shade.
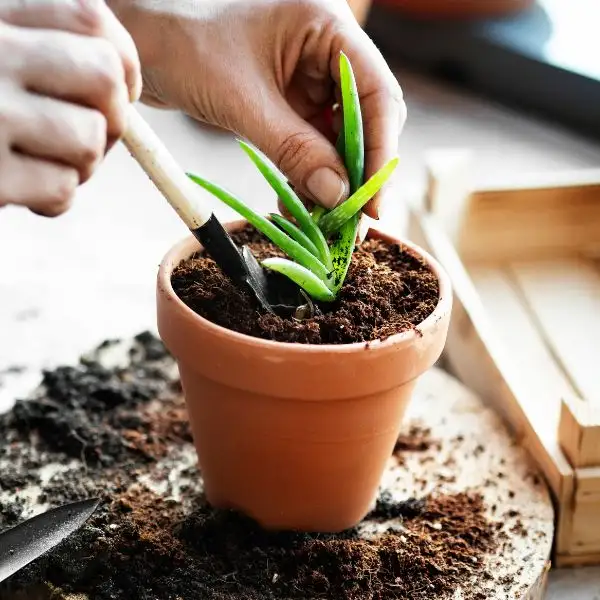
4. Aloe Vera
More than just a healing plant, Aloe Vera is a sun-loving & low maintenance wonder. Its fleshy green leaves store water, helping it withstand long dry spells.
Maintenance Guide:
Place it in a sunny spot, water occasionally, and watch it grow. It’s both functional and decorative — a real win-win!
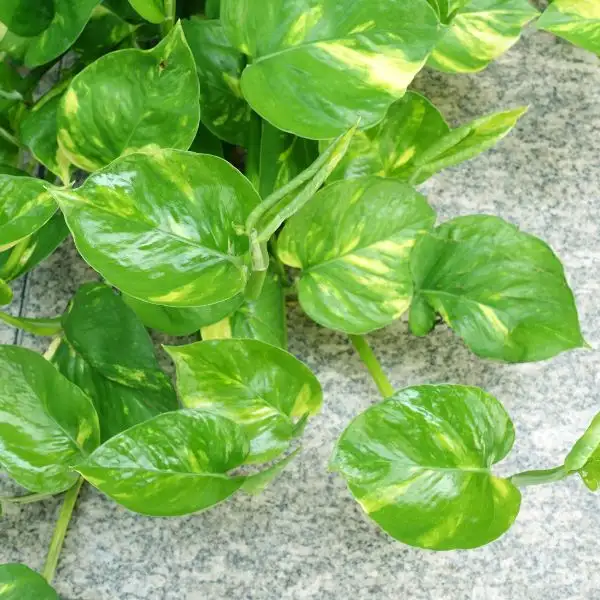
5. Money Plant (Pothos)
A classic favorite, Money Plant (or Pothos) is known for its heart-shaped leaves and adaptability. It can be grown in soil or even in water jars outdoors.
Propagation & Care:
Snip a stem and place it in water or moist soil — it’ll root easily! Keep it in partial sunlight for lush, trailing growth.
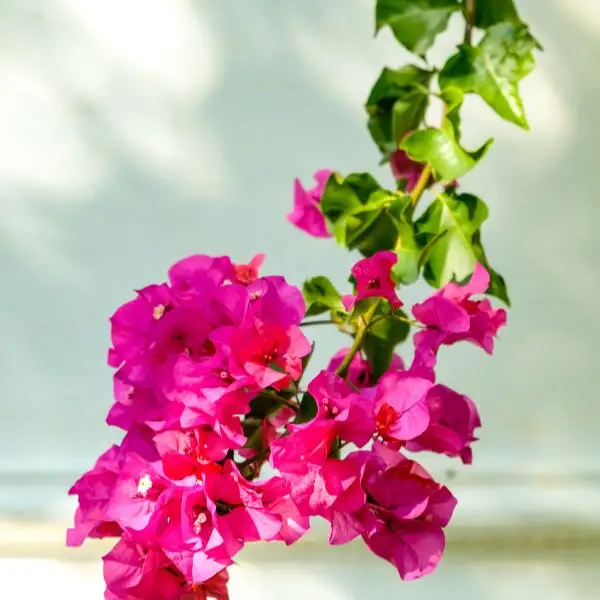
6. Bougainvillea
If you love vibrant color, Bougainvillea is your dream plant. Its paper-like blooms create a stunning backdrop, especially in warm, sunny areas.
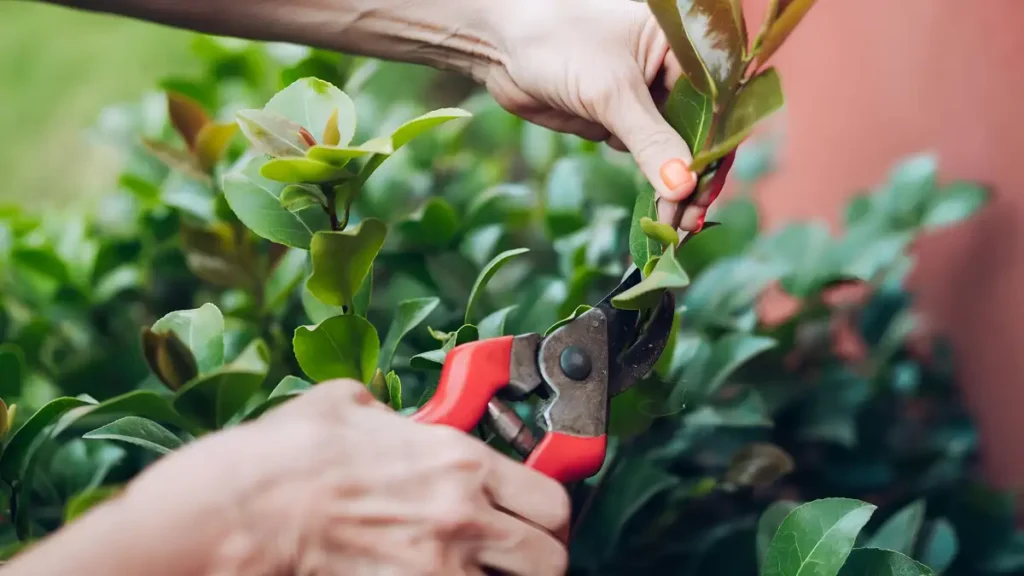
Pruning Tips:
Trim lightly after flowering to maintain shape. It’s drought-tolerant and thrives with minimal watering.
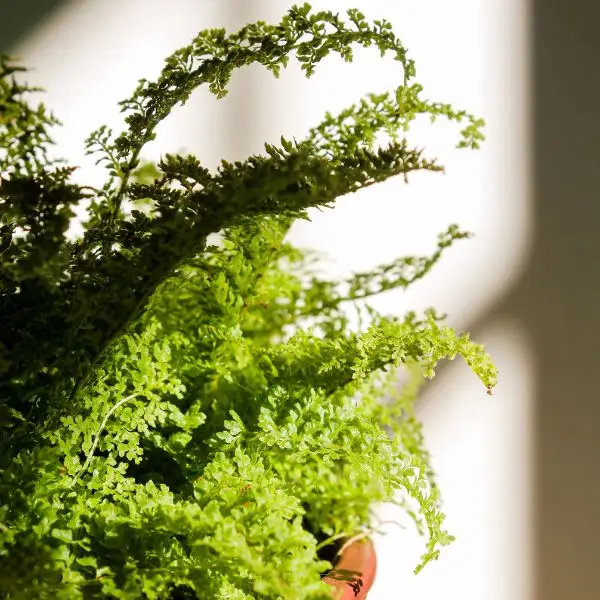
7. Ferns
Looking for greenery in shaded spots? Ferns are your answer. Their feathery fronds bring texture and freshness even in less sunny corners.
Moisture Management:
Keep soil slightly moist but not soggy. Ferns like humidity — a light mist now and then keeps them happy.
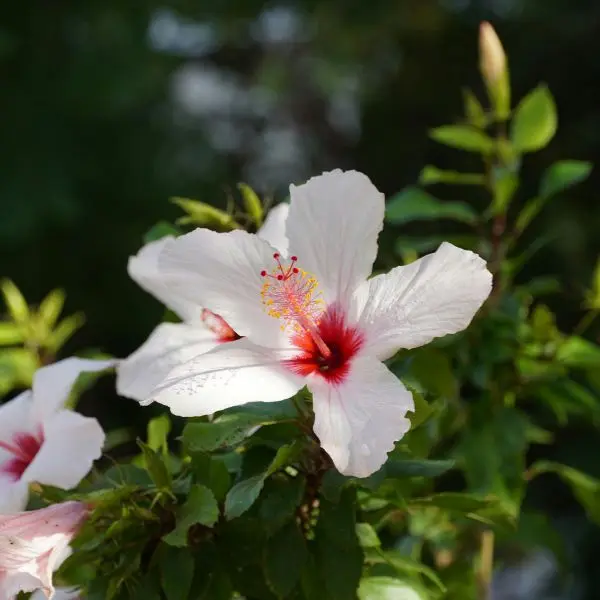
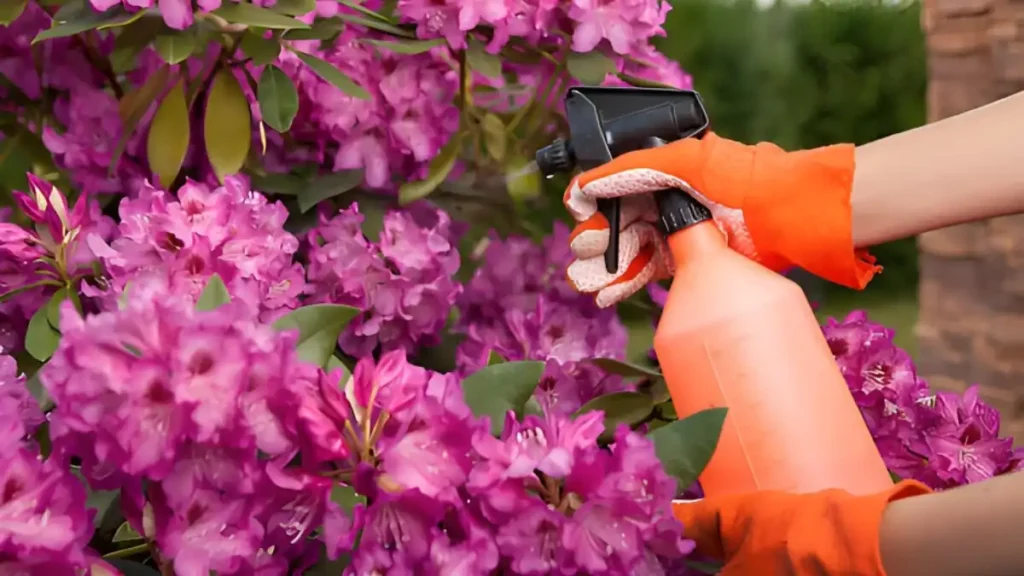
8. Hibiscus
For a tropical splash, Hibiscus is unbeatable. It offers large, colorful flowers that bloom almost year-round in warm climates. This is also low maintenance outdoor plants.
Flowering & Feeding:
Place it where it gets 4–6 hours of sunlight. Feed it with organic compost once a month to encourage vibrant blooms.
Conclusion:
In conclusion, anyone who wants to enhance their outdoor area without spending a lot of time gardening should choose low maintenance outdoor plants. Lavender, ornamental grasses, and succulents are drought-tolerant alternatives that require little maintenance. Using the following approach, you may create a beautiful, easy-to-maintain, and bright outdoor space by selecting hardy, adaptable outdoor plants appropriate for your local climate.
Certainly! If you’d like to learn more, please consider following our WhatsApp Channel: Harvest Gardening
A frequently asked questions:
Q1. What are the best low maintenance outdoor plants for sunny areas?
A1. Lavender and sedum are two of the best low maintenance garden plants for sunny locations. While sedum, a stonecrop, is drought-tolerant and adds texture with little maintenance, lavender grows best in full sun in dry circumstances.
Q2. What are the most realistic artificial outdoor plants?
A2. Green plants, flower arrangements, and palm trees that are artificial, the most lifelike artificial outdoor plants in a tree are these characteristics.
Q3. Which outdoor plants that don’t need sunlight?
A3. Many shade-loving plants, such as spider plants, hostas, and ferns, may survive outside with little sunlight. These plants can survive in low light levels.
Q4. What are full-sun, low-maintenance plants?
Q4. Full-sun, low maintenance plants can survive in direct sunshine for 6-8 hours every day with minimal care. They are great for gardeners seeking gorgeous landscaping solutions that do not require extensive watering, fertilization, or frequent maintenance.
Q5. What are fake outdoor plants?
A5. Fake outdoor plants are synthetic plants that are meant to look like real ones. They don’t grow or vary with the seasons, sov they look the same all year long.