Winter is a time when many gardeners long for spring. There are still many ways to keep your green thumbs occupied throughout the winter, though, if you want to start working on your spring garden or use nature-themed crafts to express your creativity.
Searching for winter garden ideas to add a lovely touch to your backyard despite the gloomy weather? It’s important to know that winter garden ideas can be just as fashionable, architectural, and bright as summer garden ideas. A garden doesn’t have to be drab and lifeless throughout the winter. With careful preparation and imaginative accents, your outdoor area can be transformed into a lovely, welcoming retreat throughout the year. To turn your location into a winter wonderland, try these 10 gorgeous winter garden ideas.
Below, we bring some outdoor winter garden ideas:
1. Evergreen foundation
Evergreens provide your garden structure and color all year long. Include plants like boxwood, juniper, and holly to keep your garden looking lush and healthy even during the coldest months. Use these plants to make hedges, topiaries, or decorative elements.
2. Seasonal blooms
Incorporate winter-flowering plants into your landscape to add vibrancy and color. Favorites like witch hazel, hellebores, and winter jasmine grow despite the cold, bringing visual interest and a hint of magic. These are the loveliest winter flowers.

3. Frosted beauty with ornamental Grasses
There are many different types of ornamental grasses, and if you learn how to grow them well, you’ll also find that they make great winter garden ideas because they keep their shape and shine when frozen. Snowfall should be removed as soon as possible since it might bend and break their stems, however they will swiftly recover in the spring.
4. Bird-friendly features
Winter is a challenging season for birds, so consider providing feeders, birdbaths, and nesting boxes. Winter garden ideas include bird homes and feeders, placed in areas where birds are unlikely to be preyed upon, benefiting local animals and adding excitement to your yard.
5. Winter containers and planters
Fill frost-resistant containers with hardy plants such as pansies, ornamental cabbages, and evergreen shrubs. Place them near entrances or along pathways to create a pleasant atmosphere.
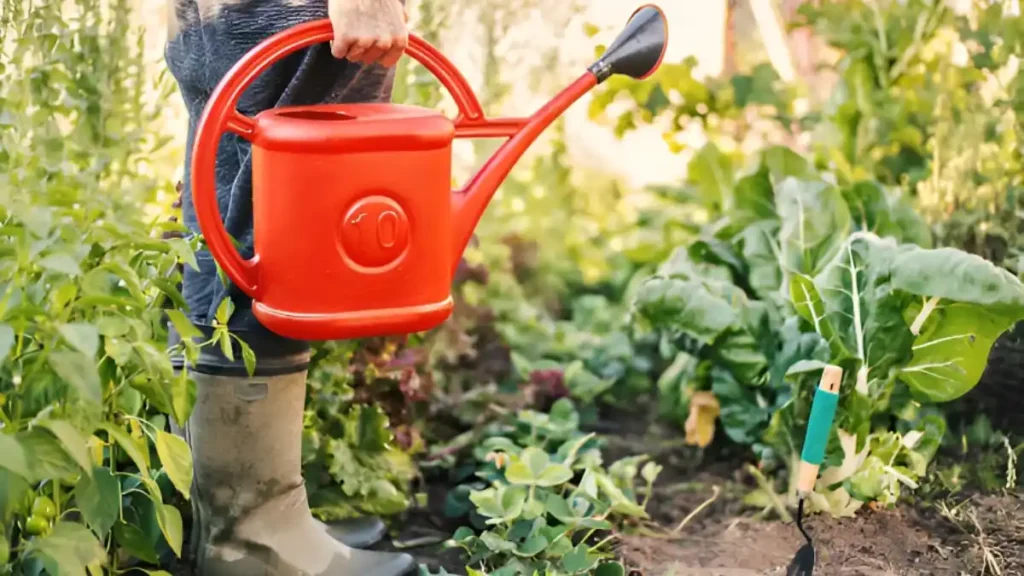
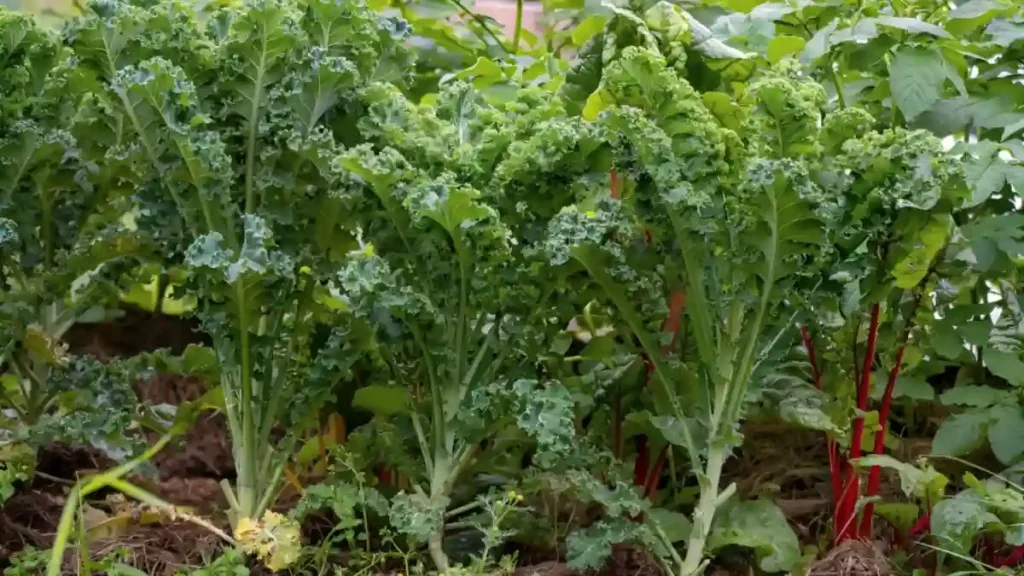
6. Winter vegetable garden
If you wish to garden with winter vegetables, don’t allow the season to keep you from growing your food. Kale, Brussels sprouts, and winter lettuce flourish in cold weather. To lengthen your growing season, consider using raised beds or cold frames.
Here are some beautiful indoor winter garden ideas:
An indoor winter garden adds greenery and warmth to your house during colder months. Utilize vertical planters or shelving, grow tough herbs like rosemary and thyme, and low-light plants like pothos and ferns. Use small potted evergreens or succulents for texture. Add grow lights for plant growth. Place the garden near a seating area and decorate it with string lights or candles.
Conclusion:
Creating a gorgeous winter garden is all about embracing the season’s distinct characteristics. These six greatest winter garden ideas can help you construct a lovely winter garden. With a combination of evergreen framework, seasonal accents, and smart design, your outdoor space can serve as a year-round oasis. Begin planning now, and by winter, your garden will be a stunning refuge.
Certainly! If you’d like to learn more, please consider following our WhatsApp Channel: Harvest Gardening
A frequently asked questions:
Q1: What are the best plants for a winter garden in South Africa?
A1: Indigenous species such as aloes, proteas, and ericas are ideal for a winter garden in South Africa since they flourish in the colder months and attract wildlife.
Q2: What lighting options can enhance a winter garden?
A2: To create a warm and inviting atmosphere during the dark winter months, consider using LED pathway lights, string lights, tree uplighting, and solar-powered garden lights.
Q3: What are some tips for maintaining a winter garden?
A3: Tips for winter gardening include mulching plants, watering sparingly but frequently, trimming dormant plants, and ensuring appropriate drainage to avoid frost damage.