Tag

Ideas

Browsing

How to start a vegetable garden? is a fruitful adventure that encourages a closer bond with nature and provides fresh products. Getting started in gardening may seem difficult to novices, but anyone can grow a healthy vegetable garden if they have the correct information and techniques. Here, we’ll provide six crucial tips on how to start a vegetable garden that will help you create a fruitful and lovely space.

1. Selecting the proper site: Matter of light, soil, and space

  • The first step towards a successful vegetable garden is choosing the right spot. Vegetables require six to eight hours a day of direct sunlight at the very least. Before selecting a location, note how much sun your yard receives in different parts of the day.
  • Soil quality is crucial for vegetable growth. Organic, well-draining soil is ideal for vegetables. A quick soil test can determine the ideal pH range of 6.0-7.0. To increase nutrient content, amend with compost, manure, or organic fertilizers.
  • Finally, ensure sufficient space for plants to grow, as crowded plants may need more competition for resources like light, water, and nutrients. Provide plants with space according to their specific requirements, as listed on seed packs or plant tags.

2. Provide your vegetable garden with careful thought

  • A flourishing garden requires a carefully thought-out arrangement. First, determine if you have enough area for raised beds, direct-to-ground planting, or container gardening. While container gardens are perfect for patios and balconies, raised beds provide greater drainage and soil control.
  • To increase yields and keep pests away from your crops, think about utilizing companion planting strategies when designing your layout. For example, growing basil close to tomatoes enhances their flavor and keeps harmful insects away. In a similar vein, marigolds planted next to crops like beans and carrots can help keep worms away.
  • Implementing a crop rotation strategy can maintain soil health by preventing pests and illnesses specific to a vegetable from accumulating. This can be achieved by rotating crops from different plant families annually.

3. Choosing the proper vegetables: Season and climate matter

  • To ensure success, determine your hardiness zone, which is based on average yearly temperatures, to select the right vegetables for your growing region, as not every climate is suitable for every vegetable.
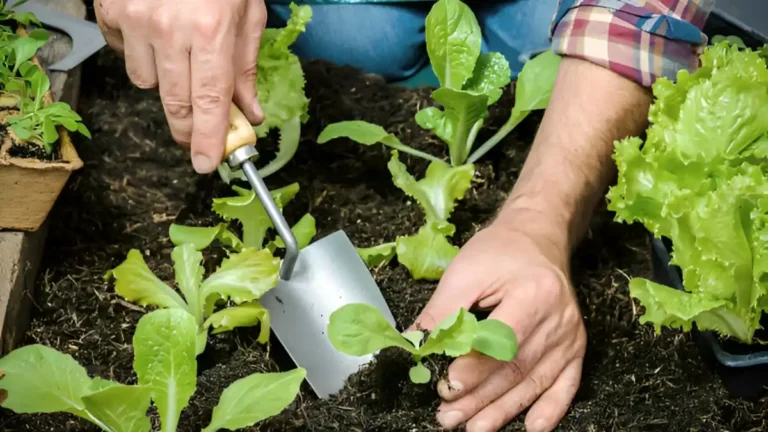
  • Crops like lettuce, spinach, and peas thrive in cooler weather, while zucchini, tomatoes, and peppers thrive in warm climates. To prevent stunted growth or crop failure, follow the appropriate planting timetable for your area.
  • The heirloom variety offers a more flavorful, centuries-old product, and may be more resilient to disease and better suited to the environment compared to hybrids.

4. Effective, deep, and regular watering methods

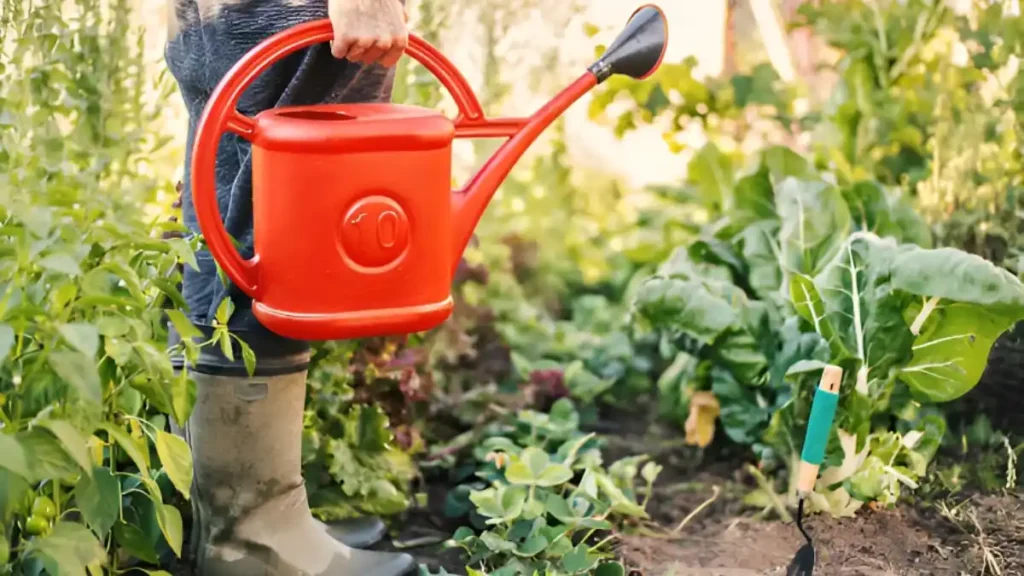
  • Proper irrigation is crucial for a healthy vegetable garden, ensuring water is deeply and infrequently sourced to the roots, preventing issues like bitter cucumbers and tomato blossom-end rot.
  • To reduce evaporation and prevent powdery mildew, use a drip irrigation system or soaker hose to directly water the soil. Water plants early in the morning to allow them to absorb moisture before the heat sets in.
  • Mulch, like straw or leaf shreds, is essential for garden maintenance, controlling soil temperature, weed suppression, and moisture retention, making the garden healthier and increasing water efficiency.

5. Fertilizing for success: Understand what your plants need

  • All plants require nitrogen, phosphorus, and potassium for survival. Potassium improves plant health, phosphorus promotes root and flower growth, and nitrogen stimulates leaf growth.
  • Test soil nutrient levels to select appropriate fertilizers, such as compost, manure, and bone meal. For long-term soil health, side-dress plants with compost tea or a balanced organic fertilizer during the growing season.
  • Excessive fertilization can cause nutrient imbalances and burn plants. Use slow-release fertilizer and follow container directions for proper nutrient intake.

6. Handling insects and illnesses: Avoid, track, and manage

  • Preventing pests and illnesses in vegetable gardens requires careful management. Start by keeping the garden tidy and pest-free. Avoid growing vegetables too close together, as this encourages poor air circulation and promotes fungal infections.
  • Regularly inspect plants for pests like aphids, caterpillars, and beetles, which can cause severe damage. Use insecticidal soap, hand-pick, or introduce beneficial insects like lacewings and ladybugs for environmentally friendly pest management.
  • Crop rotation, companion planting, dry leaves, mulching, watering plants near bases, and promptly removing damaged plants are crucial preventive measures against diseases, reducing the risk of fungal infections.

Learning how to start a vegetable garden may be difficult, but by following these six vital principles, you’ll put yourself on track for success. With the appropriate site, careful planning, soil management, adequate watering, and good pest control, your garden will thrive and offer you fresh, home-grown produce.

Certainly! If you’d like to learn more, please consider following our WhatsApp Channel: Harvest Gardening

Q1: How to start a vegetable garden indoors?

A1: To begin an indoor vegetable garden, select a sunny location, use containers with adequate drainage, and plant vegetables such as herbs, lettuce, or tomatoes in well-drained soil. Ensure that they receive adequate light (supplement with grow lights if necessary) and water consistently.

Q2: What is the best vegetable garden for beginners?

A2: The greatest vegetable garden for beginners comprises plants that are simple to grow, such as lettuce, radishes, tomatoes, and herbs like basil or mint. These vegetables thrive with little effort and are ideal for both indoor and outdoor gardens.

Q3: How to start a vegetable garden in Australia?

A3: Plant veggies that are suited for the season, such as tomatoes, spinach, or carrots, in a sunny spot with well-draining soil if you’re starting a vegetable garden in Australia. Pay attention to the weather in your area and water frequently to ensure wholesome growth.

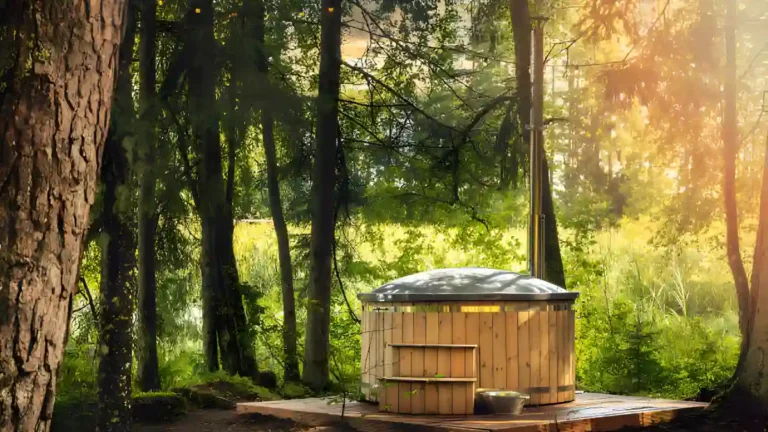
A rising number of people are seeking to embrace simplicity and re-establish a connection with nature in a fast-paced world full of contemporary comforts. Indulging in the comforting warmth of this tub in your backyard is one method to accomplish this. Picture the peace of bathing in steaming water outside as the sound of chirping birds and rustling leaves fills the air. A do-it-yourself wood fired hot tub provides a special chance to combine relaxation and artistry. The purpose of this tutorial is to give you the necessary instructions and things to think about when building a wood fired hot tub.

Choosing the ideal site

Select an area in your backyard that is sturdy and reasonably level. To avoid fire threats and to allow for enough ventilation, make sure it is not too close to any buildings or trees.

Getting supplies

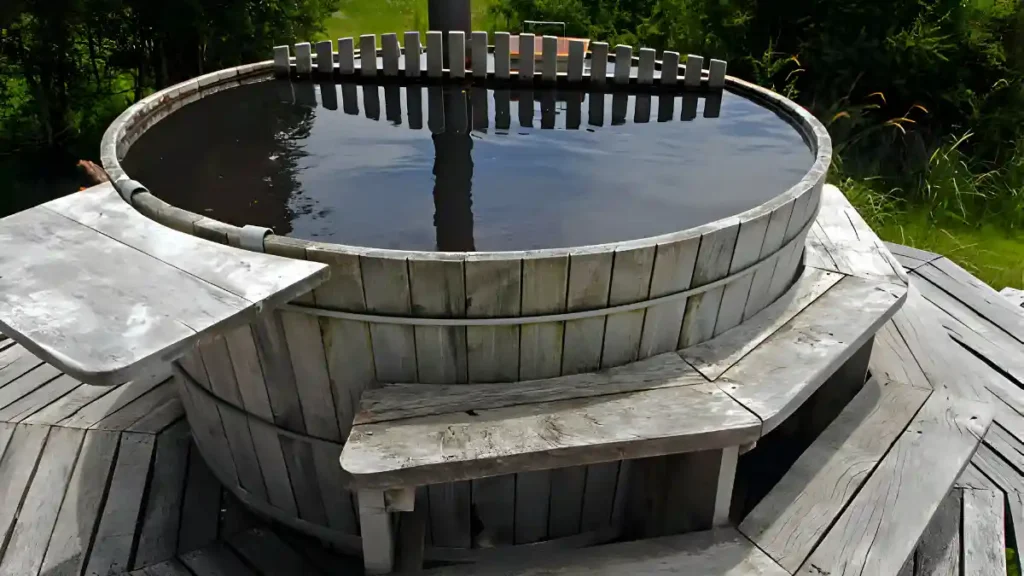
  • Large tub container or stock tank (made of wood or metal)
  • For the heat exchanger, copper tubing or stainless steel coil might be used.
  • Thermoplastic silicone tubing
  • Wood for the decking and frame
  • Material for insulation (optional, but preferred)
  • Firebox or wood stove
  • Bricks or stones for the fireplace
  • waterproof adhesive

Arrangement and organizing

  • Choose the dimensions and design of your hot tub. Think about how many people it can hold.
  • When choosing a spot for your tub, make sure it’s both handy to a water source and sufficiently remote from any buildings or trees.

Building the wood fired hot tub

  • After determining the proper lengths for each piece of wood, construct the tub walls. Use weatherproof nails or screws to fasten the components together.
  • To assist in maintaining heat, line the interior of the tub with insulation.

Making the heater or stove

  • Build a metal box with a wood input and a smoke outlet if you’re making your stove. Make sure it has enough space to properly heat the water.
  • Make sure there is enough room for people to comfortably access and exit the tub by placing the stove at one end of it.

Setting up the stove

  • Make sure the stove is firmly and steadily positioned inside the tub.
  • Affix the stove to the flue or chimney, ensuring that smoke is directed away from the bathtub area.

Supply of water

  • After filling the tub with water, attach a hose or pipe to a nearby water source.
  • Check for leaks in the tub and fix anything that has to be fixed.

Last minute details

  • Make sure the entire surface area of the tub is covered with a waterproof liner or tarp.
  • To stop heat loss, cover any spaces between the tub and the ground with gravel or sand.

Starting the fire

  • Build a fire in the stove by adding dry wood.
  • Keep an eye on the water’s temperature and add extra wood as necessary to keep it at a comfortable level.

Enjoy your wood fired hot tub

  • Invite loved ones to join you for a soothing experience once the water reaches your ideal temperature.
  • Never forget to keep an eye on the fire and take safety precautions.

In conclusion, for those who are prepared to put in the time and effort, creating a DIY wood fired hot tub may be a fulfilling and fun undertaking. In addition to offering a tranquil and natural experience, it also gives you the satisfaction of making something yourself. To guarantee functionality and safety, however, meticulous preparation and attention to detail are important when approaching the project.

Certainly! If you’d like to learn more, please consider following our WhatsApp Channel: Harvest Gardening

Q1: What is a wood-fired hot tub?

A1: An authentic and rustic swimming experience can be had in a wood-fired hot tub, which is heated by a wood-burning stove or heater.

Q2: How do I maintain a wood-fired hot tub?

A2: This tub requires routine cleaning of the tub and its parts, water chemistry monitoring, and adequate ventilation for the wood-burning stove. Ensure the stove or heater is routinely inspected and maintained for best results.

Q3: What are the benefits of a wood-fired hot tub?

A3: This tub offers several advantages, such as the tranquil and natural atmosphere it creates, the capacity to heat the water without the need for electricity, and the calming sensation of taking a bath outside.

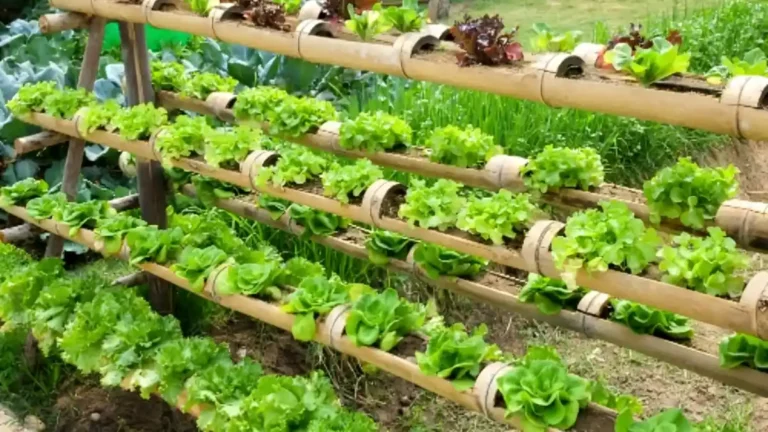
A great method to make the most of available space and add greenery to even the smallest spaces is through vertical gardening. Vertical gardening gives you the ability to produce lush, vivid displays without taking up valuable floor space, whether you have a tiny balcony or a large backyard. We’ll look at some imaginative and useful vertical gardening ideas in this post to help you turn your area into a lush haven.

Planters installed on walls:

Installing wall-mounted planters is one of the easiest ways to begin vertical gardening. These can be as elegant as contemporary metal grids or as simple as reused pallets. Plant a range of plants in them to give any wall texture and color, from small herbs to trailing vines.

Arbors & trellises:

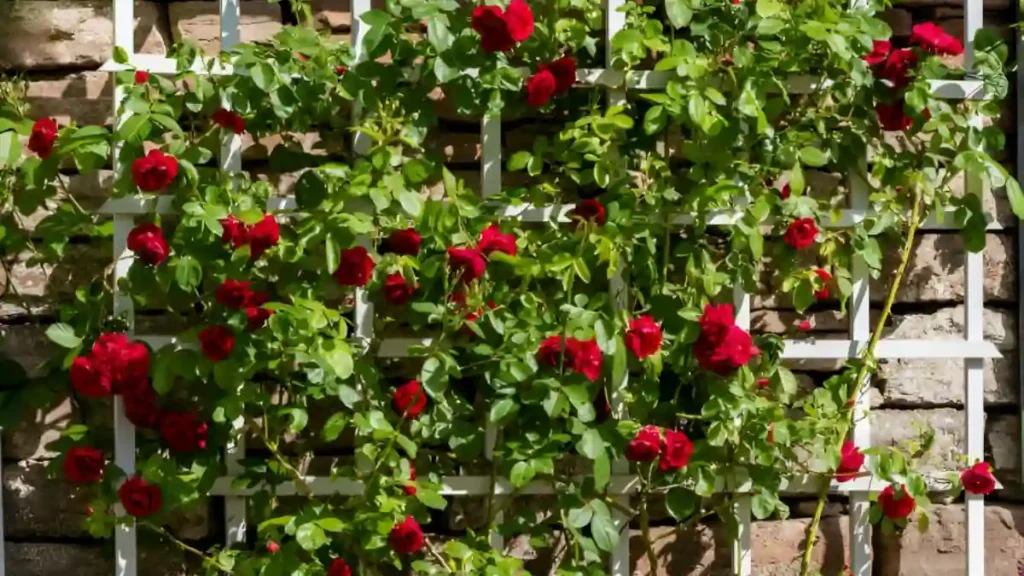
Essential components of vertical gardening are trellises and arbors, which offer support for climbing plants like beans, tomatoes, and cucumbers. Use them to create living walls by placing them up against walls or fences, or you can use them to mark off distinct zones in your garden. If you want your outdoor space to have more visual appeal, go for decorative patterns.

Hanging containers:

Make use of the vertical space over your head by suspending baskets from pergolas, tree branches, or even ceilings. Fill lightweight baskets with appropriate drainage with cascading plants such as petunias, ferns, or ivy. In addition to adding visual interest, hanging baskets give your garden a sense of depth.

Hydroponic systems for vertical gardening ideas:

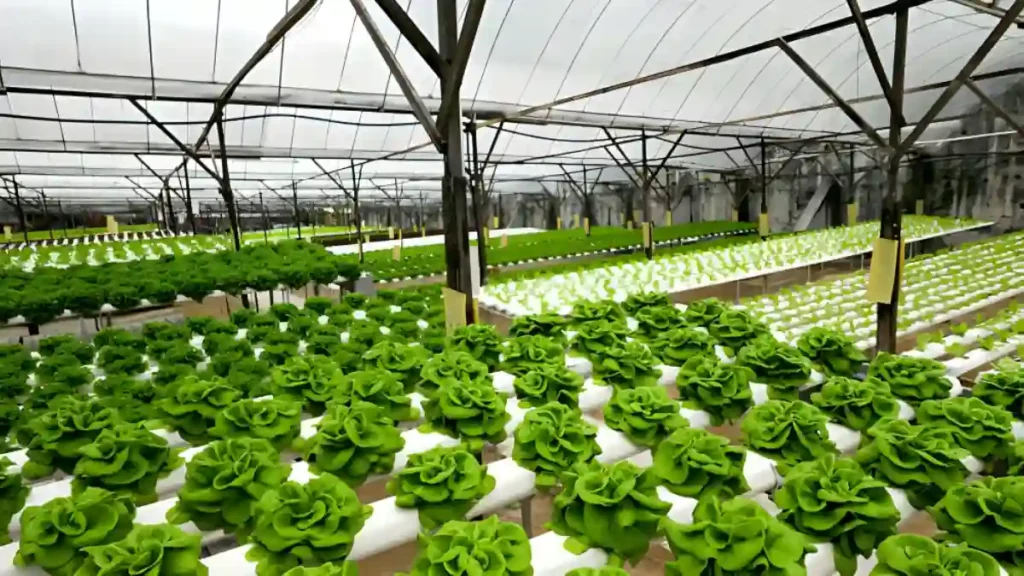
Vertical hydroponic systems are a practical option for urban gardeners or those with little outside area. These systems are perfect for balconies, patios, or even indoor spaces because they grow plants without soil by using water-based nutritional solutions. Grow a range of herbs, leafy greens, and strawberries in a vertical garden to get the most produce in the least amount of room. Hydroponic gardening is an effective and sustainable method of farming that has several advantages, including higher yields, less water use, and more control over the health of the plants.

To sum up, vertical gardening provides a flexible and room-saving way to grow plants in confined spaces. These vertical gardening ideas will motivate you to create a lush haven in your home. Its many advantages include optimizing green areas, improving appearance, and making upkeep simple. Adopting vertical gardening is a highly satisfying undertaking for gardeners of all skill levels because it not only adds vibrancy to environments but also encourages sustainability and builds a closer connection with nature.

Certainly! If you’d like to learn more, please consider following our WhatsApp Channel: Harvest Gardening

Q1: Can I create a DIY vertical garden?

A1: Yes, vertical gardens built at home are both common and adaptable. Online resources abound with guides and inspiration for building vertical gardens out of inexpensive or recycled materials. Just make sure your plants have enough drainage and support.

Q2: Can you share some vertical gardening ideas for small spaces?

  • Make a vertical herb garden using a hanging shoe organizer; this is ideal for tiny balconies or kitchen windows.
  • For a space-saving gardening solution, turn an old wooden pallet into a vertical planter by adding soil to each level and adding tiny flowers or succulents.