The Spider Plant (Chlorophytum comosum) is one of the most popular houseplants for novice and seasoned plant lovers. For those wishing to add some color to their home, the spider plant is an excellent option because of its resilience, air-purifying properties, and distinctive appearance. Spider plants are low maintenance, tolerant of all light conditions, and unaffected by weekly watering misses. Spider plants, sometimes known as airplane plants, do great in hanging baskets or containers. One of the reasons this clump-forming perennial is so well-liked indoors is because it is only hardy in Zones 9–11 outside. This page is a detailed guide on growing spider plants indoors, including important tips on lighting, watering, soil, and overall care.
Why did you select the spider plant?
Spider plants are visually appealing and effective in eliminating pollutants like xylene, formaldehyde, and carbon monoxide from the air. They are low maintenance and can tolerate occasional neglect, making them an ideal choice for adding greenery to interior spaces.
Choosing the correct spider plant varieties:
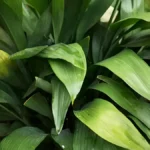
There are numerous spider plant types, and each has special characteristics of its own. The most popular kinds of variegated spider plants are those with green leaves striped with white or cream. The leaves of certain types, like the solid green spider plant, are entirely green. Indoor circumstances are ideal for spider plants to grow in, regardless of the kind you select.
Best conditions for how to grow spider plant indoors:
Spider plants require minimal care to thrive indoors, but they need certain essential factors to consider.
1. Where to grow spider plants
- Spider plants are best grown indoors in most climates, while outdoors in the hottest regions, as they require a light environment with free-hanging leaves and avoid falling over on shelves, pedestals, or tabletops.
- Spider plants like dampness and warm weather because they are native to tropical regions. They work wonderfully in bathrooms, absorbing steam from showers.
2. Soil and Potting
- Spider plants thrive in acidic, easily draining soil. Use a high-quality potting mix with sand or perlite, and repot every year to provide fresh soil and root space. Choose a larger pot for growth and 1-2 inches larger than the existing one.
3. How to grow spider plants
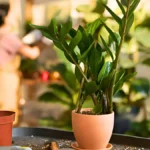
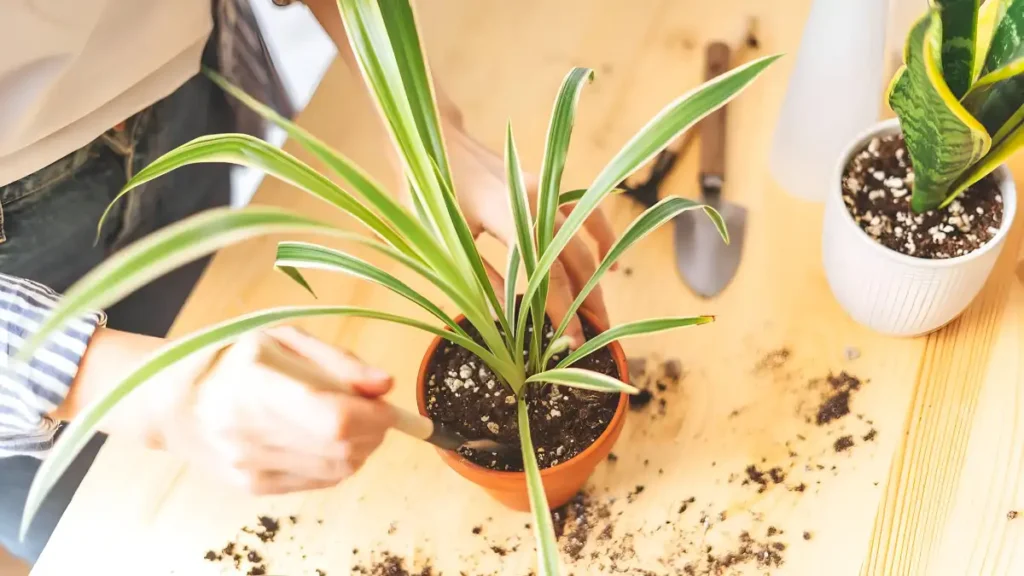
- Tropical spider plants can be brought indoors at any time of year, but choose a container with adequate drainage. Hanging plants require a lighter, heavier pot, while terra-cotta pots are ideal for surfaces, as they wick away moisture.
- Remove the plant from its nursery pot, add potting mix, remove roots, transfer to a new container, surround it with soil, and provide ample water for the plant to settle.
- Spider plants can be planted using seeds or plantlets, cut from their mother plant, and placed in a potting mix-filled pot. Wet the mixture, place it in a shadowed area, and observe roots take hold.
Learn How to care for a spider plant:
Spider plants are ideal for beginners due to their ability to withstand neglect. They thrive when watered, planted in well-drained soil, and placed near a light source.
1. Spider plant light requirements
- Spider plants thrive in indirect sunlight, especially near north or east-facing windows. They can withstand low light but may burn in direct sunlight. They can adapt to artificial lighting, such as fluorescent grow lamps, by placing them 6-12 inches above the plant.
2. How often to water spider plant
- Spider plants need moderate irrigation, watering when the soil appears dry. Avoid overwatering to prevent root rot. Ensure large drainage holes in the pot for proper water release.
- Spider plants are sensitive to chlorine and fluoride in tap water, so it’s crucial to use distilled or filtered water instead or leave tap water out overnight.
3. Humidity and temperature
- Spider plants thrive in warm, humid conditions, but should be kept away from cool drafts, air conditioners, and fans. Weekly water mists can help if the house is dry.
4. Fertilizing and pruning
- Apply water-soluble fertilizer to spider plants once a month during spring and summer, following label guidelines. Excessive fertilization may result in brown leaf tips.
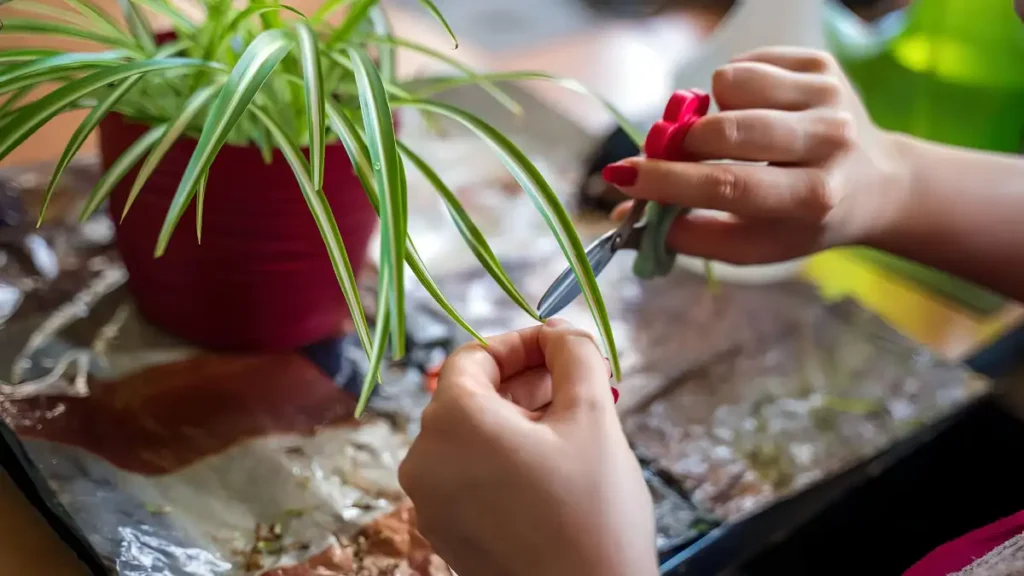
- As soon as you notice dead leaves, remove them. Remove plant branches to direct the plant’s energy toward new development if it appears that it is growing slowly.
Spider plant propagation:
Spider plants are known for their easy propagation, producing offshoots called “pups” or plantlets that hang from the parent plant on long stems, allowing for easy planting in pots.
How to propagate spider plant step by step
- Choose one where you can see a few tiny roots sticking out.
- The plantlet can be planted directly into damp soil, or it can be rooted in water until the roots are around 1-2 inches long.
- If planting directly in the soil, use a tiny container filled with well-drained potting mix. After planting, give the pot plenty of water and set it in an area with soft light.
Conclusion:
It is simple and satisfying to grow a spider plant inside. These hardy plants will flourish with the right care, clean the air, and even create new plants for you to add to your house or share with friends. Spider plants are a great addition to any indoor plant collection, regardless of gardening experience level.
Certainly! If you’d like to learn more, please consider following our WhatsApp Channel: Harvest Gardening
A frequently asked questions:
Q1: What are the spider plant benefits?
A1: Because they are low maintenance and eliminate toxins like formaldehyde and carbon monoxide, spider plants are an excellent option for improving the ambiance and air quality in your house. They are also non-toxic to animals.
Q2: Is spider plant lucky for home?
A2: Yes, spider plants are lucky for homes since they are thought to provide good vibes and fortune, as well as clean the air and make the interior healthier.
Q3: Why does my spider plant look unhealthy?
A3: Spider plants may appear ill due to excessive moisture, dryness, or lack of light, and brown leaf tips may indicate low humidity or excessive fluoride in the water.