The Dieffenbachia plant, commonly known as the Dumb Cane, is popular due to its attractive leaf and ease of care. Generally green with patches or blotches of creamy white, these perennials can also have yellow accents thanks to cultivars. In Zones 10–11, this plant can reach considerable heights in the proper tropical environment—roughly 6 to 10 feet in its native Brazil, for example—but it also comes in smaller sizes. Lower leaves drop spontaneously with time, revealing the plant’s cane-like stems. Large, variegated leaves of this tropical plant, native to Central and South America, are loved for adding color to any indoor area. It’s crucial for novices wishing to take care of a Dieffenbachia to adhere to a few certain guidelines to maintain the plant’s health and growth. We offer a thorough guide to growing Dieffenbachia indoors below, including a list of the top six considerations for novices.
Find out when and how to grow Dieffenbachia indoors:
1. When to plant Dieffenbachia
- Dieffenbachia is a tropical native, therefore it can be grown indoors year-round as long as the temperature is kept between 60°F and 75°F with moderate to high humidity. It also thrives in most interior climates. By planting in the spring, you may take advantage of Dieffenbachia’s natural growing season, which runs from March to October.
2. The appropriate site for your Dieffenbachia
The Dieffenbachia plant thrives in bright, indirect light, akin to its natural habitat in tropical forests. However, low light levels may hinder growth and color, while direct sun exposure may burn the fragile leaves.
- Put it next to a window that faces east or north so that it will get filtered light all day long.
- When dieffenbachia is growing new leaves in the spring and summer, it is especially crucial to provide filtered light to prevent sunburn on the foliage, which can happen if the light is too harsh and direct.
- Consider utilizing grow lights to complement the natural light in your space if it is dark.
- To guarantee uniform growth and stop the plant from tilting toward the light source, rotate it every few weeks.
3. Use the right soil and learn how to plant Dieffenbachia
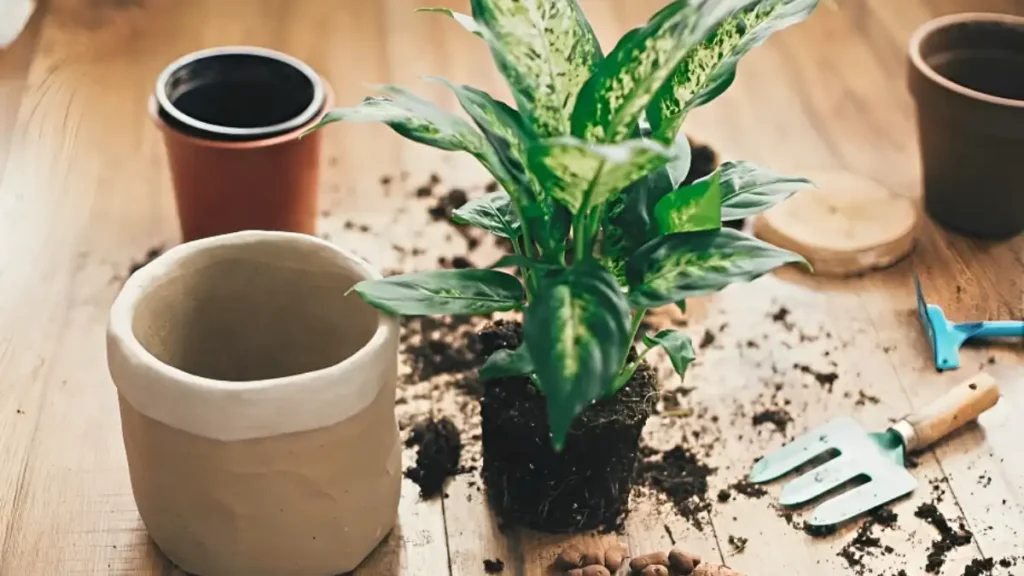
- For good root growth, Dieffenbachia needs a lightweight soil mix that drains effectively. Aeration and moisture retention can be effectively achieved by mixing perlite or orchid bark with a premium indoor plant potting mix. When planting your dieffenbachia outside, choose a location with a pH between 6 and 7.5 that is rich, wet, well-drained, and well-ventilated soil.
- Dieffenbachia should be planted indoors in a container with drainage holes and well-draining soil. Avoid direct sunlight, and water moderately, and keep it in a warm place between 65-75°F (18-24°C). Avoid overwatering and wipe leaves to maintain a dust-free surface.
- Plant dieffenbachia outdoors in zones 10 and above by digging a large hole, adding bone and blood meal, backfilling, and compacting. Water and maintain a damp, not saturated soil, with an organic mulch for moisture retention.

Dieffenbachia plant care advice:
4. Watering schedule: Quantity and Frequency
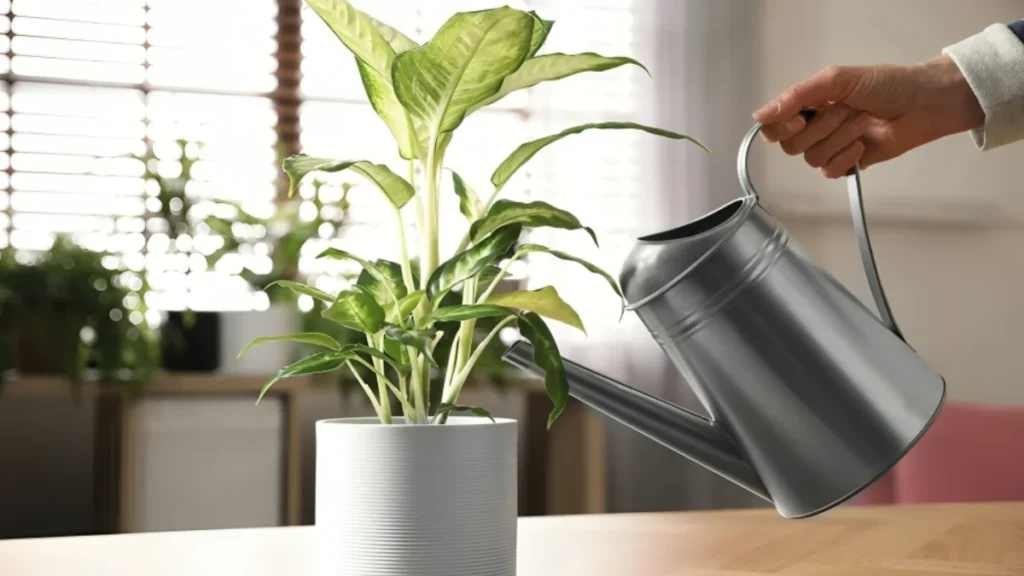
Dieffenbachia thrives in slightly damp soil, but overwatering can cause root rot and leaves droop. Maintain a balance by following watering guidelines.
- When the top one to two inches of soil feel dry to the touch, water your plant. Generally speaking, this implies watering once a week, though it can change based on your home’s humidity level.
- Make sure the pot has adequate drainage so that any extra water can run off. To avoid water collecting at the bottom of the pot, use one with drainage holes.
- As the plant’s development slows and its water requirements decrease, watering should be reduced throughout the winter.
Expert advice: To dissolve chlorine or fluoride in water, use room temperature filtered water or leave tap water outside for 24 hours, as these substances can discolor leaves.
5. Make appropriate use of fertilizer
Fertilize your Dieffenbachia during the growing season (spring and summer) for best growth. Adhere to these guidelines for fertilization:
- Apply a balanced half-strength liquid fertilizer every four to six weeks.
- Avoid overfeeding to prevent nutrient burn.
- Cut back on fertilizer during dormancy in fall and winter.
- Supplement with slow-releasing fertilizer if leaves fade or growth stunts.
6. Repotting and pruning: Maintain the best possible condition for your plant
- Use sharp scissors or pruning shears to clip off yellow or dead leaves at the base, and clip back top growth for fuller growth. Wear gloves when pruning Dieffenbachia, as sap is poisonous and can cause skin irritation.
- Repot Dieffenbachia in a larger pot in spring, using fresh potting mix and adequate drainage. Carefully repot the plant to avoid damaging its sensitive roots.

Conclusion:
Growing a Dieffenbachia indoors can be a rewarding experience for both beginners and experienced plant enthusiasts. Key tips include selecting the right position, watering properly, managing temperature and humidity, using the right soil and fertilizer, trimming frequently, and monitoring pests.
Certainly! If you’d like to learn more, please consider following our WhatsApp Channel: Harvest Gardening
A frequently asked questions:
Q1: What are the common methods to propagate Dieffenbachia?
A1: The most popular techniques include air layering, division, and stem cuttings. Cuttings from stems are the simplest and most widely used approach.
Q2: What are the most common Dieffenbachia varieties?
A2: The Dieffenbachia cultivars “Camille,” “Tropic Snow,” “Exotica,” and “Compacta” are a few common ones. Every variety has different leaf colors and patterns, with green and white or yellow variegation being common.


