DIY liquid fertilizer is a practical and environmentally friendly approach to nourish plants with widely available, natural substances. Additionally eco-friendly, these fertilizers lessen the demand for artificial chemicals that can degrade the soil and ecology in the vicinity. Gardeners can maintain total control over the nutrients their plants receive with this DIY method, which is a more affordable option than store-bought fertilizers. Read the entire article to learn more about how this liquid fertilizer is made.
Benefits of using liquid fertilizer for plants:
- Granular fertilizers are applied at the soil’s surface or blended into the soil and consist of a mixture of separate particles. Plants can be sprayed directly into the soil or given a liquid fertilizer, which is just nutrients dissolved in water.
- Liquid fertilizers are especially good for fresh seedlings and container plants. Throughout the growth season and in the early spring, they can also give bedding plants a boost.
- One advantage of liquid fertilizer is that plants receive nutrients more quickly since it seeps into the soil instantly. A lot of farmers apply this kind of fertilizer early in the growing season to promote rapid root development and help plants take root when necessary.
- According to the chemicals they provide, liquid fertilizers are more effective in bringing the pH of the soil into balance. Another reason liquid choices are frequently a wise choice for crops is that they can contribute to healthier plants.
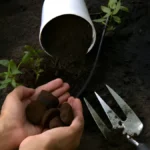
Recipe for making homemade liquid fertilizer for plants:
Although you can’t precisely control the ratios of nutrients in a homemade liquid tonic as you can with store-bought fertilizer, you can still make some adjustments by selecting different ingredients.
Banana peel tonic:
A creative and environmental the banana peel tonic uses the health benefits of the frequently wasted banana peels. Banana peel tonic supports more environmentally friendly gardening methods.
Directions
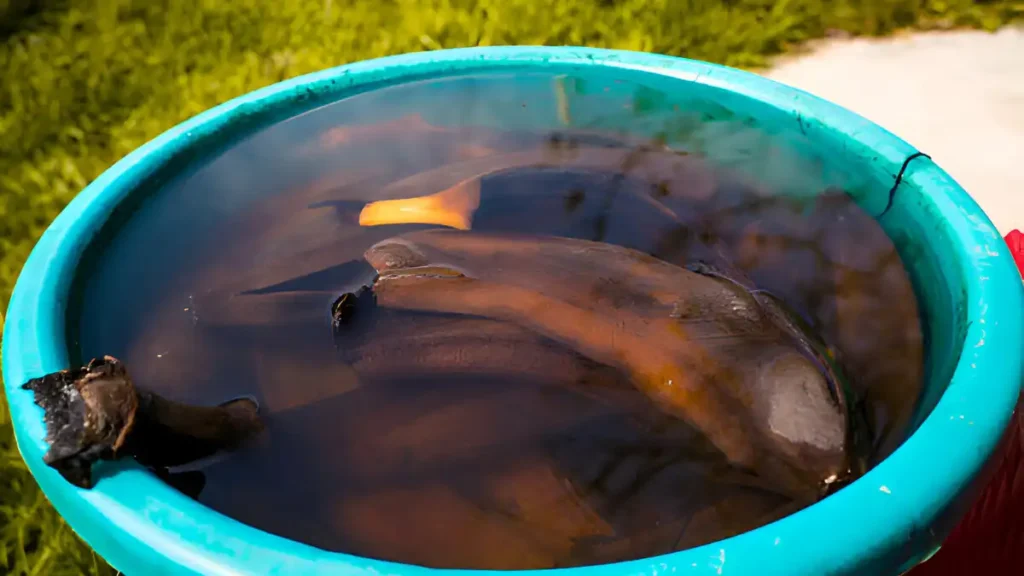
- The banana peels should be chopped into little bits. Soak the pieces in water for 24 to 48 hours.
- Use the liquid that has been strained to water your plants. This tonic has a lot of minerals, including potassium.
Compost tea tonic:
Compost tea can be made into a liquid fertilizer that you can apply whenever you want to encourage plant growth and health.
Directions
- First, take out of the compost any larger waste particles that haven’t decomposed completely. Combine one part compost and five parts water in a big bucket.
- Mix thoroughly and soak, stirring often, for three to four days. Filter the liquid to get rid of the solids.
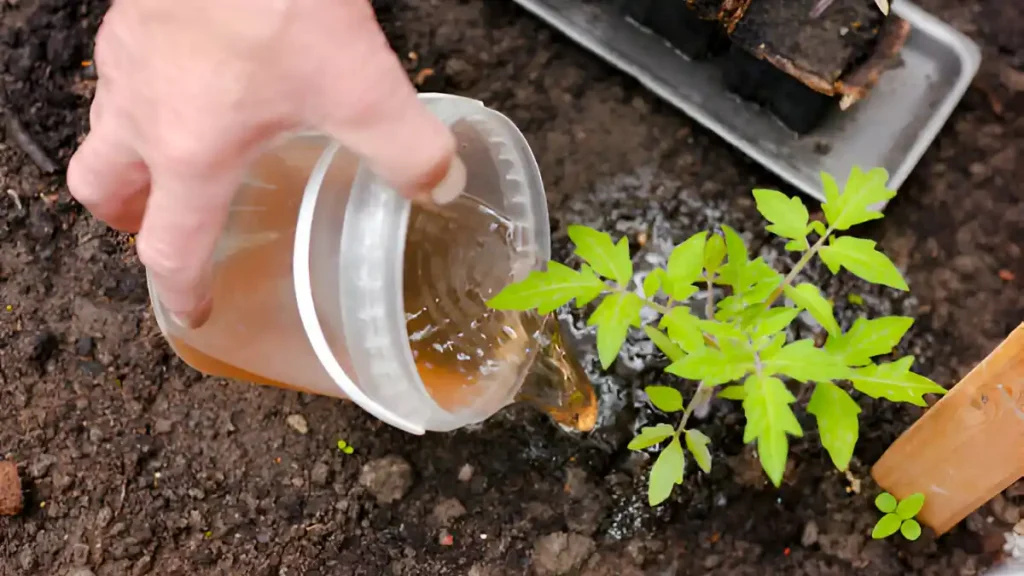
- Use water to dilute the compost tea and water your plants. Applying it every two weeks, you can continue to generate more throughout the growth season.
Eggshell tonic:
Eggshell tea contains calcium, a vitamin that is good for a lot of different plants. To encourage healthy growth and guard against blossom end rot in your vegetable garden, use this tonic.
Directions
- Boil ten to twelve clean, empty eggshells in one gallon of water to create calcium fertilizer. Break the eggshells into tiny fragments.
- Put the eggshells in water and boil for a little while. Set aside the mixture to cool for the entire night.
- After straining the mixture, water your plants with the remaining liquid. This tonic enriches the soil with calcium, a mineral essential to plant cell wall construction.
Coffee Grounds Tonic:
An inventive and sustainable remedy is coffee grounds tonic. This improves the quality of the soil and encourages strong growth.
Directions
- After gathering used coffee grinds, dry them. 5 gallons of water should be mixed with 1 cup of coffee grounds.
- Stir the mixture periodically while letting it sit for a few days. Pour the liquid through a strainer. Enhances soil acidity and provides nitrogen with this tonic.
Weed tea tonic:
Rich in minerals, but devoid of seeds, weed tea draws nutrients from weeds. This is a basic method for making a tonic that may be used indoors or outdoors for houseplants and seedlings.
Directions
- While pulling weeds, add them to a bucket. Add water to the bucket—ideally rainwater—when the weeds are about halfway filled.
- To prevent mosquitoes from depositing their eggs in the water, cover the bucket with netting. Leave the bucket alone for brewing for a few days or weeks.
- Use the liquid that remains after you strain the weeds as fertilizer. Remove the weeds from your garden or include them in your compost.
Conclusion:
An inexpensive, environmentally friendly, and efficient substitute for commercial fertilizers is homemade liquid fertilizers. Not only do these DIY fertilizers cut down on waste, but they also enable customization according to the demands of individual plants. For gardeners wishing to improve the quality of their soil and plant vitality, homemade liquid fertilizers are all things considered, a viable option. With the aforementioned procedures, you may quickly produce your liquid fertilizer and apply it to your plants.
Certainly! If you’d like to learn more, please consider following our WhatsApp Channel: Harvest Gardening
A frequently asked questions:
Q1. Is it possible to use liquid fertilizer on any kind of plant?
A1. Yes, most plant species, including vegetables, houseplants, and garden plants, can be fertilized using liquid fertilizer.
Q2. What is the definition of organic liquid fertilizer?
A2.Rich in nutrients, organic liquid fertilizer is made from organic materials such as plants and animals and is applied to improve soil fertility and plant development.
Q3. What is the best liquid fertilizer for vegetables?
A3. A balanced combination of nitrogen, phosphorus, and potassium (N-P-K), such as a 10-10-10 or 20-20-20 formula, is usually found in the best liquid fertilizer for plants. Seaweed extract and fish emulsion are two more fantastic natural solutions that supply vital nutrients for wholesome veggie growth.
Q4. How to use liquid fertilizers for indoor plants?
A4. As directed on the label, dilute the liquid fertilizer by mixing it with water. During the growth season, use it every two to four weeks.