Geraniums are a beautiful addition to any garden, adding a pop of color and a range of textures to make your backyard seem like a colorful haven. Geraniums are a great option for novice or experienced gardeners because of their remarkable beauty and hardiness. Here’s how to enhance your outdoor area with these gorgeous plants.
Growing and taking care of geraniums:
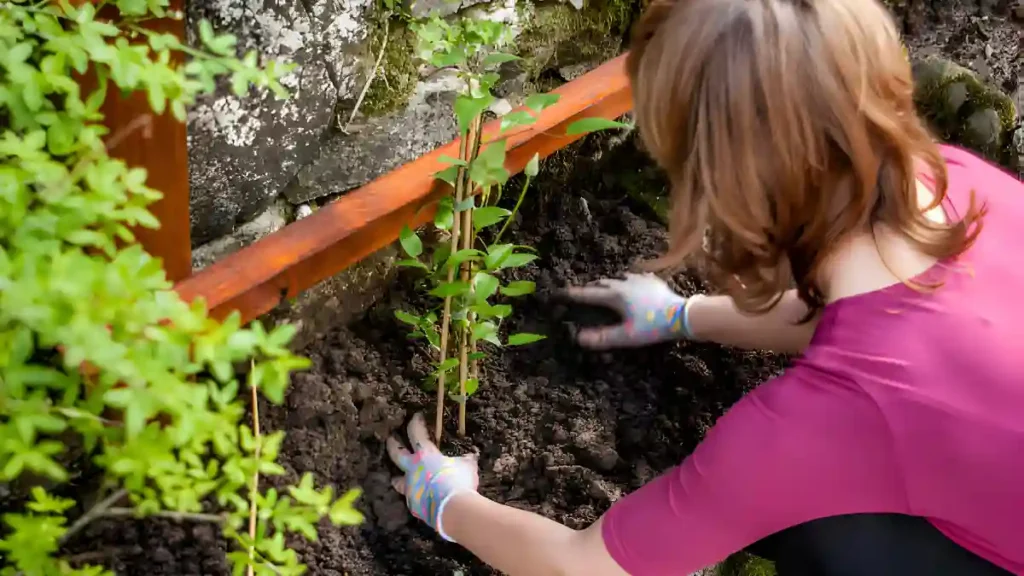
- Pick the Perfect Spot: Geraniums need bright areas that receive at least six hours of sunlight daily. Although they can withstand little shade, full sun will provide the most beautiful blooms.
- Get the Soil Ready: Well-drained soil is ideal for geranium growth. If the soil in your yard is mostly clay, you might want to modify it with sand or compost to help with drainage.
- Planting: Depending on the cultivar, space geraniums between 12 and 24 inches apart. This makes space for growth and proper air circulation possible.
- Watering: Give geraniums regular irrigation to maintain an even but not soggy soil. To avoid root rot, let the soil somewhat dry out in between waterings.
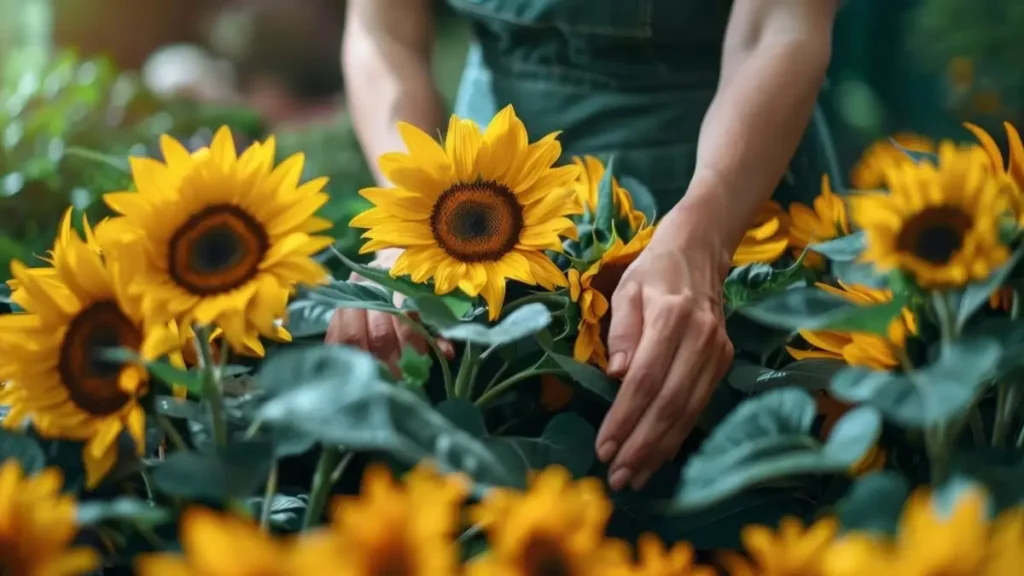
- Fertilizing: To promote strong growth and colorful flowers, treat your geraniums every four to six weeks during the growing season with a balanced, water-soluble fertilizer.
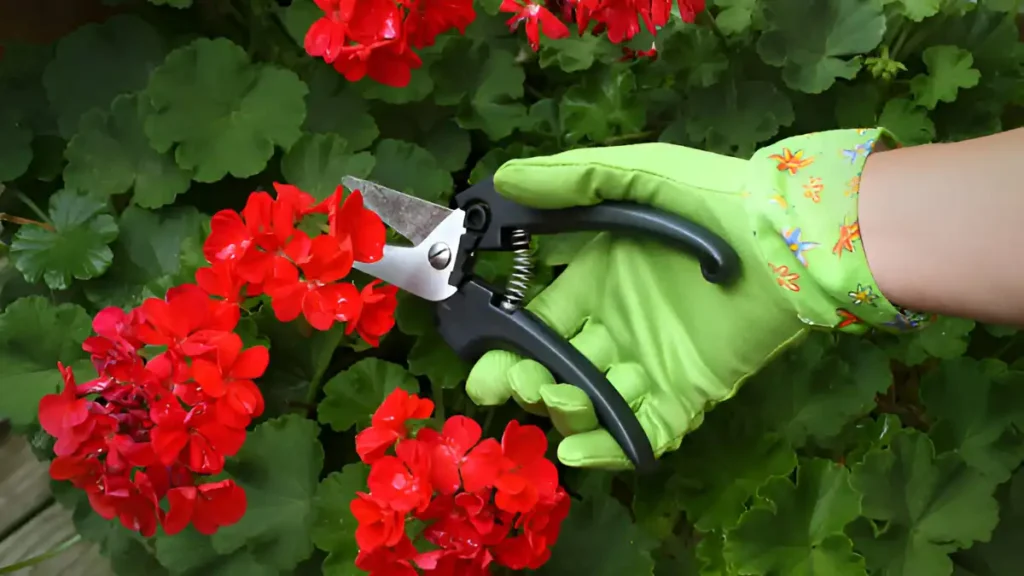
- How to Deadhead Geraniums: Consistent deadheading, or the removal of spent flowers, promotes ongoing blooming. Trim lanky stems to keep a bushy, compact shape.
Seasonal care tips for geraniums:
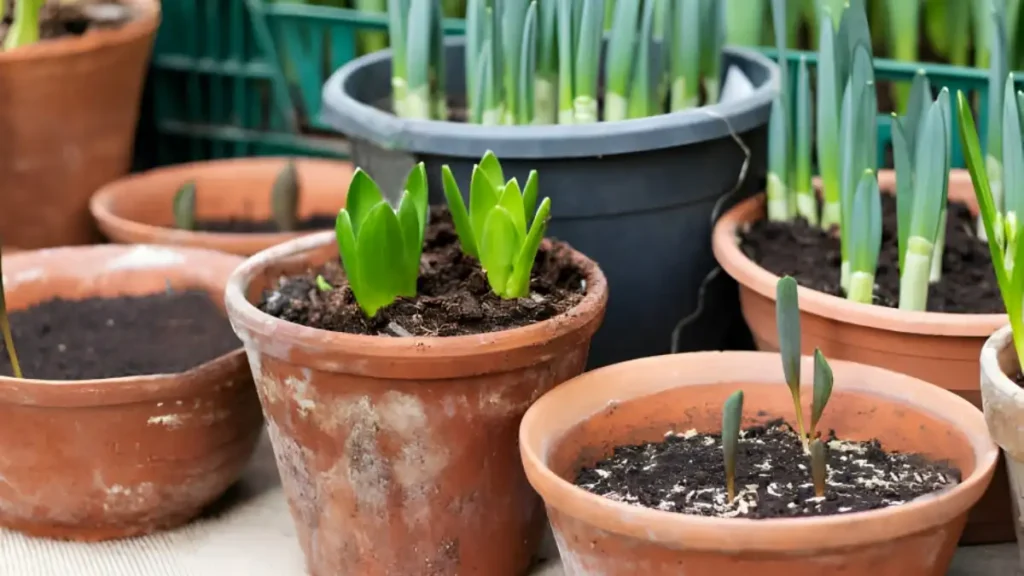
- Spring: After the final frost, plant fresh geraniums. The ideal time to grow new plants from cuttings is now.
- Summer: Continue fertilizing and watering as usual. Keep an eye out for pests like whiteflies and aphids.
- Fall: Before the first frost, move container geraniums indoors in cooler locations. Cut them back and store them in a cool, bright place for the winter.
- Winter: To shield sturdy kinds’ roots from below-freezing temperatures, cover them with mulch.
Innovative uses for geraniums in your yard:
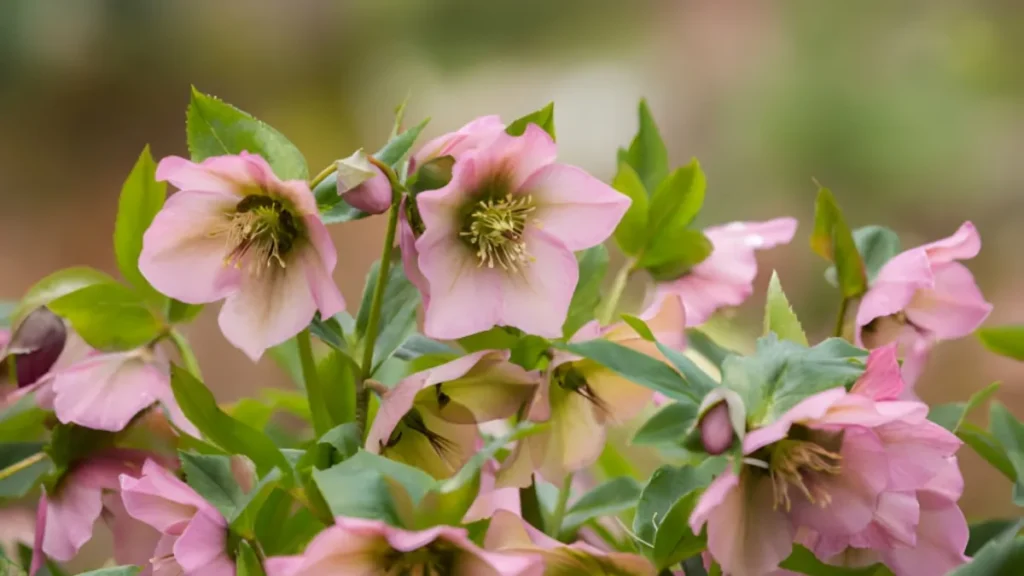
- Place geraniums for a color pop that delineates the space around garden borders and walks.
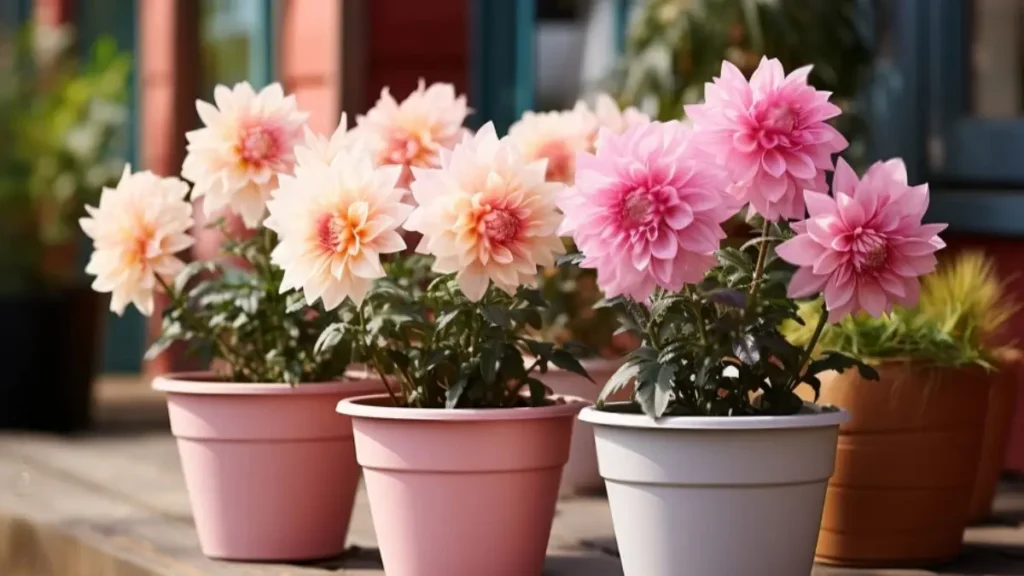
- Patios, decks, and foyers can be made more colorful by using geraniums in pots and other containers. Combine various hues and types to create a visually striking display.
- To add vertical flair to your yard, make eye-catching hanging baskets loaded with trailing geraniums.
- Geraniums can be used to create a rich, layered garden that blooms all season long when combined with other annuals and perennials.
Conclusion:
Transforming your yard with magnificent geraniums is not only physically appealing, but also quite simple with proper care and preparation. These adaptable plants give any garden a pop of color and a hint of sophistication. You may have a colorful, flowering yard all growing season long by selecting the proper types and adhering to these easy instructions. So prepare to alter your yard with these gorgeous blooms by rolling up your sleeves.
Certainly! If you’d like to learn more, please consider following our WhatsApp Channel: Harvest Gardening
A frequently asked questions:
Q1: How to care for geraniums in pots outside?
A1: When taking care of potted geraniums outside, make sure they get full sun, water them when the top inch of soil feels dry, and remove spent blooms often to promote ongoing blossoming.
Q2: Are geraniums poisonous to dogs?
A2: Indeed, dogs are poisoned by geraniums. If ingested, they may induce symptoms such as sadness, nausea, and vomiting.
Q3: Are geraniums perennials?
A3: Yes, geraniums are usually regarded as perennial plants. This means that they can exist for several years and frequently come back to bloom each spring.
Q4: How to grow geraniums indoors?
A4: Geraniums need lots of sunlight, well-draining soil, and frequent watering to keep the soil damp but not soggy to grow them indoors.