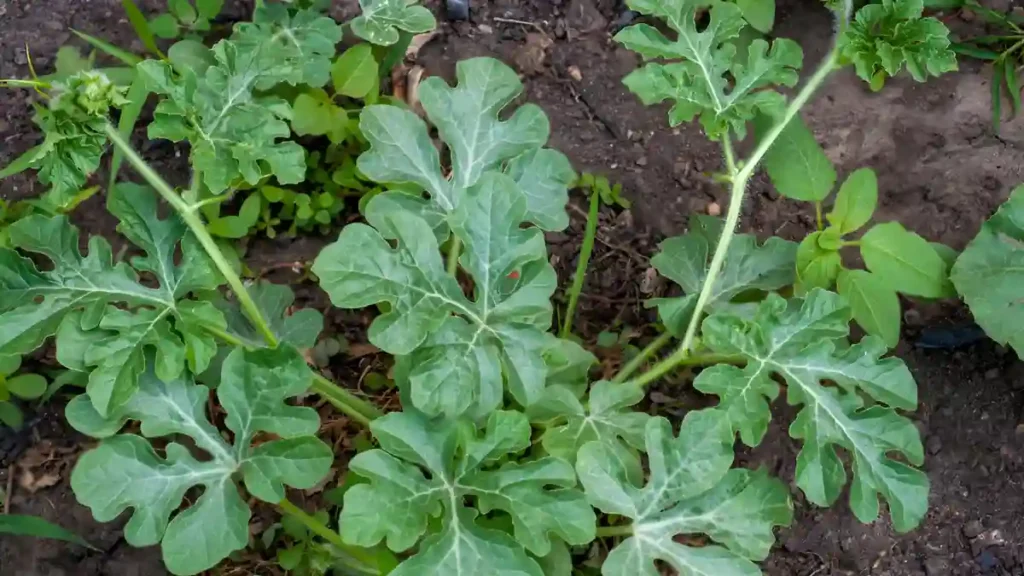
Native to Central Asia and the Middle East, Pistacia vera trees produce little, green nuts referred to as pistachio tree nuts. Pistacia vera is its scientific name. They are well-known for their unique flavor and vivid color, and people have enjoyed them for thousands of years. Up to 30 feet can be reached by pistachio trees. Similar to cashews, pistachios are not technically considered nuts. These are the seeds, not the fruit; they are drupes. They are an excellent source of fiber, protein, and heart-healthy fats, especially monounsaturated fats.
Learn how to grow pistachio tree:
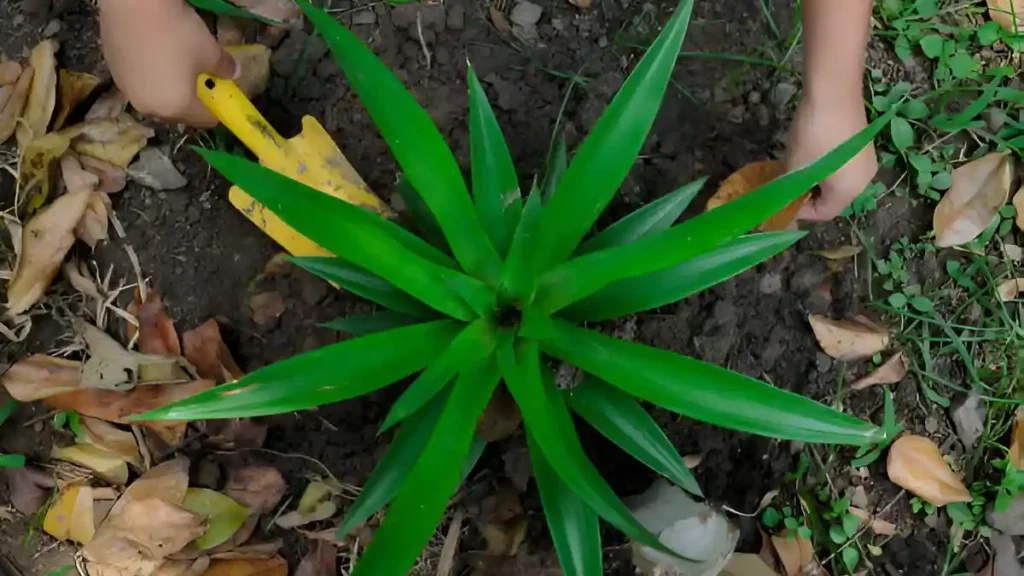
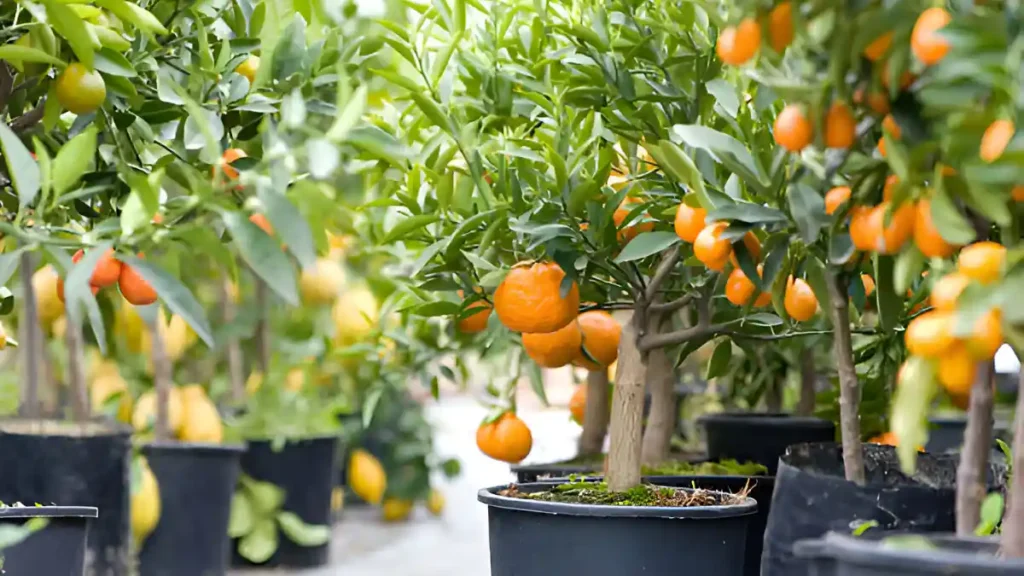
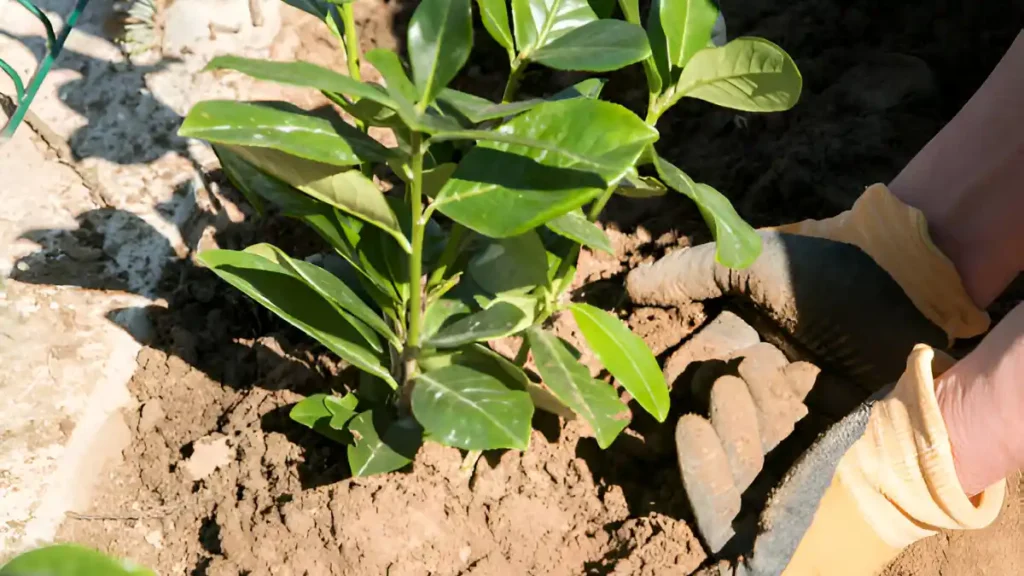
The young trees, typically offered as potted nursery specimens, should be planted in the early spring when they are dormant. Planting pistachios takes meticulous planning. For your convenience, we’ve included detailed knowledge.
How to plant pistachio tree:
- Pistachio trees grow best in regions with warm summers and moderate winters. Locate an area that receives full sun exposure. Pistachios love well-drained soils; steer clear of places with excessive clay or inadequate drainage.
- Create a hole that is slightly deeper and at least twice as wide as the nursery container. After taking it out of the pot, carefully plant the tree in the opening. The tree should be planted about an inch deeper than it was in the nursery container. Plant a mulch foundation to retain soil moisture and keep weeds at bay, and stake the tree for support. Keep a minimum of 20 feet between each tree.
- Remember that sufficient wind is needed for pollen from male trees to reach the female trees’ blossoms while planting. A male tree planted within fifty feet of a female tree can usually pollinate the latter.
Suitable care of the pistachio tree:
Pistachio tree require special treatment to maintain healthy growth and a good production of nuts. This guide will assist you.
Pistachio tree care:
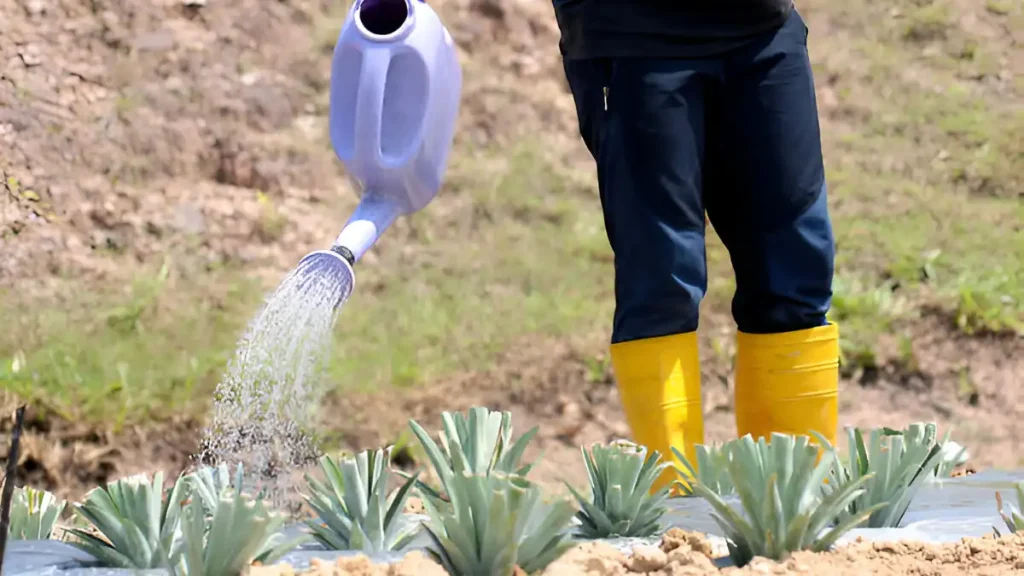
Watering
- Pistachio trees thrive in arid environments and are highly resistant to drought. Water deeply but less regularly once the tree is established. Consider installing an irrigation system if you have multiple pistachio trees.
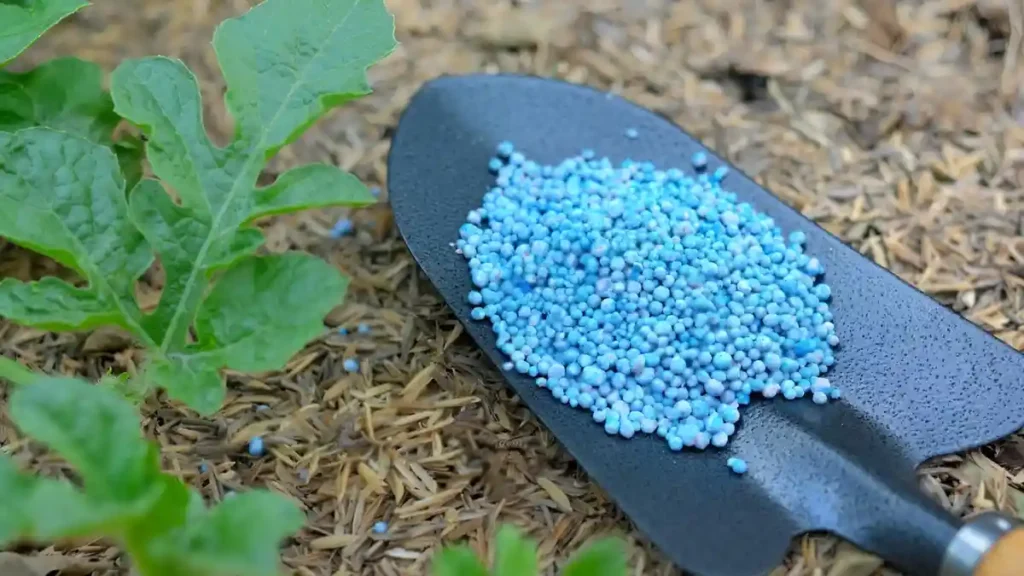
Fertilization
- In the early spring, before the growth season begins, apply fertilizer that is high in nitrogen; do not use too much. Have your soil tested to find out what deficiencies it might have before applying any fertilizer, if it lacks nitrogen, phosphorus, or potassium, you can adapt the fertilization to your tree’s nutrient requirements.
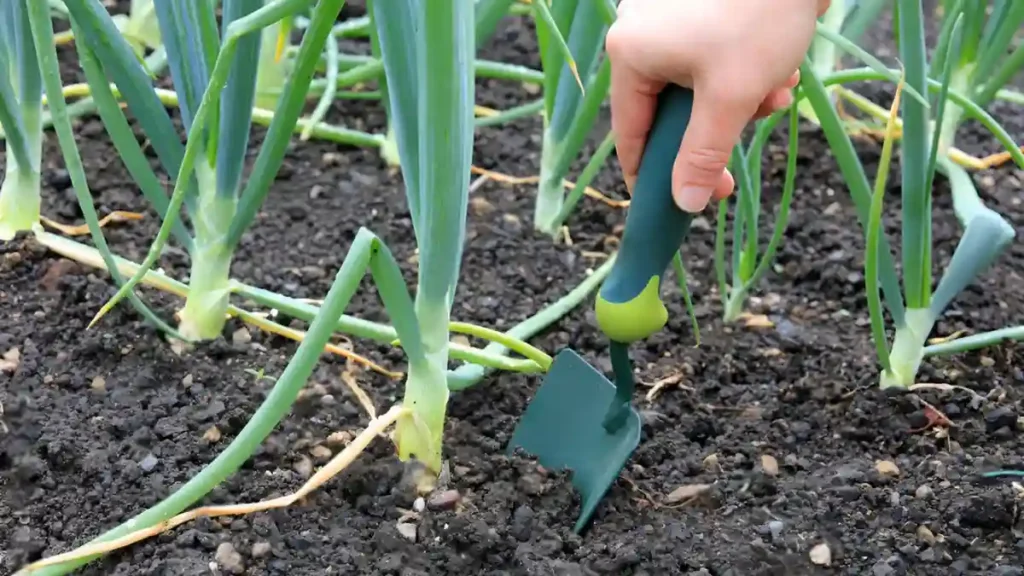
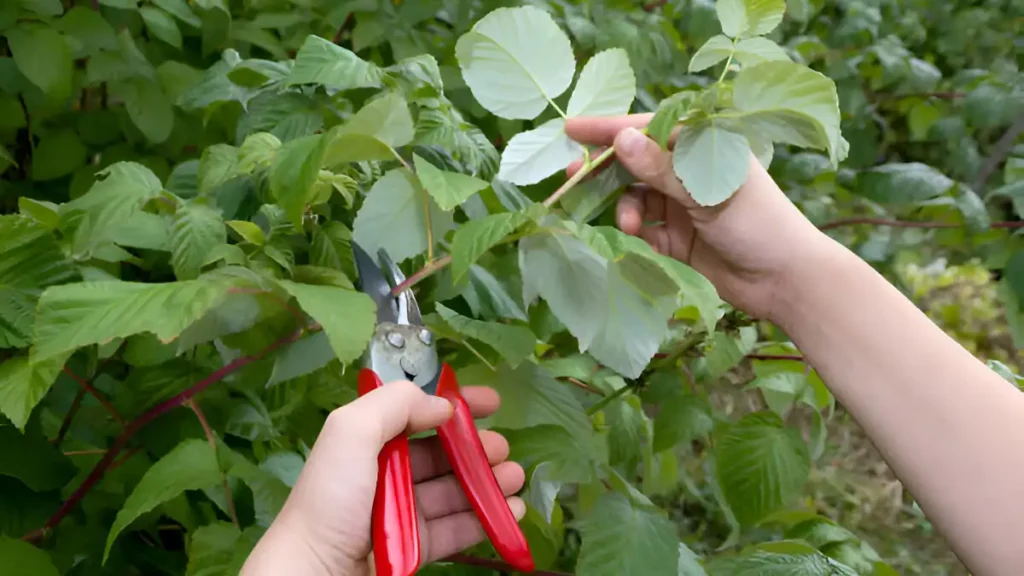
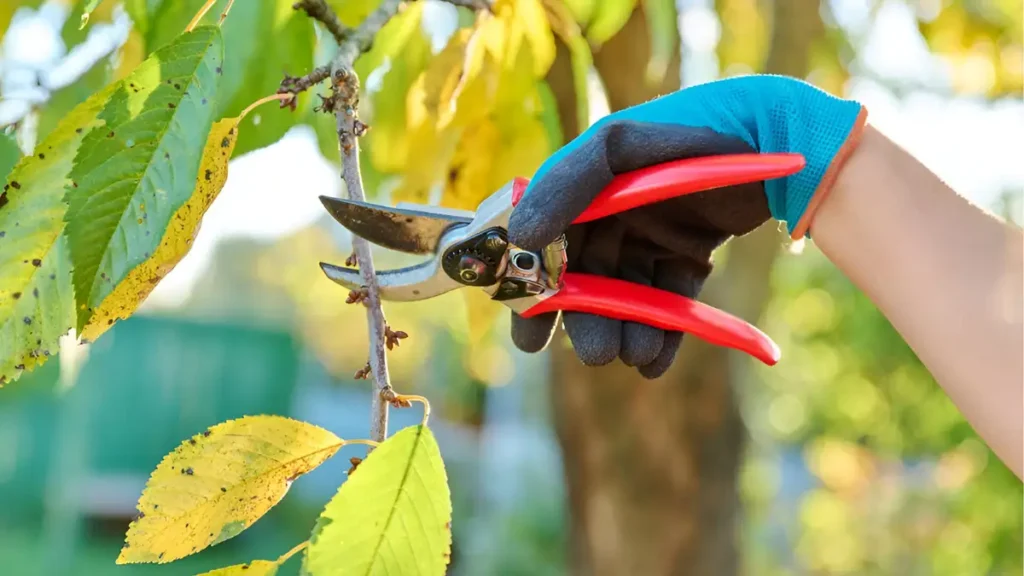
Pruning pistachio trees
- Trim late winter or early spring to prevent the onset of new growth. Remove any branches that are growing directly across from one another and replace them with branches that are appropriately spaced around the trunk. Additionally, cut off any branches that are shorter than the lowest main branch; these branches should all be trimmed to a length of 4 to 6 inches.
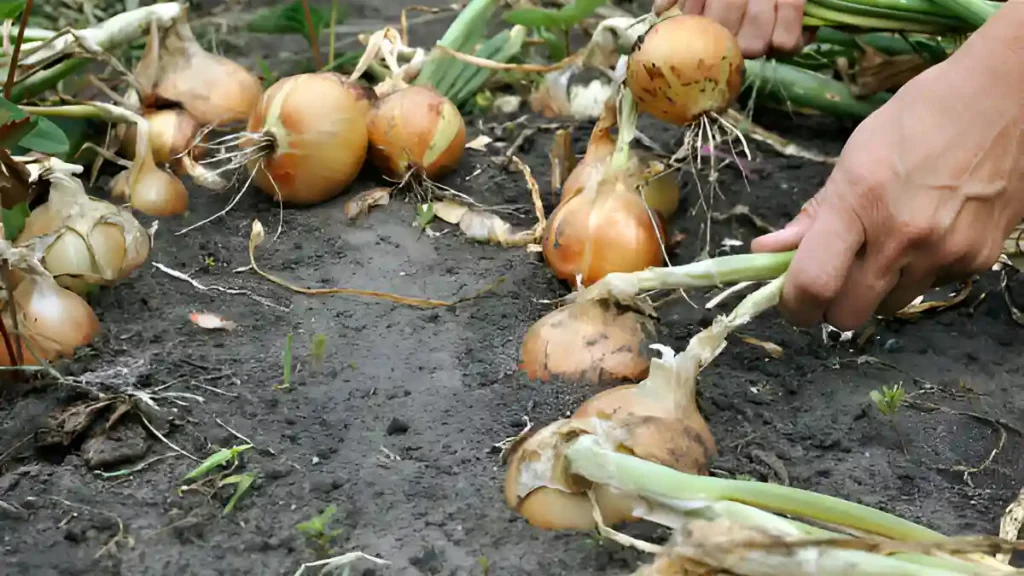
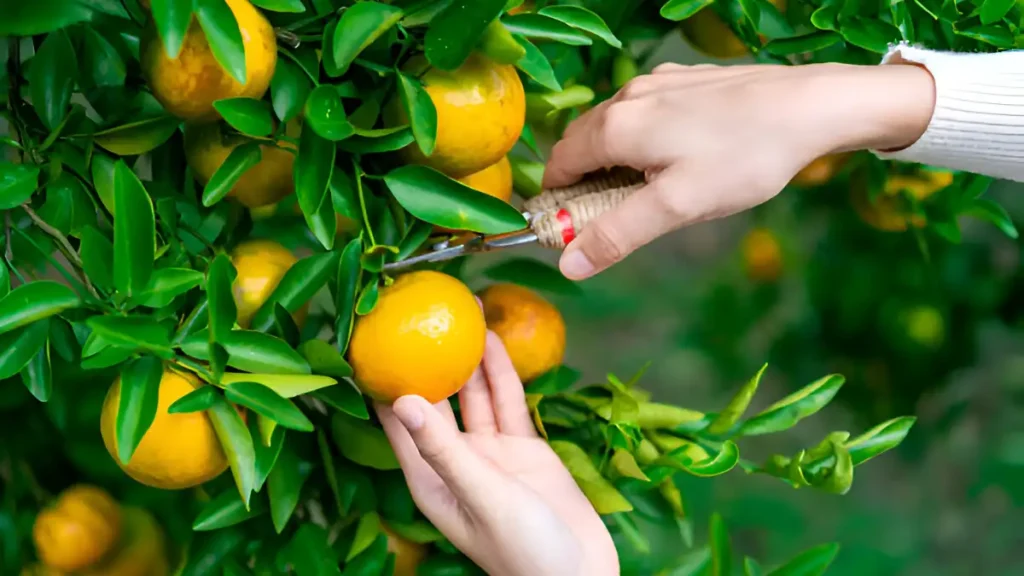
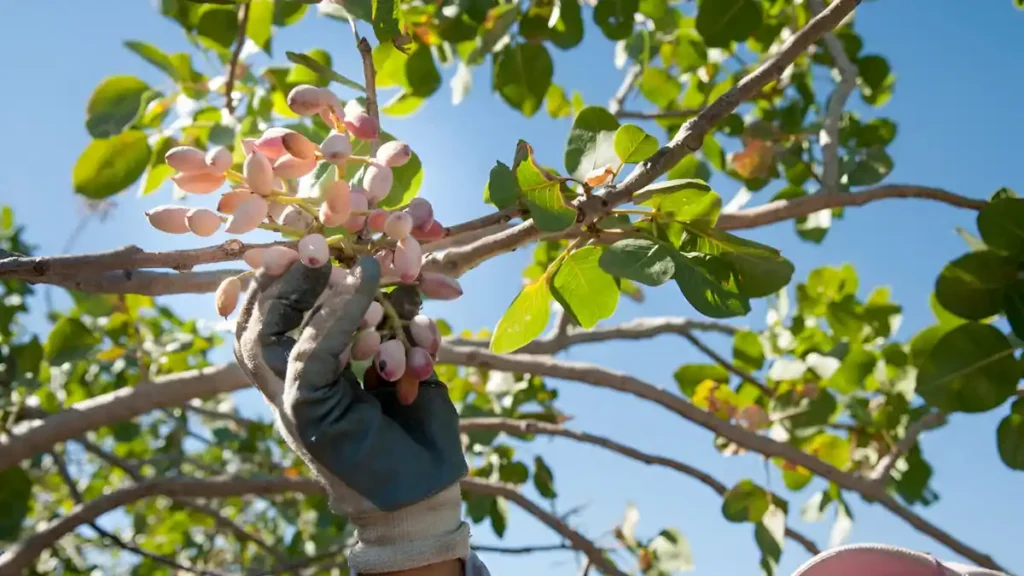
Pistachio tree harvest
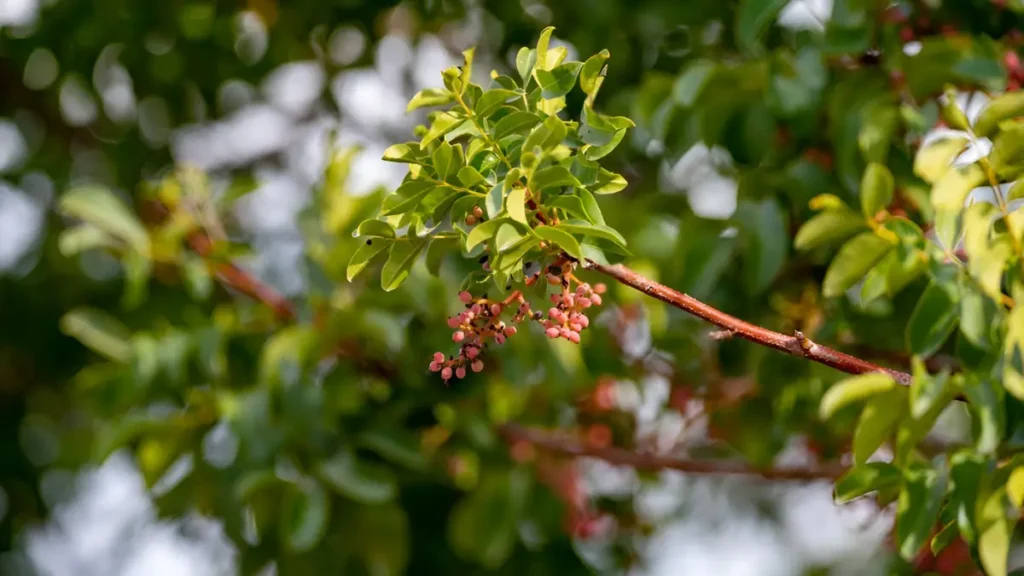
- Harvesting pistachios usually occurs in late summer or early autumn. It will break from the inner husk and become a gorgeous pink-yellow color when they are ready to be harvested. After that, all you have to do is tap the branches to loosen the pistachios. Remove the epicarps within 24 hours of harvesting for optimal freshness and flavor.
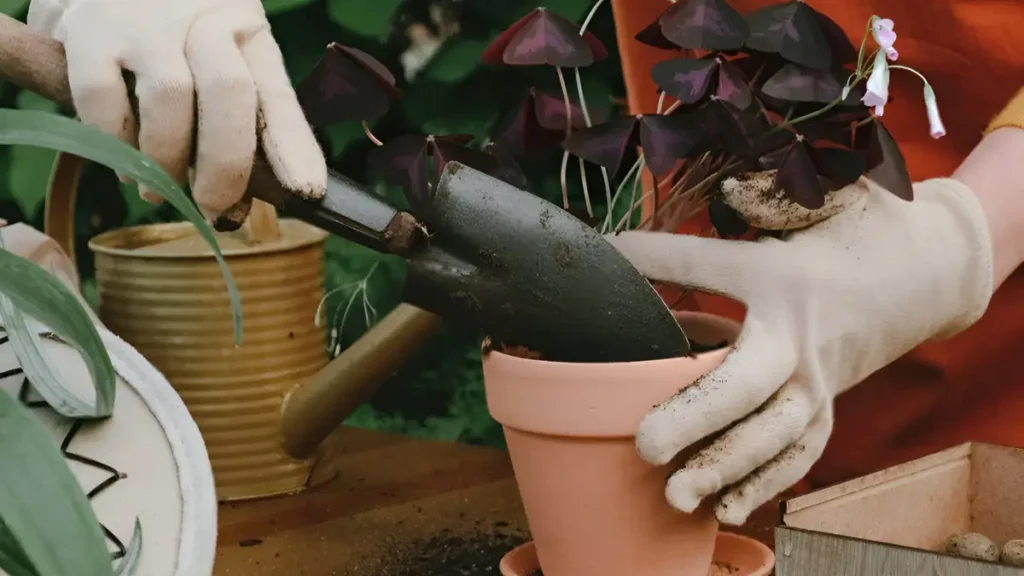
Potting and repotting pistachios
- Pistachios can grow to be fairly large, so use a container that is at least 14 to 16 inches deep. use a sunny spot. To avoid root rot, pistachio trees do best in potting mixes that drain properly. Pistachio trees usually require repotting every two to three years as they outgrow their containers. Before repotting, carefully trim the roots to promote growth and keep the tree from becoming root-bound.
Handling of diseases and pests
- In addition to botrytis, which can be problematic in rainy springs, especially for male trees, excessive moisture on your pistachios can cause Alternaria Late Blight. Keep an eye out for pests like scale insects and aphids. Infestations can be managed with the use of the right insecticides and routine monitoring.
Conclusion:
Any garden or orchard would benefit from the unusual and satisfying addition of pistachios. They provide a triple threat of advantages for farmers and gardeners with their gorgeous foliage, aromatic blossoms, and tasty nuts. It takes a lot of work to grow pistachio trees since they are dioecious and require adequate pollination. You may successfully cultivate a healthy pistachio tree according to the preceding steps.
Certainly! If you’d like to learn more, please consider following our WhatsApp Channel: Harvest Gardening
A frequently asked questions:
Q1. What are the ideal growing conditions for a Chinese Pistachio tree?
A1. Chinese Pistachio trees grow best in full light and well-drained soil. They favor an environment with mild winters and scorching, dry summers.
Q2. How to grow a pistachio tree indoors?
A2. Pistachios grow best indoors in well-draining soil with a pH of neutral to slightly alkaline; they also need lots of sunshine and space. Refrain from overwatering to prevent root rot.
Q3. What are the main types of pistachio trees?
A3. Golden Hills, Peters, and Kerman are the three primary varieties of pistachio trees. The most popular variety, Kerman, is prized for its superior nuts.
Q4. Where do pistachio trees grow?
A4. Although they originated in the Middle East and Central Asia, pistachios are currently grown in many climate-suitable regions of the world. They include Turkey, Iran, Turkey, Italy, and California.
Q5. What are the growing zones for pistachio trees in the USA?
A5. USDA Hardiness Zones 7-9 in the US are ideal for pistachio trees due to their hot, dry summers and moderate winters, particularly in Arizona, New Mexico, and California.