Sage (Salvia officinalis) is a classic herb known for its fragrant leaves, medicinal properties, and culinary applications. Growing sage is one of the most satisfying gardening experiences, whether you’re a novice or an expert. Sage may enhance your favorite foods as well as increase the biodiversity of your yard. If you want to growing sage, you’ve come to the correct location. This book will bring you through the whole process—from planting to harvesting—in straightforward, practical stages. By the end, you’ll be confident enough to cultivate lush, robust sage plants at home.
Sage at a glance — quick care snapshot
| Botanical name | Salvia officinalis Family: Lamiaceae |
| Plant type | Hardy perennial Woody subshrub |
| Sow indoors | Feb–April 18°C, 14–21 day |
| Plant out | April–June After last frost |
| Light | Full sun essential 6+ hours daily |
| Watering | Year 1 onwards, Spring to autumn |
| Harvest | Year 1 onwards Spring to autumn |
| Lifespan | 5–7 years Replace when woody |
Why growing sage is one of the wisest choices in any herb garden
Sage has been grown for almost 2,000 years, and there’s a reason it’s never gone out of style. Its combination of strong culinary flavor, remarkable decorative value, drought tolerance, medical history, and amazing lifespan makes it one of the most rewarding herbs per square centimeter in any garden. A single sage plant, when correctly put and trimmed, may yield harvests for five years or more while also looking attractive, producing hazy purple flower spikes in early summer that are ideal for bumblebees.
8 reasons sage deserves a permanent spot in your garden
- Unmatched culinary flavor—no dry replacement comes close to fresh sage butter or crispy fried leaves.
- Architectural beauty – silver-green velvety leaves and purple flower spikes are truly attractive.
- Drought-tolerant plant – once grown, sage may withstand lengthy dry spells without watering.
- Purple flower spikes in May-June attract bumblebees and honeybees.
- Natural pest deterrent—strong fragrant oils discourage cabbage white butterflies and carrot flies.
- Thrives in poor soil and favors lean, well-drained conditions over lush, fertile land.
- Medicinal plant—used for ages to promote digestion, memory, and throat health.
- Easy propagation – cuttings root in weeks and generate complete plants faster than any other method.
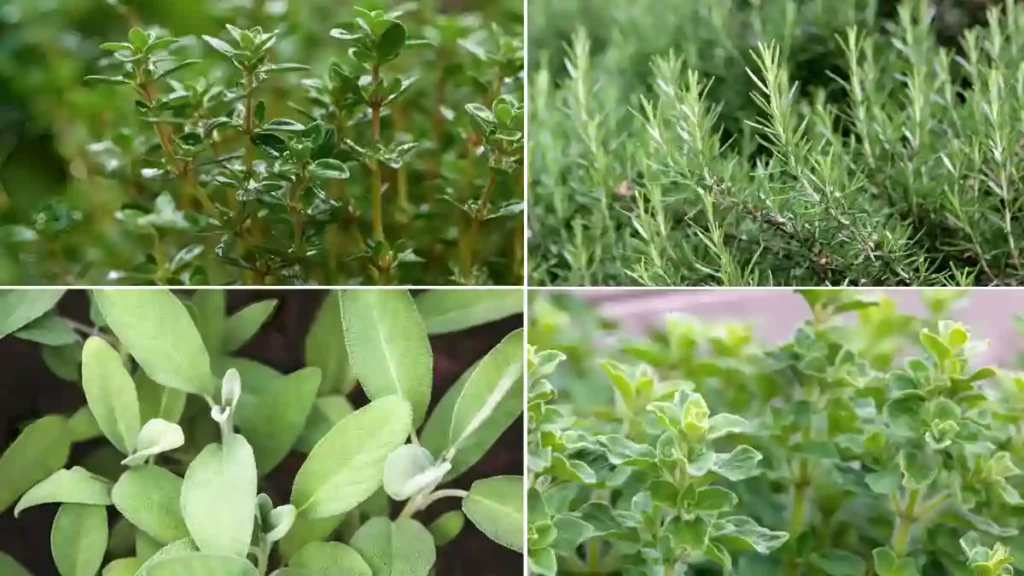
Best sage varieties to grow
| Common sage ‘Berggarten’ | Broad silver-green leaves, rarely bolts to flower. The finest culinary sage — maximum leaf production and the richest flavour of any variety. |
| Purple sage (S. officinalis ‘Purpurascens’) | Deep purple-flushed young leaves, excellent culinary flavour. Stunning ornamental value — spectacular in borders and containers alike. |
| Tricolor sage (S. officinalis ‘Tricolor’) | Striking cream, green and pink-purple variegated leaves. Slightly less hardy than common sage but extraordinarily beautiful in pots. |
| Pineapple sage (S. elegans) | Bright red tubular flowers and foliage with a distinctive pineapple scent. Tender — grow in pots brought inside over winter. Not for cooking. |
| Golden sage (S. officinalis ‘Icterina’) | Green leaves edged in bright gold — beautiful in the garden and a reliable culinary producer. Slightly less vigorous than common sage but equally hardy. |
| Clary sage (S. sclarea) | Tall biennial with large, textured leaves and spectacular pink-white flower bracts. Mainly ornamental and medicinal rather than culinary. |
How to grow sage — from seed, cuttings, and bought plants
Growing sage from seed
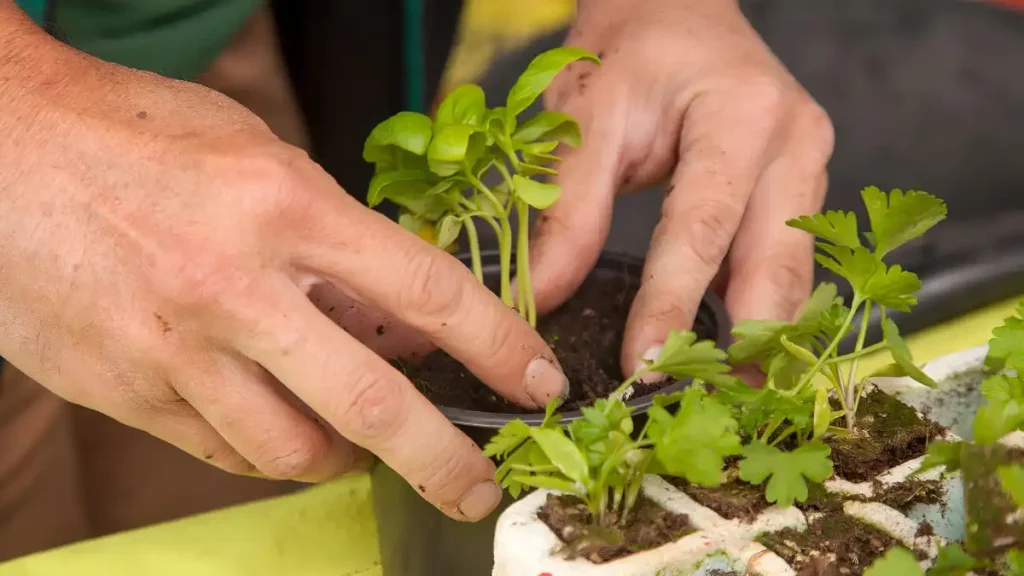
Sage is easy to grow from seed but takes longer than cuttings—allow 8-12 weeks from sowing to a plant ready for its ultimate place. Sow indoors from February to April at 18°C. Press seeds lightly onto the surface of fine seed compost, then cover with a thin layer of vermiculite. Germination takes 14 to 21 days. When seedlings are large enough to handle, pot them and allow them to harden before planting outside after the final frost.
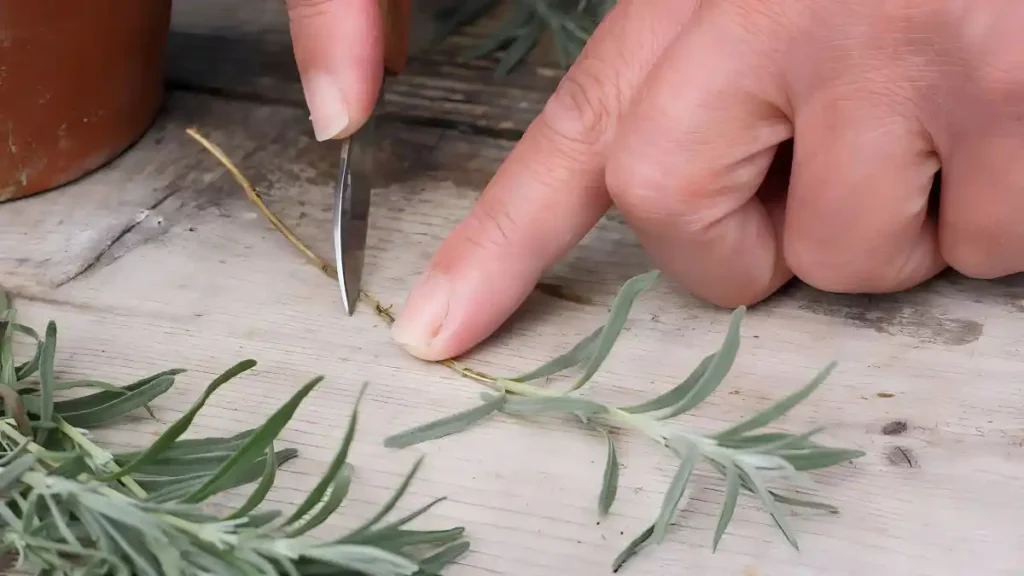
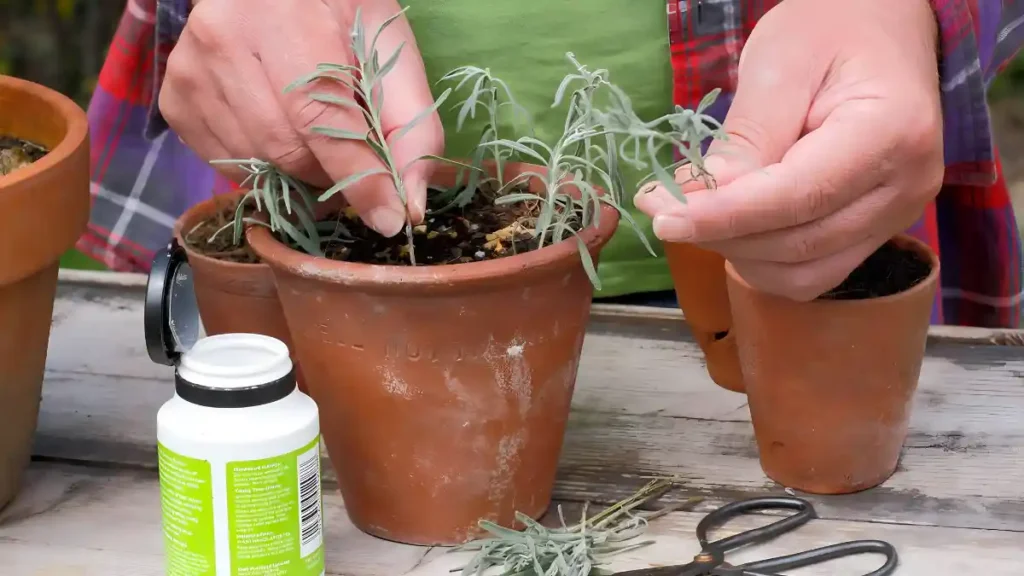
Growing sage from cuttings (the faster method)
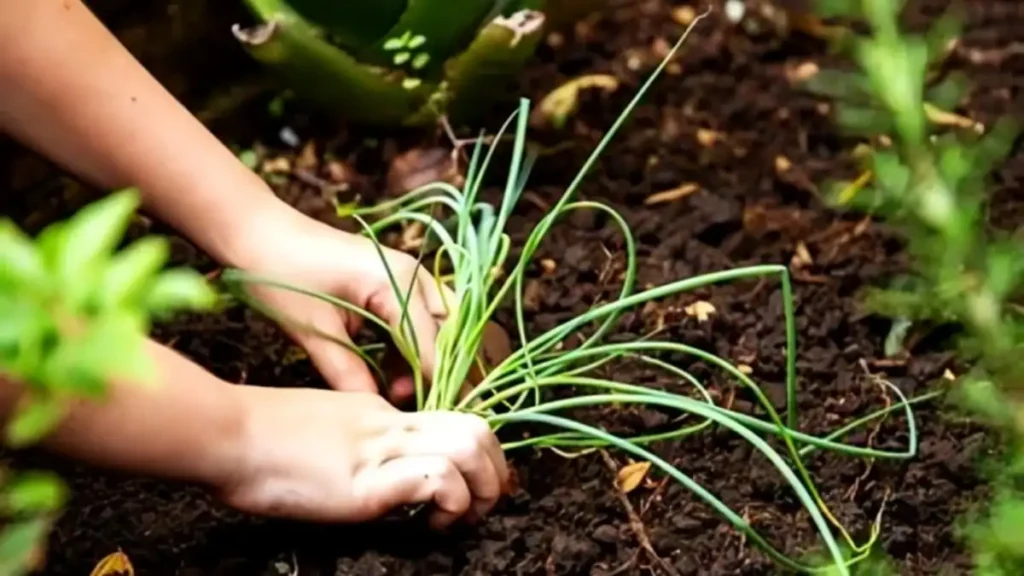
Softwood cuttings taken in May-June root in as little as 3-4 weeks, producing bigger, more established plants far faster than seeds. Take an 8-10cm cut just below a leaf node, remove all leaves from the bottom half, and place in a tiny pot of gritty compost or perlite mix. Keep in a bright, warm place away from direct sunlight. Roots grow fast; tug lightly after three weeks to test for resistance. Once rooted, pot and care like a mature plant.
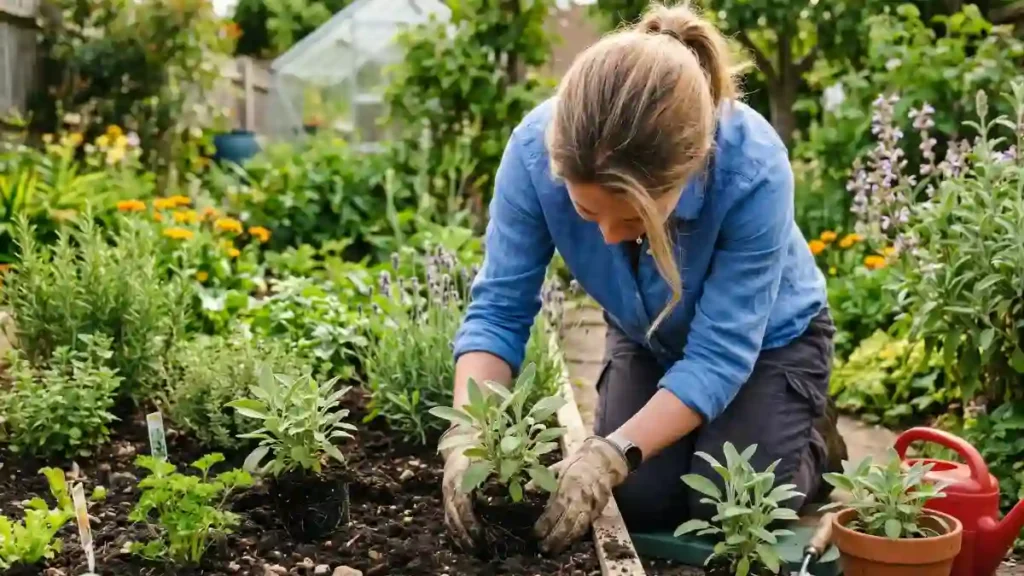
- Select the appropriate location. Sage requires a minimum of 6 hours of direct sunshine every day. Sage grows slowly in partial shade, generates little fragrant oils, and is susceptible to disease. South and west-facing beds and borders are suitable.
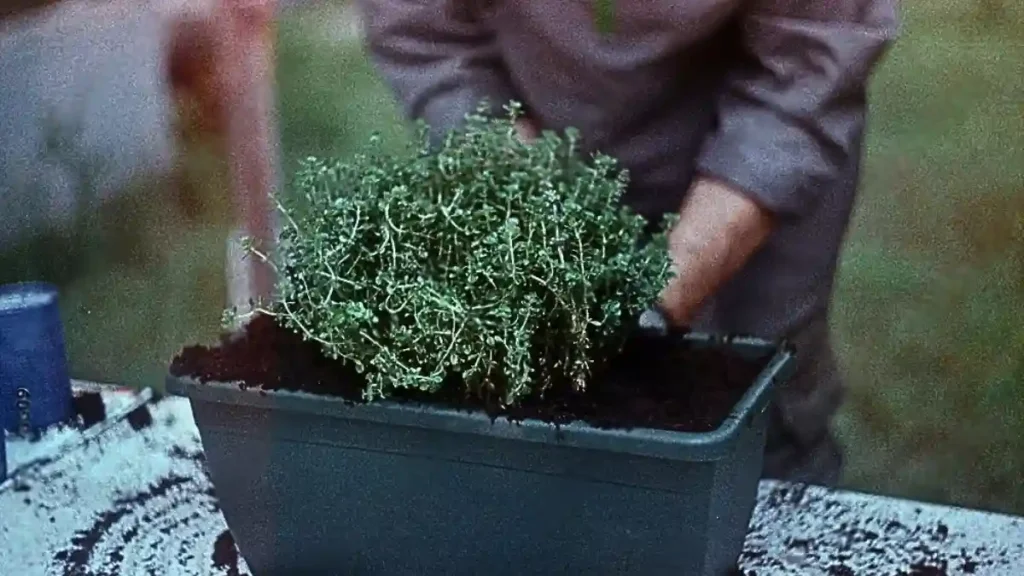
- Prepare free-draining soil. Sage prefers poor, free-draining soil and dislikes rich, moisture-retentive conditions. If your soil is thick clay, consider raising the bed or planting in containers. Before planting, add a sufficient amount of horticultural grit to enhance drainage.
- Provide ample space for plants. Allow 45-60cm between sage plants, since they spread more than most people predict over two to three seasons. Crowded planting inhibits air circulation and promotes fungal infections, which are sage’s main enemy.
- Plant with the same depth as the pot. Planting too deeply traps the woody stem in wet soil, inviting decay. Position the root ball so it is just at soil level and gently firm it in. Water once to settle the roots, then allow them to establish.
Sage care guide — and the pruning skill that makes all the difference
Watering— Water freshly planted sage regularly until it is established. Mature plants are drought-tolerant; water just once every 10-14 days during the summer months. Water is scarce or nonexistent throughout the fall and winter months. Overwatering is the single leading cause of sage mortality.
Feeding—Sage thrives with little feeding; too much nitrogen results in luxuriant but flavorless leaves. In the spring, a single application of general slow-release fertilizer is sufficient. Container sage benefits from a monthly half-strength liquid feed during the summer only.
Pruning critical—- Sage should be pruned severely in the spring (March-April), cutting back to new green growth rather than old, bare woody stems. After flowering in June, trim flower stems to keep the plant bushy. Annual trimming eliminates legginess, which renders elderly sage plants unproductive.
Winter care—- Common sage is completely hardy and requires no care in most UK winters. In extremely cold places, a light fleece over the plant during protracted frosts protects the leaves. Avoid trimming back in the fall because old growth preserves the crown during the winter.
Common sage problems — causes and quick fixes
Root rot— Immediately improve drainage. Allow the soil to dry. If detected early, remove from the container, trim the rotten roots, and repot in new gritty compost. Prevention is always simpler than treatment.
Powdery mildew— Pruning and spacing plants helps to improve air circulation. Remove the afflicted leaves. As a prophylactic measure, spray a solution of diluted neem oil or bicarbonate of soda.
Leggy growth— In early spring, prune down to the lowest visible green growth. If it is too woody to recover, take softwood cuttings in May and grow new plants from them.
Yellow leaves— Reduce irrigation and enhance drainage. If you are in partial shadow, move to a sunnier place. Lower-leaf fading in the fall is totally typical when growth slows.
Slow growth— Shift to a sunny spot. Even switching from part-shade to full sun can change a lethargic sage into a robust, prolific plant in a single growth season.
Frost damage—- Wait until spring to prune back damaged leaves; the plant may recover from the ground. If you are exposed to harsh frosts, protect yourself with fleece.
Harvesting sage and the best ways to use it
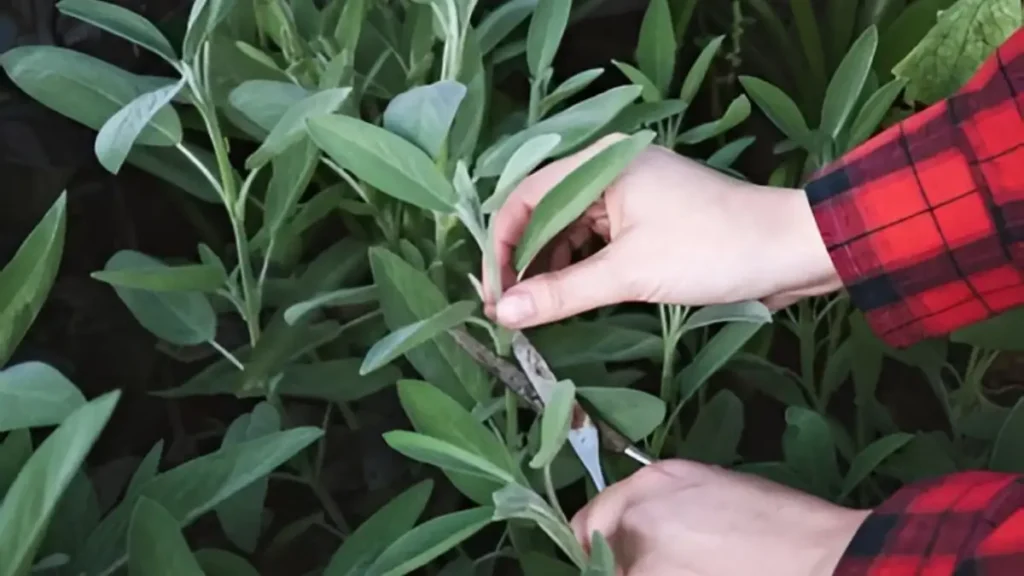
Sage is harvested from late spring to early fall by snipping individual stems or tiny branches using scissors or shears. Never pick more than one-third of the plant at a time. Pick in the morning, after the dew has dried but before the heat of the day begins; essential oil concentration is maximum in the morning. Young leaves near the tops of stems have the most concentrated and delicate flavor, while older, bigger leaves down on the stem are more powerful and slightly bitter.
Sage retains quite well. Dry gathered stems by bundling loosely and hanging in a warm, dry, well-ventilated location for 1-2 weeks. Dried sage keeps 80-90% of its original flavor, making it one of the best herbs for drying. It also freezes nicely; lay individual leaves on a pan to freeze, then transfer to bags and cook directly from frozen.
| Brown butter with sage | Fry whole sage leaves in foaming butter until crisp and golden. Pour over pasta, gnocchi, or ravioli. The definitive Italian use of fresh sage takes 3 minutes and elevates everything. |
| Stuffing and roast meats | Sage and onion stuffing, sage-rubbed pork belly, and sage butter under chicken skin are culinary classics where fresh sage is irreplaceable. Pairs uniquely with fatty meats. |
| Sage tea and infusions | Fresh or dried sage steeped in boiling water for 5 minutes makes a digestive tea with a long history of medicinal use for sore throats and inflammation. |
| Sage oil and vinegar | Pack clean, dry sage leaves into olive oil or white wine vinegar and leave for 2 weeks. Strain and use as an intensely flavoured cooking base or salad dressing. |
Conclusion:
Growing sage is simple, gratifying, and extremely useful. With the correct care—proper sunshine, well-drained soil, and little watering—you may have a robust sage plant all year.
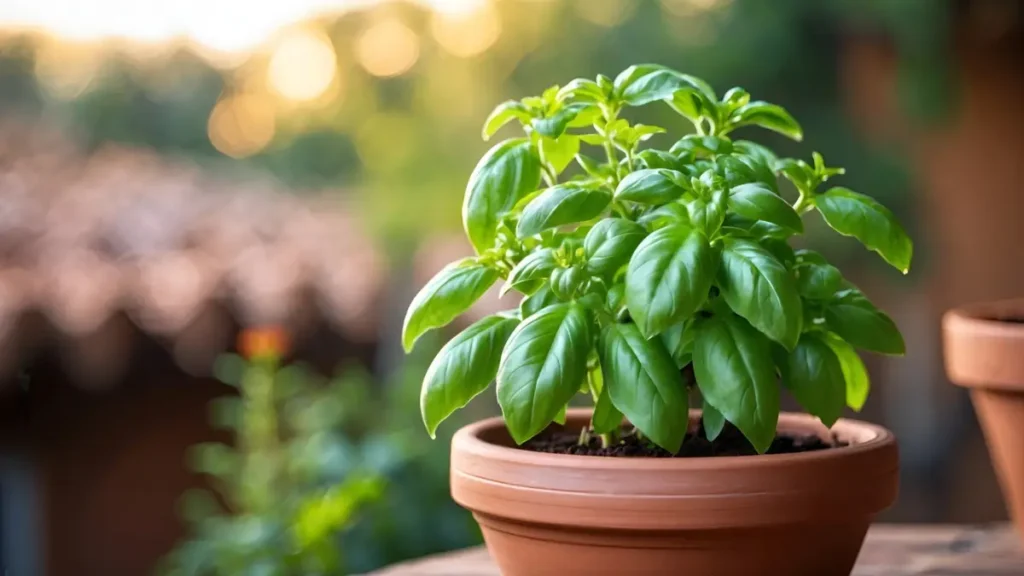
Sage thrives in both the yard and in a tiny pot indoors. Follow these tried-and-true procedures, and you’ll soon have a luxuriant herb to complement your cooking and wellness regimen.
Certainly! If you’d like to learn more, please consider following our WhatsApp Channel, Facebook, Instagram, YouTube, Twitter, and Pinterest.
Frequently asked questions about growing sage
Q1: Can I grow sage in a pot?
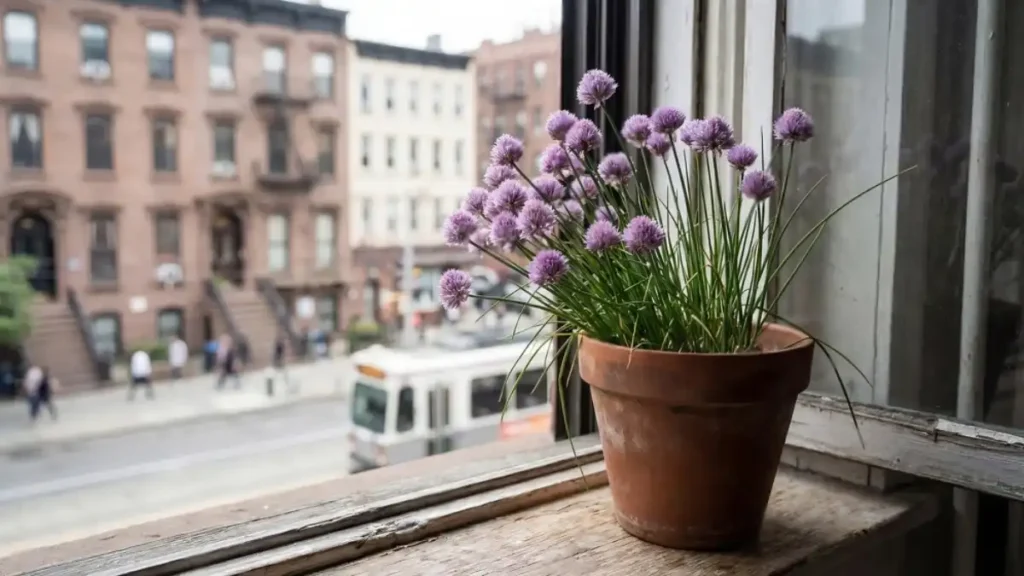
A1: Absolutely, sage grows well in pots and containers. Fill a 25-30cm-diameter container with gritty, free-draining compost mixed with perlite. Place in full sun. Container sage dries out faster than ground plants, so water just when the top centimetre is dry in the heat. In the summer, use a diluted balanced fertilizer once a month. Every 2-3 years, repot into fresh compost as the container fills with roots.
Q2: Does sage come back every year?
A2: Yes, common sage (Salvia officinalis) is a totally hardy perennial that blooms every spring for five to seven years or longer. It is evergreen in warmer climates, keeping some leaves during the winter and re-emerging aggressively after cold winters. Annual trimming in the spring is required to maintain the plant productive and prevent the woody, leggy growth that occurs if sage is not clipped.