Cherry trees are a lovely addition to any garden because of their beautiful flowers and tasty fruits. Knowing the proper techniques for cultivating and maintaining cherry trees is crucial for a strong, fruitful tree, regardless of gardening skill level. You’ll get vital advice and methods from this book to make sure your cherry trees flourish.
Choosing the correct cherry tree
The first step is to select the appropriate variety of cherry trees. Cherry trees can be classified as either sour (Prunus cerasus) or sweet (Prunus avium). Tart cherries are usually used for baking and cooking, while sweet cherries are usually consumed fresh. Consider your climate; sour cherries can withstand greater cold than sweet cherries, which need a more moderate environment.
Planting and how to grow cherry trees
Planting cherry trees:
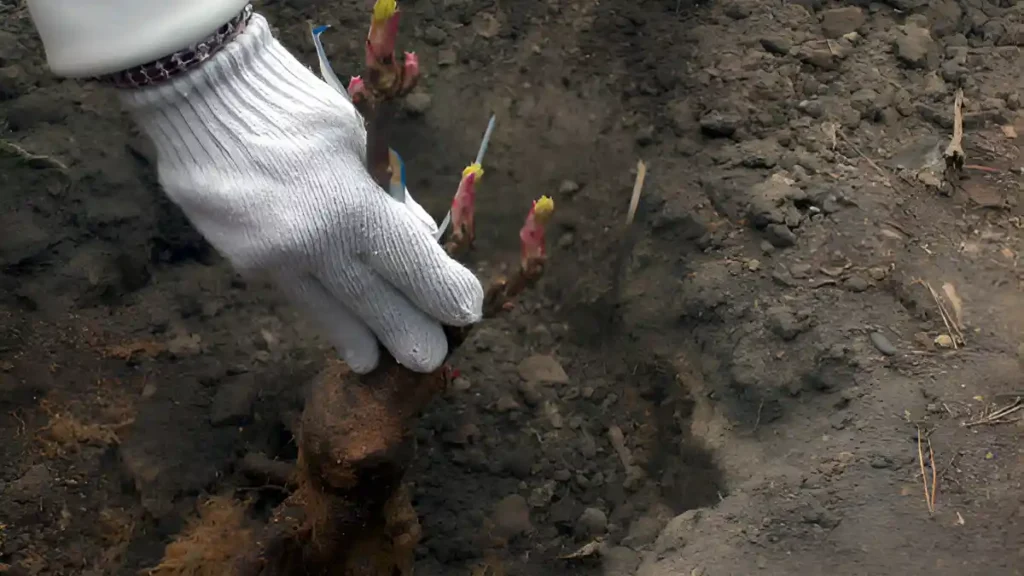
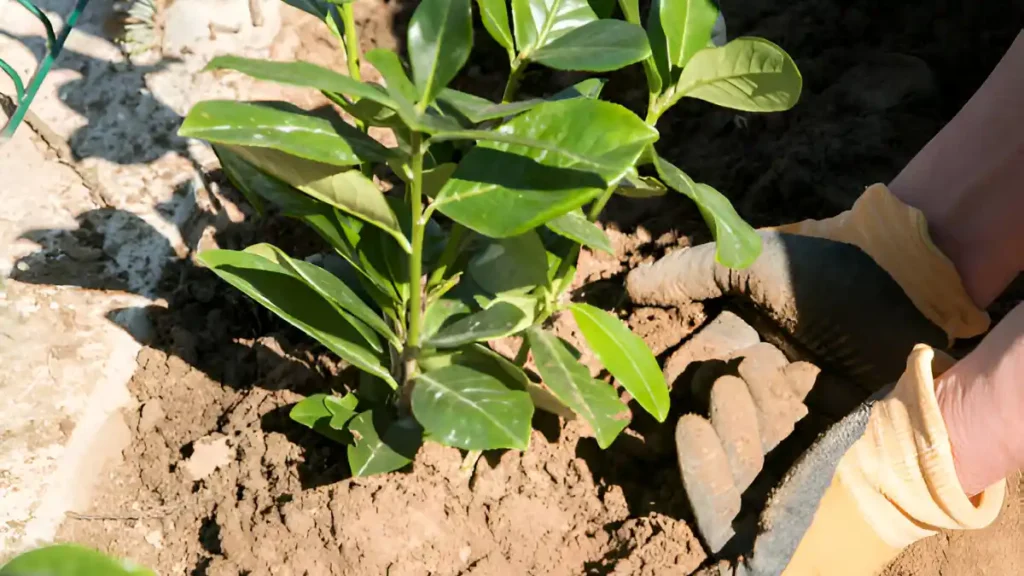
- Dig a hole that is exactly as deep and twice as wide as the root ball.
- Make sure the root collar—the area where the roots and trunk meet—is level with or just above the soil surface when you plant the tree in the hole.
- After adding soil to the hole, gently compact it to eliminate any air pockets. To help the dirt settle, thoroughly water.
- In early spring or late fall, when the earth is still soft and has a higher-than-average moisture content, plant cherry trees in a sunny spot with good air circulation and deep, well-drained soil.
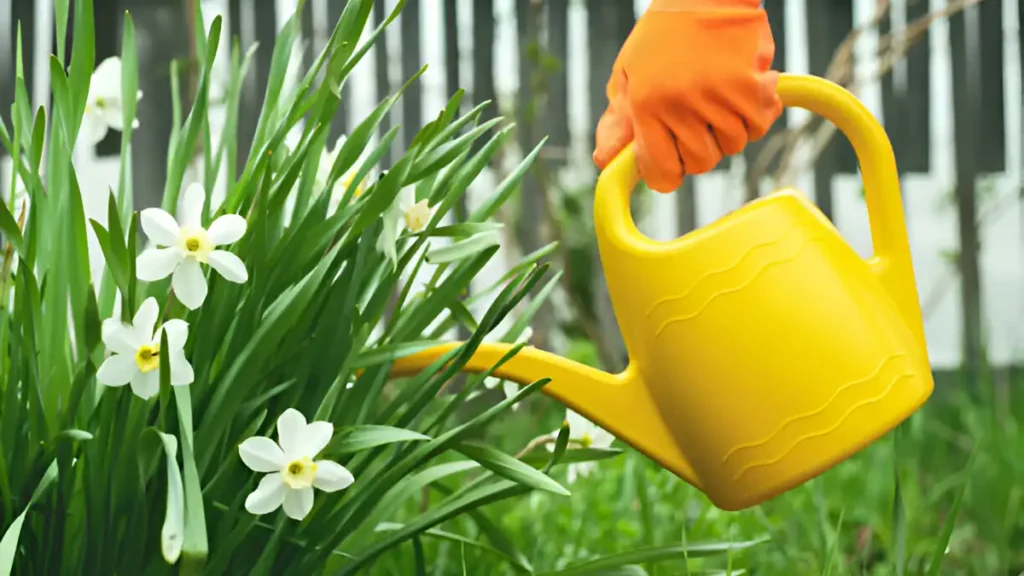
- After adding the mulch, water it well. If your tree has fruit, you will need to cover it after it blooms with wildlife-safe netting to keep birds away from the fruit.
- Cherry trees thrive on soil that is deep, drains well, and has a pH of 6.0 to 7.0. Cherry blossoms require at least six hours of direct sunlight per day.
Tips for growing cherry trees:
- Planting cherry trees requires healthy, well-drained soil. Cherry trees require well-drained soil since they are vulnerable to root rot.
- Additionally, as they require around eight hours of sunlight every day, you cannot plant them in an area where they will grow in the shade of other trees.
- Any handbook on cherry tree maintenance will tell you that sour cherry trees are self-pollinators. It means that for them to produce fruit, just one tree is required. If you grow sweet cherry trees, you will need at least a few trees for optimum pollination.
- Plant cherry trees in locations with higher elevations.
- Since low-lying areas get more early spring frost, you should place them differently than elsewhere.
- Because cherry tree blooms are so susceptible to frost damage, the amount of fruit produced is decreased.
- Because sweet cherry trees blossom earlier than sour ones, they are more susceptible to frost damage.
- Pruning cherry trees properly results in higher quality and more fruit production.
Cherry tree care tips:
Watering:
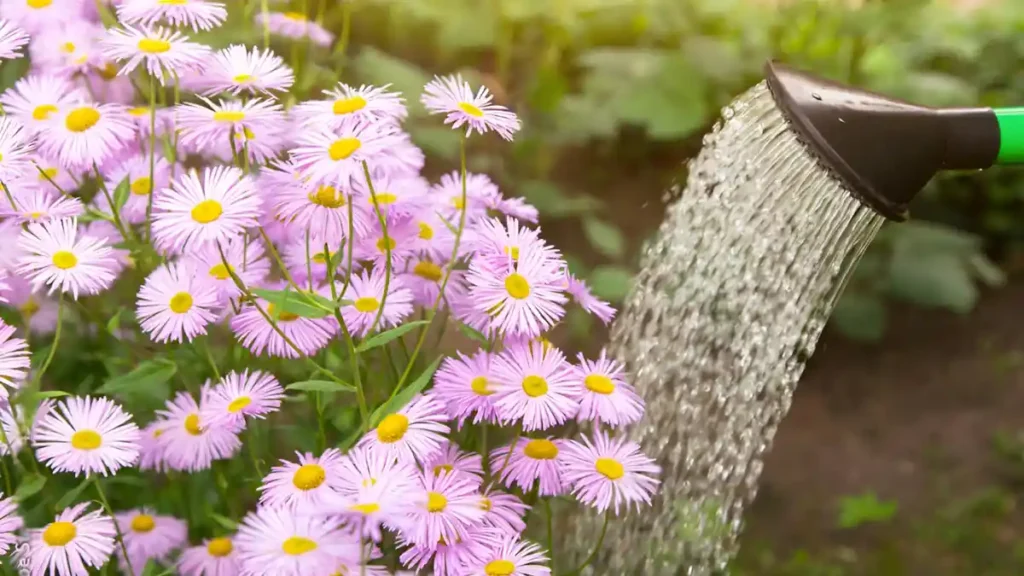
- Watering young cherry trees regularly is essential, especially in the early years. Water the soil often and deeply to keep it damp but not soggy. Although established trees are more resistant to drought, they still require frequent irrigation when the weather is dry.
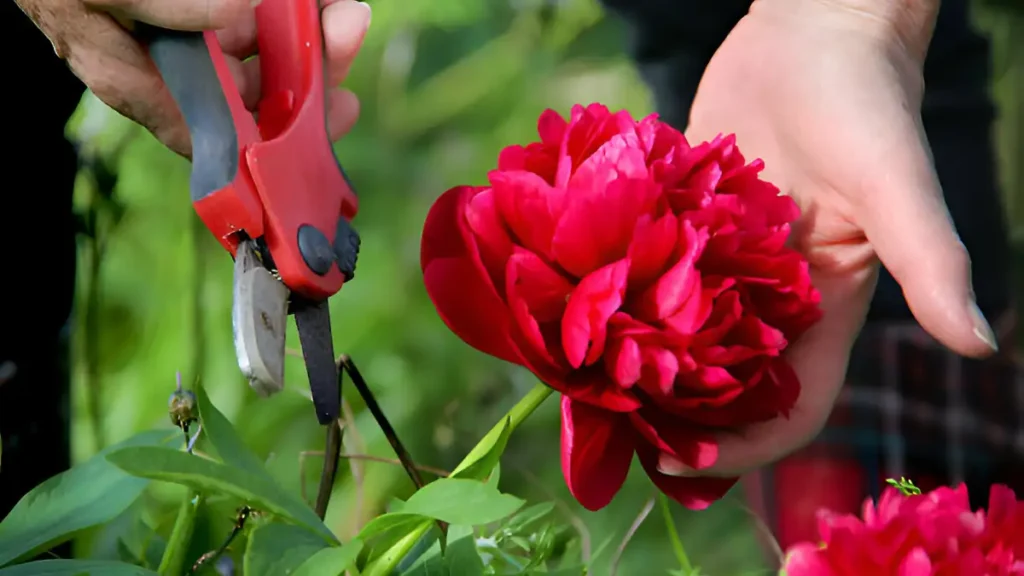
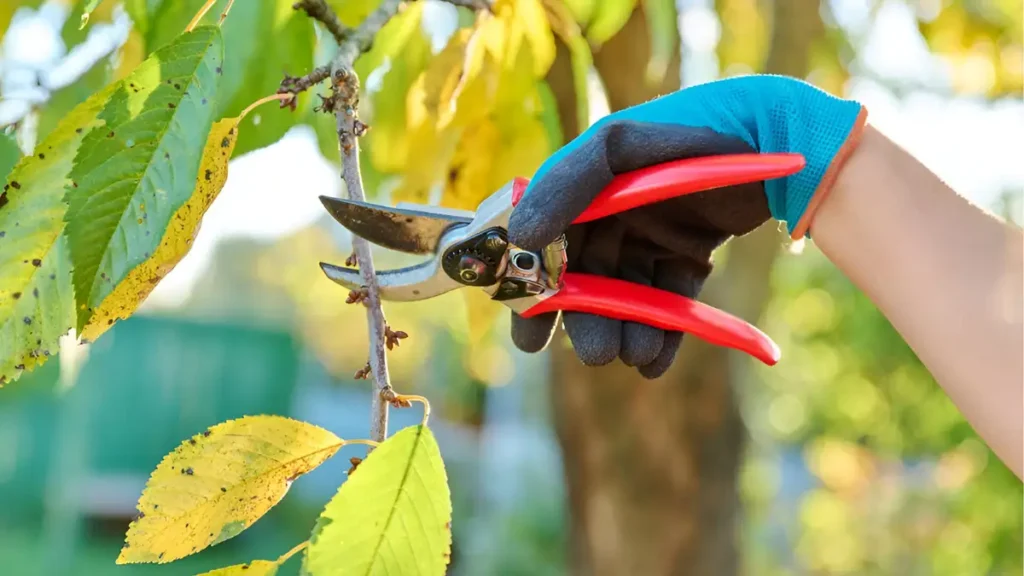
When to prune cherry trees:
- Twice a year, in early spring (before buds emerge but after the possibility of a cold snap) and late summer, pruning should be done. To get exact cuts, use clean, sharp instruments. Crossing branches, suckers, and any branches growing toward the core of the tree should be the main targets for removal.
Fertilizing cherry trees:
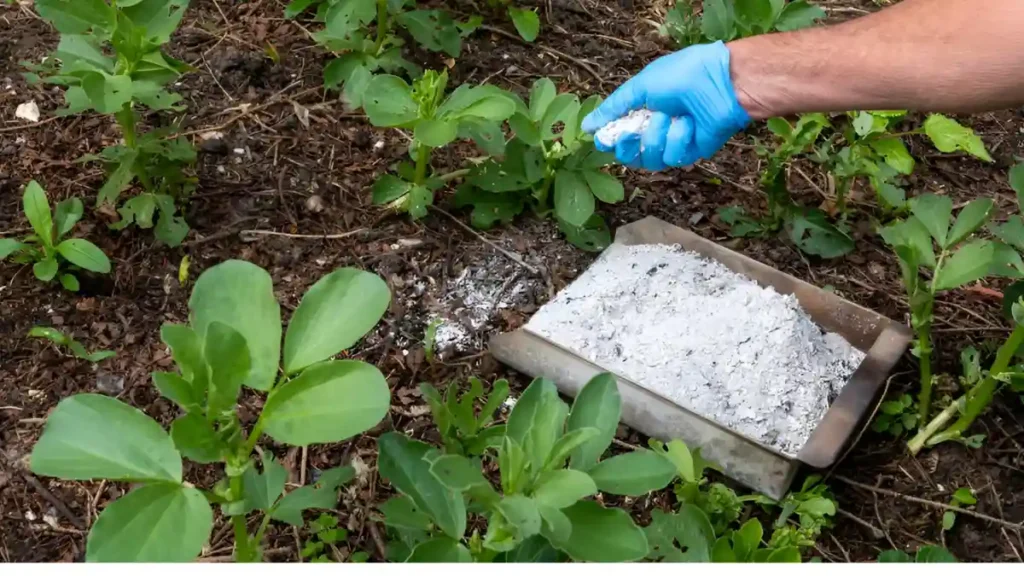
- Fruit production and good growth are encouraged by fertilization. A balanced fertilizer, like 10-10-10) should be applied in the early spring before new growth begins. Stick to the fertilizer package’s suggested application rates; overfertilizing might result in excessive vegetative growth at the price of fruit output.
Conclusion:
Cherry trees are lovely to grow and tend to, producing tasty fruit in the summer and lovely blossoms in the spring. You can take advantage of the abundance and beauty of healthy cherry trees for many years by adhering to these suggestions. An effective and profitable experience can be guaranteed with timely attention to the tree’s needs and proper care.
Certainly! If you’d like to learn more, please consider following our WhatsApp Channel: Harvest Gardening
A frequently asked questions:
Q1: How to grow cherry trees from pits?
A1: Cherry trees can be grown from pits by first cleaning and drying the pits, then storing them in a wet medium in the refrigerator for ten to twelve weeks. Finally, the pits can be planted outdoors in the spring in well-draining soil.
Q2: What are the main types of cherry trees?
A2: Prunus avium, or sweet cherry trees, and Prunus cerasus, or sour cherry trees, are the two principal varieties of cherry trees.