To put it briefly, growing okra in pots is a simple and satisfying task. You may benefit from a plentiful harvest of this healthful vegetable with the correct soil, sunlight, and maintenance. In this guide, we will take you through easy steps on how to grow okra in pots, allowing you to enjoy the satisfaction of nurturing your homegrown produce.
Step-by-step guide on how to grow okra in pots:
Materials required:
- Okra kernels
- Pot or container with a minimum depth of 12 inches
- Properly draining planting soil
- Using compost or organic fertilizer
- Pipe or water bottle
- sunny area
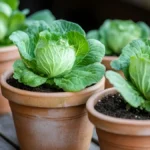
How to grow okra in the Proper Container:
- Choose a pot or container with drainage holes at the bottom and at least 12 inches in depth to avoid waterlogging.
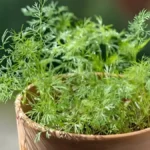
Get the potting mix ready:
- Use a potting mix that drains well, or create your own by adding compost or other organic materials to garden soil. A slightly acidic to neutral pH soil is preferred by okra.
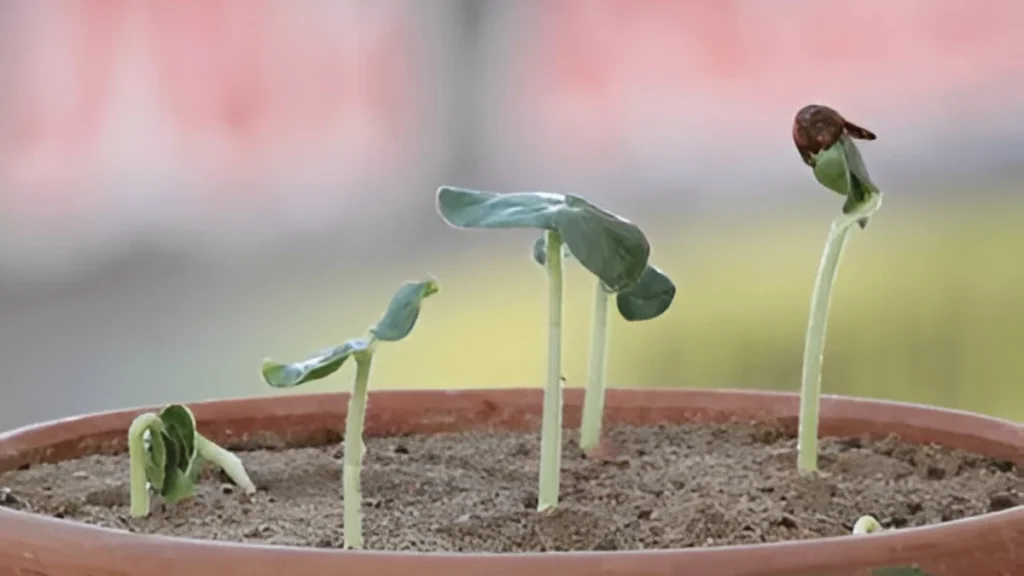
sowing seeds:
- Sow the okra seeds approximately an inch below the surface. When the weather warms up, you can start seeds indoors and take them outside.
- To provide each plant adequate room to grow, keep a distance of roughly 12 inches between each seed when planting several in a big pot.
How to grow okra in the pot with the best care:
How to grow okra with watering:
- After sowing, give the container a thorough watering to provide optimal soil-to-seed contact.
- Make sure the soil is constantly damp but not soggy.
- After the seeds sprout, water less frequently, but make sure the soil is kept continuously moist.
Sunlight:
- The container should be placed where it will receive at least 6 to 8 hours of sunlight each day.
Getting fertilized:
- Once the seedlings have taken root, mulch the base of the plants with compost or a balanced organic fertilizer. For application rate instructions, go to the product.
- During the growing season, fertilize once more when the plants are about 6 inches tall, and then once a month after that.
Pruning and insect control:
- For support, certain kinds might require staking. Remove any withered or yellowing leaves to promote fresh development.
- Look out for insects like spider mites or aphids. If necessary, apply neem oil or insecticidal soap.
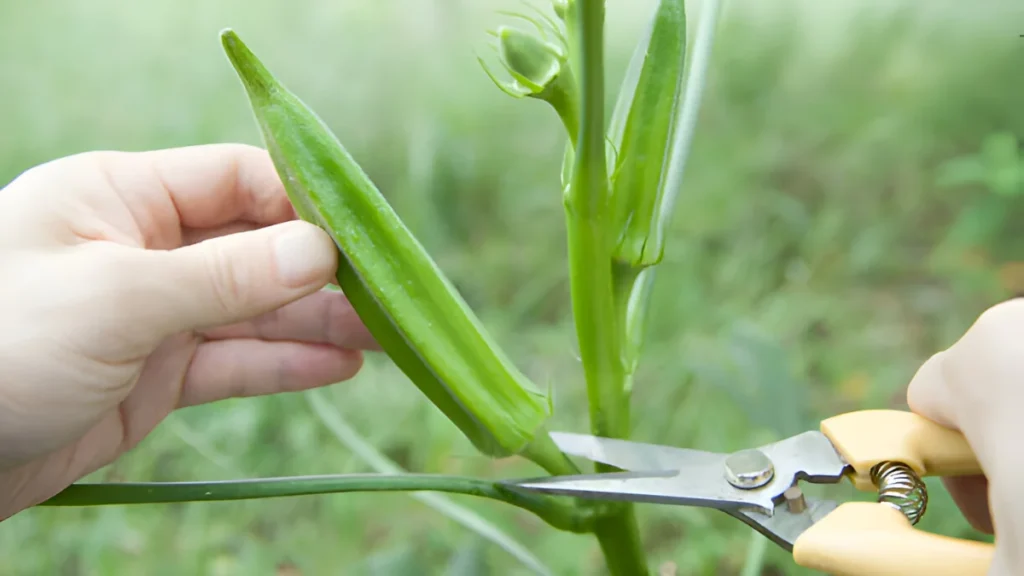
Collecting:
- After planting, okra is usually ready to be collected 50–60 days later.
- When the pods are between two and four inches long, harvest the okra. Frequent harvesting promotes increased pod yield.
Conclusion:
Growing okra from seeds in pots is a rewarding and feasible endeavor for both novice and experienced gardeners. By following these steps, you can easily learn how to grow okra successfully. Start by selecting a well-draining potting mix and ensuring adequate sunlight for optimal growth. The germination process requires patience, but with consistent watering and proper care, the okra seeds will sprout, leading to healthy seedlings. Find out how to grow okra at home is easier than you think!
A frequently asked questions:
Q1: What time is the best to grow an okra plant from seeds?
A1: When the soil temperature reaches approximately 65°F (18°C) or above, late spring or early summer is the best time to plant okra seeds.
Q2: What type of soil is suitable for growing okra in Texas?
A2: Okra grows best on soil that drains properly and has a pH of 6.0 to 6.8. In Texas, loamy or sandy loam soils are ideal for productive farming.
Q3: What type of fertilizer should I use to grow okra plants?
A3: Apply a balanced fertilizer, including equal amounts of potassium, phosphorus, and nitrogen. When the plants are about 6 inches tall, fertilizer should be applied. This should also happen when the plants start to bloom.