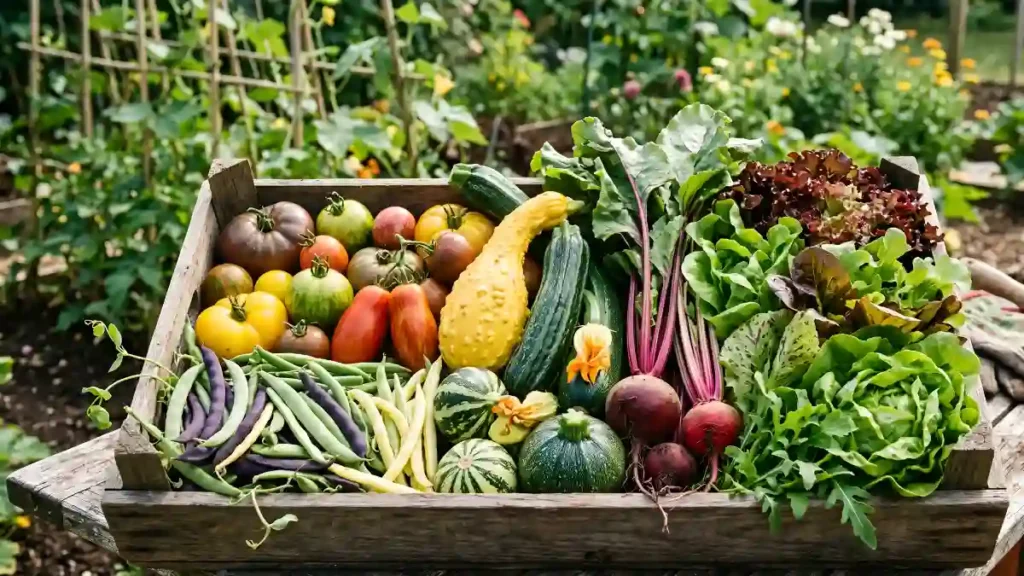
Long before supermarkets stocked imported avocados and exotic berries flown in from thousands of miles away, communities thrived on native fruits — the fruits that grew naturally in their own soil, under their own sun, and within their own seasons. These fruits weren’t just food; they were medicine, culture, and survival rolled into one.
As the globe rediscovers the importance of sustainable eating, native fruits are making a strong comeback. From the tart wood apple of South Asia to the creamy soursop of the Caribbean, native fruits provide a wealth of nutrition, flavour, and environmental benefits that imported produce cannot equal.
In this complete guide, we’ll look at what native fruits are, why they’re important, the best examples from around the world, their amazing health benefits, and practical strategies to incorporate them into your regular diet.
What are native fruits?
Native fruits are fruit-bearing plants that have grown naturally in a specific region for generations — often centuries — without human introduction from elsewhere. Unlike hybrid or imported fruits, native fruits are perfectly adapted to their local climate, soil, and ecosystem, which means they require fewer pesticides, less water, and minimal artificial intervention to thrive.
Native fruits vs. Exotic fruits: What’s the difference?
| Aspect | Native Fruits | Exotic Fruits |
| Origin | Grown naturally in the local region | Imported or introduced from other regions |
| Environmental Impact | Low carbon footprint | Higher due to transportation |
| Nutrient Freshness | Harvested and consumed fresh | Often picked early, ripened in transit |
| Cost | Generally affordable | Usually more expensive |
| Cultural Significance | Deep-rooted in local tradition | Limited cultural connection |
Why native fruits matter more than ever
1. They support biodiversity
Native fruit trees are part of an intricate ecological balance. They feed and shelter local birds, insects, and animals, so contributing to the health of the ecosystem. When native fruit species disappear, the consequences include pollinators, soil health, and even other plant species that rely on the same habitat.
2. They require fewer resources
Because native fruits have evolved to thrive in their specific environment, they require significantly less irrigation, fertiliser, and pest control than non-native crops. This makes them a naturally sustainable dietary option.
3. They reduce carbon footprint
Choosing native fruits over imported alternatives means less fuel burned in transportation, less refrigeration, and less packaging waste — a simple yet powerful way to reduce your environmental impact.
4. They preserve cultural heritage
Many native fruits have a long history of use in traditional cooking, folk medicine, and celebrations. In many ways, eating native fruits helps to preserve cultural identity.
5. They’re often more nutrient-dense
Native fruits, which are plucked at full maturity and consumed close to where they are grown, frequently retain more vitamins, minerals, and antioxidants than fruits that travel large distances before reaching your plate.
Popular native fruits around the world
Native fruits vary greatly according on geography and climate. Here are some outstanding instances from various places.
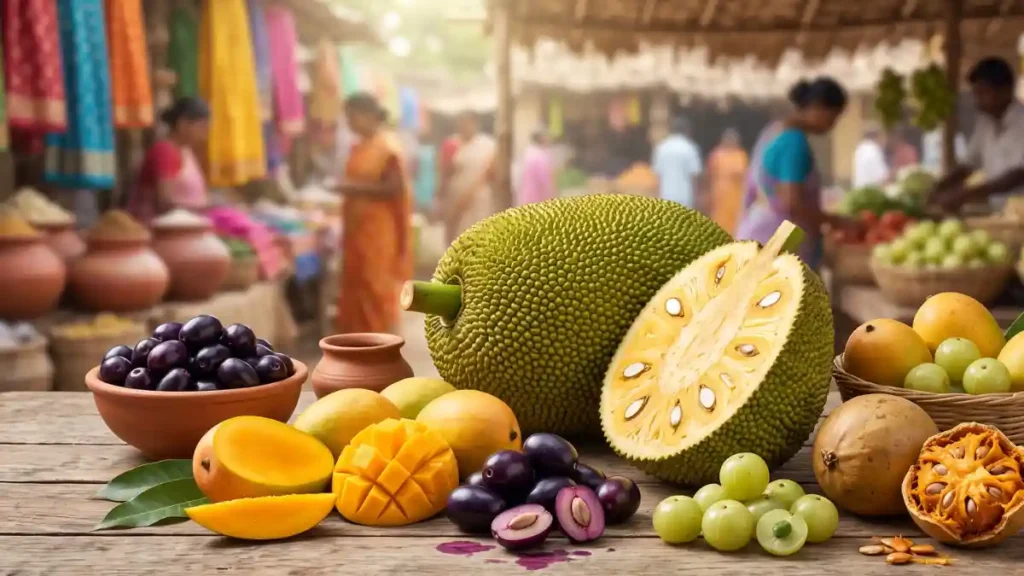
Native fruits of South Asia
- Jamun (Java Plum): A deep purple fruit known for its role in managing blood sugar levels naturally.
- Wood Apple (Bael): A hard-shelled fruit with a tangy pulp, traditionally used for digestive health.
- Custard Apple (Sitaphal): Creamy, sweet, and packed with fiber and vitamin C.
- Jackfruit: The world’s largest tree-borne fruit, valued for its versatility and meaty texture.
- Indian Gooseberry (Amla): One of the richest natural sources of vitamin C, widely used in Ayurvedic medicine.
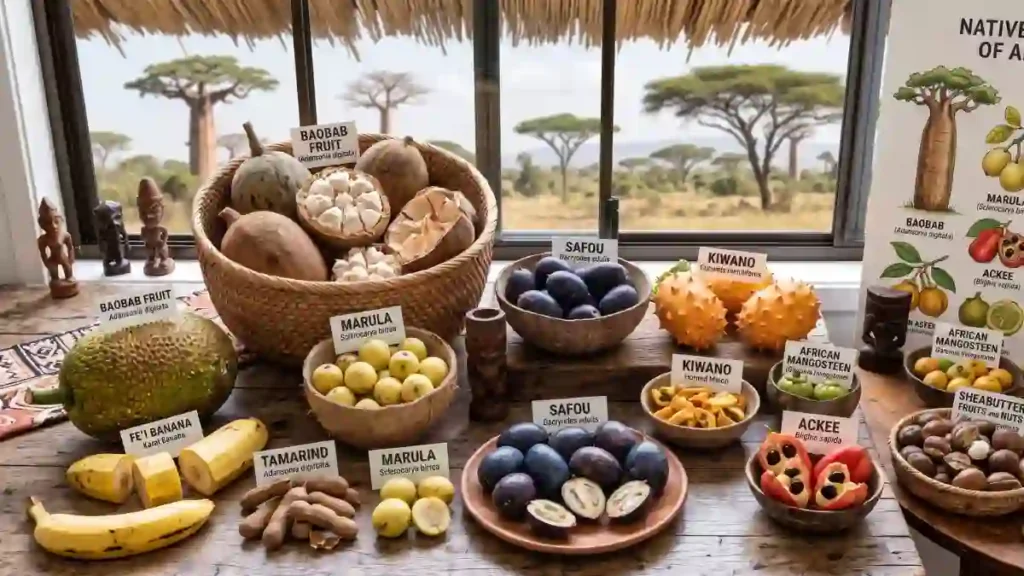
Native fruits of Africa
- Baobab Fruit: Known as the “superfruit of Africa,” rich in antioxidants and vitamin C.
- Marula Fruit: A tangy fruit traditionally fermented into beverages, also rich in vitamin C.
- African Star Apple: Sweet and juicy, popular across West Africa.
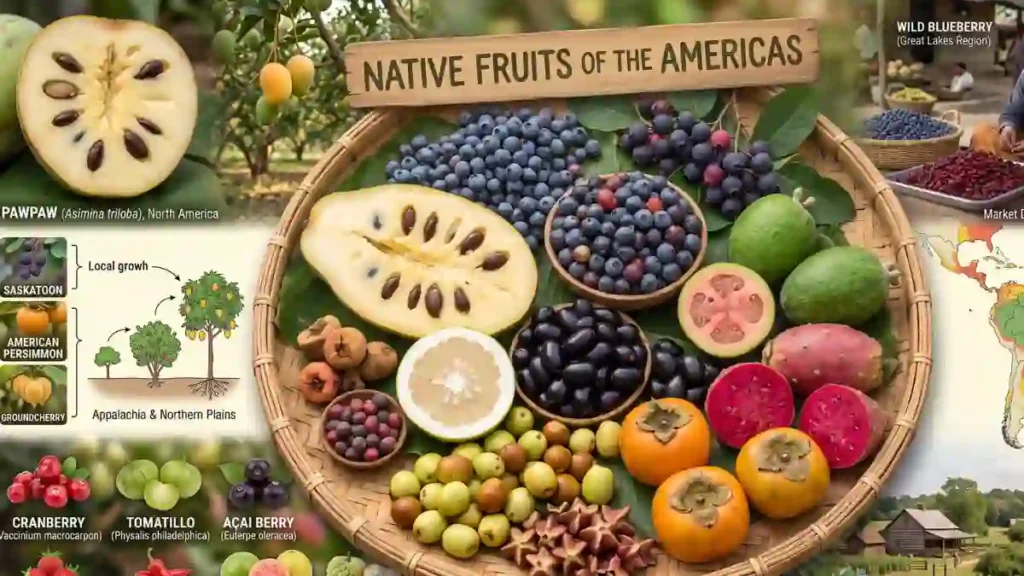
Native fruits of the Americas
- Soursop (Graviola): A spiky green fruit prized for its immune-boosting properties.
- Pawpaw: North America’s largest native fruit, with a tropical, custard-like flavor.
- Prickly Pear: A desert-adapted fruit rich in fiber and antioxidants.
- Cherimoya: Often called the “custard apple of the Andes,” known for its sweet, creamy texture.
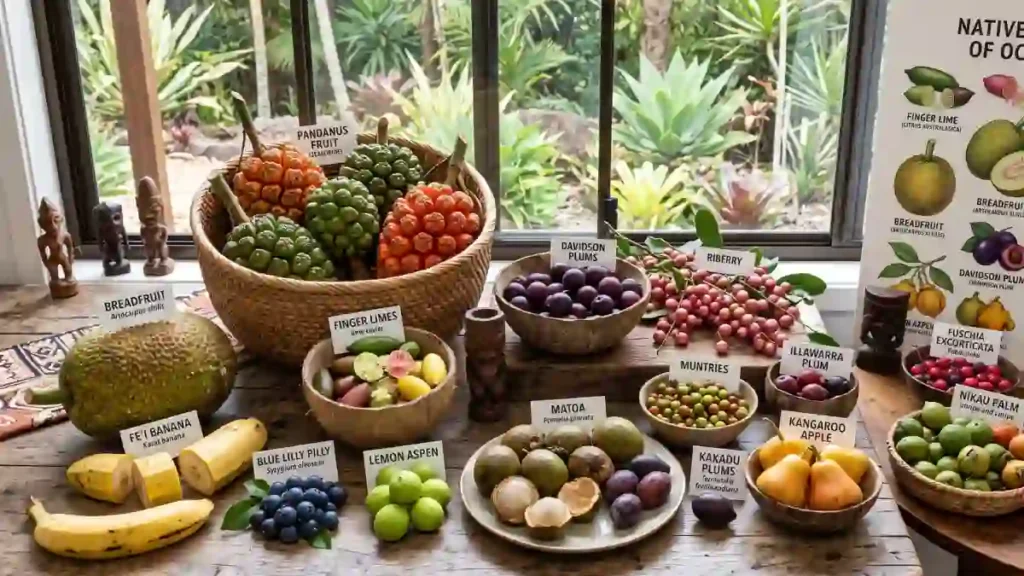
Native fruits of Oceania
- Finger Lime: Also called “citrus caviar,” native to Australia and bursting with tangy juice vesicles.
- Quandong: A native Australian peach known for its tart flavor and high vitamin C content.
- Kakadu Plum: Contains one of the highest concentrations of vitamin C of any fruit on Earth.
Health benefits of native fruits
Rich in essential vitamins and minerals
Native fruits are often nutrient-dense. Fruits such as amla and kakadu plum provide extremely high quantities of vitamin C, whilst jamun and baobab are high in iron, potassium and calcium.
Natural immunity boosters
Because many natural fruits are high in antioxidants and vitamin C, regular consumption can boost the immune system and protect the body from oxidative stress.
Better digestive health
Fruits like wood apple, custard apple, and jackfruit are naturally high in dietary fiber, which supports gut health, regulates digestion, and helps prevent constipation.
Blood sugar regulation
Certain native fruits, such as jamun, have long been utilised to help regulate blood sugar levels, making them an important part of a healthy diet.
Skin and anti-aging benefits
Native fruits’ high antioxidant content helps counteract free radical damage, which has been linked to premature skin ageing. Fruits high in vitamin C help promote collagen formation, resulting in healthier, more vibrant skin.
Heart health support
Many native fruits are low in sodium and high in potassium — a combination known to support healthy blood pressure and overall cardiovascular function.
How to incorporate native fruits into your daily diet
1. Start with local markets
Visit farmers’ markets or local vendors who sell seasonal, native produce. These fruits are often fresher and more affordable than supermarket imports.
2. Experiment with traditional recipes
Many native fruits shine in traditional dishes — chutneys, juices, desserts, and pickles. Exploring regional recipes is a delicious way to enjoy them.
3. Add them to smoothies
Blending native fruits into smoothies is an easy way to enjoy their nutritional benefits without altering your routine drastically.
4. Dry or preserve them
Many native fruits can be dried, powdered, or turned into preserves, allowing you to enjoy their benefits even outside their growing season.
5. Support local farmers
Choosing native fruits over imported alternatives directly supports local agriculture, helping farmers sustain traditional crops and livelihoods.
Conclusion
Native fruits are far more than a nostalgic throwback to traditional diets — they are nutrient-dense, environmentally sustainable, and deeply connected to cultural identity. From the vitamin-rich kakadu plum of Australia to the digestion-friendly wood apple of South Asia, these fruits offer benefits that modern imported produce often can’t replicate.
Choosing local fruits is more than just a healthy decision for yourself; it also supports biodiversity, reduces your carbon footprint, and helps preserve agricultural traditions that have supported communities for ages. Next time you’re in a local market, skip the imported aisle and go for something local. Your body, community, and the environment will reward you.
Certainly! If you’d like to learn more, please consider following our WhatsApp Channel, Facebook, Instagram, YouTube, Twitter, and Pinterest.
Frequently asked questions about native fruits
Q1: What exactly are native fruits?
A1: Native fruits are those that grow naturally in a certain area without being brought from elsewhere. They have evolved over generations to survive in their specific climate and soil conditions.
Q2. Are native fruits healthier than imported fruits?
A2: Native fruits are often more nutrient-dense because they are plucked at full maturity and consumed close to their growing region, retaining more vitamins and antioxidants than fruits transported long distances.
Q3: Are native fruits more expensive than regular fruits?
A3: Generally, native fruits are more affordable than imported exotic fruits since they don’t require long-distance transportation, refrigeration, or import taxes.
")


")


")