Fresh chives cut right into scrambled eggs, swirled into sour cream, or sprinkled over soups – there is no herb that provides a more instant kitchen pleasure with less work. Growing chives is one of the most enjoyable and beginner-friendly activities you can conduct in the yard or on a windowsill. Chives, which are hardy, prolific, gorgeous in blossom, and nearly indestructible once planted, deserve a permanent place in any herb garden. This comprehensive guide includes all you need, from planting your first seedlings to picking armfuls of fresh leaves all season.
Chives at a glance — quick care reference
| Botanical name | Allium schoenoprasum Family: Amaryllidaceae |
| Plant type | Hardy perennial herbReturns every year |
| Sow indoors | February–April On a warm windowsill |
| Sow outdoors | April–June Direct into prepared soil |
| Light | Full sun to part shade 6+ hours preferred |
| Watering | Moderate Keep evenly moist |
| Hardiness | Fully hardy (RHS H7) Down to -20°C |
| Time to harvest | 8–12 weeks from seed 30 days if transplanting |
Why growing chives is the best decision any herb gardener can make
Chives are the herb garden’s best overachiever. A single tiny plant produces months of continual harvests, stunning purple pompom flowers that are delicious and appreciated by pollinators, a powerful barrier to aphids and carrot flies when planted as a companion, and a perennial that returns dependably every spring with no replanting. They thrive in practically any environment — sun or shade, ground or container, indoors or out — and require so little care that forgetting about them for weeks at a time does no harm.
7 reasons chives deserve a permanent spot in your garden
- Ready in weeks—first harvest in as short as 8-12 weeks from seed.
- Grows back endlessly—cut and come again during the season.
- Beautiful in blooming – vibrant purple pompom flowers in May and June attract bees
- Natural pest deterrent—repels aphids, carrot flies, and deer when planted close.
- Thrives in containers—ideal for windowsills, balconies, and tiny areas.
- 100% perennial — plant once and harvest for over 5 years without replanting
- Edible flowers— purple blossoms taste slightly like onion and look gorgeous in salads.
Best chive varieties to grow
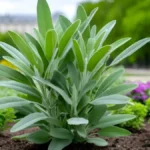
- Common chives (Allium schoenoprasum) — the traditional onion-flavored kind, with hollow spherical leaves and bright pink-purple blossoms. The most extensively cultivated and simplest to locate. ‘Staro’ and ‘Forescate’ are dependable, productive, and bolt-resistant.
- Garlic chives (Allium tuberosum)—also known as Chinese chives—produce flat, wider leaves with a faint garlic smell and white star-shaped blooms in late summer. They are similarly simple to grow and give valuable variety to any herb collection.
- ‘Purly’ — small, prolific cultivar that grows well in containers and on windowsills. Dense clusters with excellent regrowth after harvesting.
- Giant chives (Allium schoenoprasum var. sibiricum) —- larger, bolder variety with bigger leaves and a stronger taste. More spectacular in blossom, with larger yields per plant.
Growing chives from seed — step by step
Growing chives from seed is simple and very rewarding. Although slower than purchasing existing plants, starting from seed is far less expensive and provides the joy of seeing your herbs develop from nothing.
- Prepare the container or seed bed. Fill tiny pots or seed trays with fine seed compost. Chive seeds are little; the finer the compost surface, the better. Outside, rake the soil to a fine tilth and remove any stones or big clumps.
- Sow thinly throughout the surface. Do not put chive seeds in separate holes; instead, scatter them thinly throughout the compost surface. Aim for around 5-8 seeds per 9cm container. Sow in drills 1cm deep, with 20-25cm between rows.
- Cover and water carefully. Cover the seeds with a thin 5mm layer of fine compost or vermiculite. Water slowly with a delicate rose, not a strong stream that disrupts the seeds. Ensure that the compost is continuously wet throughout germination.
- Germinate between 15 and 18°C. Chive seeds germinate about 10 to 21 days at normal temperature. They don’t need a propagator; a warm windowsill is excellent. Do not allow the compost to dry out during this important period.
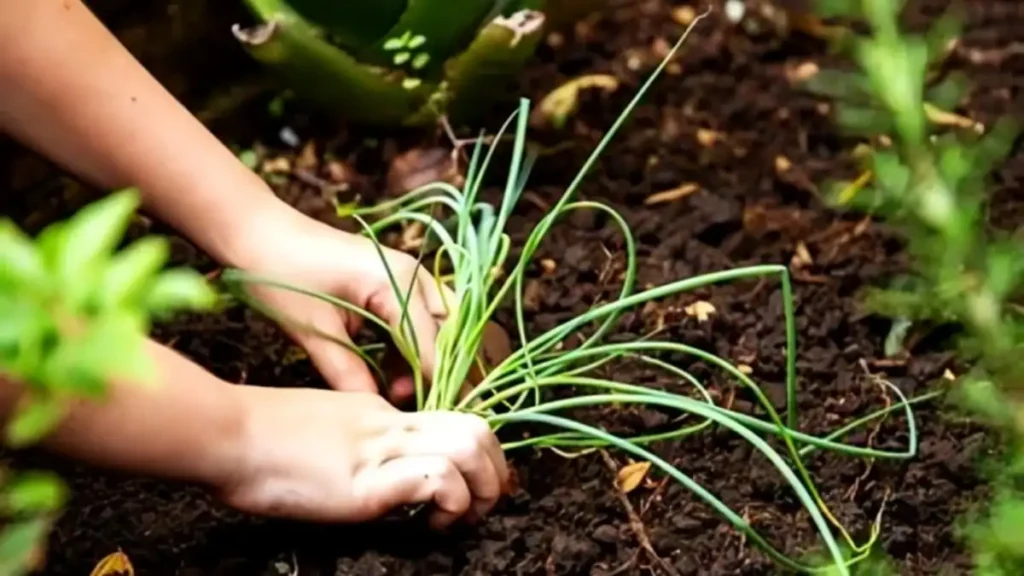
- Thin or pot on when 5cm tall. When seedlings reach 5cm, thin the outdoor rows to 15-20cm apart. Pot-grown seedlings can be transferred into bigger pots or garden beds in tiny groups of 4-6 plants per hole to create an immediate full-looking clump.
- Harvest when the shoots reach 15 cm. The first harvest normally occurs 8-12 weeks after seeding. Cut leaves to 2-3cm from the root with sharp scissors, never pulling them. The plant will regenerate in 2-3 weeks for the next harvest.
Growing chives in pots, containers and indoors
| In garden beds | Plant in groups of 6-8 in well-drained soil in a sunny location. Clusters are around 20-30 cm apart. Chives spread slowly by division and eventually form a cluster that grows steadily over time. Divide every three years to regenerate. |
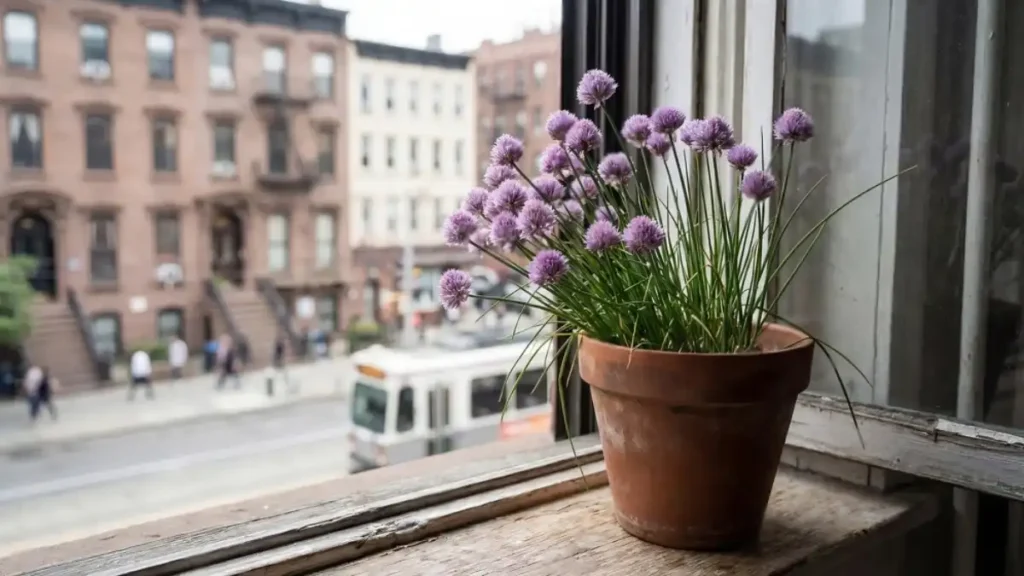
| In containers and pots | Chives flourish in pots that are at least 15 cm deep. Use high-quality multipurpose compost with additional perlite. Containers dry out faster than ground-grown plants, so they require more regular watering. In the summer, use liquid fertilizer once a month. |
| On a windowsill indoors | Chives grow inside on a sunny south or east-facing windowsill. Sow the seeds immediately into a deep windowsill container. Expect somewhat slower growth than outside; in winter, augment with a grow lamp for year-round yields. |
| In raised beds | Raised beds are perfect for growing chives because of their warm soil, adequate drainage, and easy access. Plant along the edge of beds so they may be readily picked without disrupting other crops. Excellent partner for carrots and roses. |
Chive care guide — keeping them productive all season
Watering:
Chives need continuously damp but not soggy soil. Water when the top centimetre of soil feels dry — usually every 5-7 days outside in the summer and every 7-10 days in the winter months. Container-grown chives require more regular watering than ground plants. Avoid overhead watering in the evening, since moist foliage overnight promotes fungal disease. Chives are more drought-tolerant than other herbs, although they will grow much slower during protracted dry weather.
Feeding:
Ground-grown chives in excellent soil rarely require feeding. Container and windowsill chives benefit from a balanced liquid fertilizer once a month during the growth season (April to September) to replenish nutrients depleted by frequent harvesting and low soil volume. Use a general herb or vegetable feed at half the suggested concentration. Stop feeding between October and March, when growth naturally slows.
Deadheading and winter care:
After flowering in May and June, deadhead spent flower heads to minimize excessive self-seeding and encourage the plant to shift energy to leaf formation. Chive foliage typically fades back fully in late October. Cut all leaves down to 5 cm, remove any dead material, and the plant will re-emerge robustly in early spring. Chives are completely frost-hardy and require no winter protection outside.
Common chive problems and how to fix them
- Yellow leaves: Turning yellow. Usually, overwatering or wet soil causes root stress. Can also indicate a nitrogen deficit in containers.
Check drainage. Allow the soil to dry in between waterings. If container-grown, use a balanced liquid feed at half strength.
- Slow growth: Chives are developing slowly. Insufficient lighting is the most typical reason. Also, examine if the cluster has grown congested and root-bound.
Move to a more sunny location. Divide overgrown clumps in the spring; dividing every three years greatly rejuvenates growth.
- Flopping over: Drooping and floppy leaves indicate that the plant is wet and its roots are decaying, or that the clump has become too massive and heavy to sustain itself upright.
Improve drainage. Cut back firmly and divide the clump into smaller portions, then replant 3-4 divisions in new compost.
- Rust disease: orange-brown rust patches. Leek rust is a fungal disease that causes orange powdery patches on leaves. More prevalent in humid climates and congested plantings.
Remove and discard the afflicted leaves. Thinning the cluster improves air circulation. Do not compost contaminated materials. Avoid soaking the foliage.
- Bolting to flower: producing blooms too soon. Chives blossom between May and June, which is very typical. Bolting is expected, and the blossoms are both tasty and aesthetically pleasing.
Deadhead wasted flowers as soon as possible to avoid excessive self-seeding and to help the plant to recover leaves more quickly.
- Thrips and Aphids: Pest damage to leaves. Thrips generate silvery streaks. Aphids form clusters near the base of leaves. Both are unusual among healthy, well-fed chive plants.
Use a water jet to remove aphids. Remove any leaves that have been significantly impacted by thrips. Neem oil spray inhibits reinfestation of container plants.
How to harvest chives — and the best ways to use them
Harvest chives by removing the leaves 2-3cm above the soil level using sharp scissors or snips; never pull or rip, since this harms the roots. Cut the entire cluster rather than individual leaves for a neater look and faster regeneration. The plant will regenerate and be ready for the next harvest in around 2-3 weeks. Chives are best used fresh, clipped straight onto dishes just before serving; heat substantially reduces their taste.
| Eggs and dairy | Snipped chives on scrambled eggs, folded into omelettes, stirred into cream cheese or crème fraîche — their mild onion flavour shines brightest with dairy and eggs. |
| Soups and broths | Scattered over potato soup, vichyssoise, or any clear broth at serving time. Add raw at the last second — never cook into liquid or the flavour disappears. |
| Salads and dressings | Add chopped chives to green salads, potato salad, coleslaw, or vinaigrette. The edible purple flowers make a stunning garnish with a mild onion taste. |
| Chive compound butter | Mix chopped chives into softened butter with lemon zest and black pepper. Roll in clingfilm and refrigerate. Melt over grilled fish, steak, or baked potatoes. |
Conclusion
Growing chives is one of the most rewarding decisions you can make in the yard. Plant a clump in the spring, either from seed or from a garden center pot, and give it a sunny place with good drainage. Cut it back on a regular basis, and it will repay you with fresh harvests for many years. The purple blooms will attract bees to your yard, the leaves will enrich anything from eggs to soup, and the plant will silently do its function with little care from you. Few plants provide so much value for so little. Begin with chives and grow from there.
Certainly! If you’d like to learn more, please consider following our WhatsApp Channel, Facebook, Instagram, YouTube, Twitter, and Pinterest.
Frequently asked questions about growing chives
Q1: Should I let my chives flower?
A1: Yes, chive flowers for pollinators are tasty and lovely. The vibrant purple pompom blooms grow in May and June and have a subtle onion flavor. They look great in salads and as garnishes. Allowing chives to blossom briefly inhibits leaf production, but deadheading wasted flowers quickly enables the plant to transfer its energy back into foliage. If you want maximum leaf development, remove flower buds as they appear; if you want flowers for bees or culinary use, let them blossom and then deadhead before the seeds set.
Q2: Do chives come back every year?
A2: Yes, chives are totally hardy perennials that die back in late autumn and bloom dependably in early spring. A well-established chive clump can produce harvests for five years or more without requiring replacement. They actually improve with age, as the clump becomes larger, producing more leaves and blooms each season. Simply cut back dead foliage in autumn and wait for the inevitable return in February or March.