Apples are one of the most well-liked and adaptable fruits, and the apple tree (Malus domestica) is a commonly grown fruit tree. Apple trees are native to Central Asia and have been cultivated for thousands of years in temperate regions worldwide. These trees are deciduous, reaching heights of up to 40 feet. Usually, they blossom in the spring and produce fragrant pink or white flowers, which are followed by fruit in the late summer or early fall. Apples are consumed raw, cooked, or in drinks, and apple trees are very important culturally and commercially worldwide. This in-depth tutorial provides a comprehensive guide to growing an apple tree, ensuring its health and fruit production, regardless of gardening knowledge, and provides expert guidance through every stage of the process.
Discover how to grow an apple tree:
1. Choosing the right apple variety
Selecting the appropriate variety is the first step in growing a vigorous apple tree. Apple tree varieties are as varied as the areas in which they are found. Among the crucial elements to take into account are:
- Apple trees grow well in moderate climates. Varieties like Honeycrisp, Gala, and Granny Smith grow nicely if you live in an area with chilly winters and mild summers. You could like Anna, Dorsett Golden, or Fuji in warmer climates.
- A large number of apple trees do not self-pollinate. This implies that many varieties are required for cross-pollination. Select cultivars that flower at around the same time to guarantee a good crop.
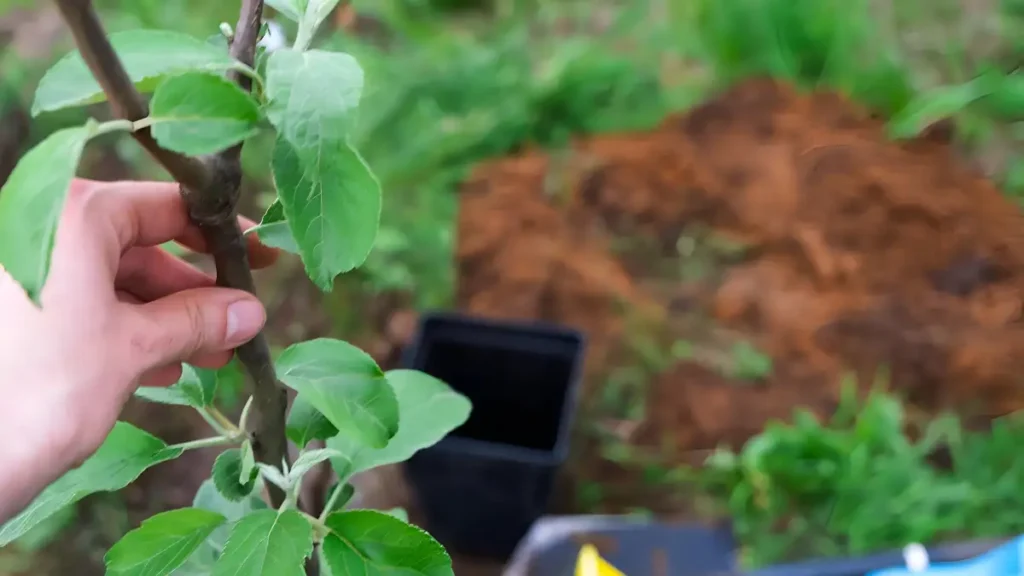
2. How to plant an apple tree
Apple tree planting is a process that calls for time and skill. To get you started, consider these recommended practices:
- When the apple tree is dormant, early spring or late fall, is the ideal time to plant it. This enables the roots to take hold before the onset of the growing season.
- Apple trees require well-draining soil with a pH of 6.0 to 7.0, and to promote root growth, compost or organic matter should be added to the soil.
- Standard apple trees need 15-20 feet of space, while dwarf trees should be placed 8-10 feet apart for healthy air circulation and disease prevention.
- Not deeper than the roots, but twice as broad, should be dug. Make sure the tree is 2-4 inches above the earth at the graft union, which is where the tree was grafted onto the rootstock.
Concerning apple tree care:
Learning the technique of caring for apple trees can guarantee that your trees are healthy and provide plenty of fruit, regardless of your level of gardening knowledge.
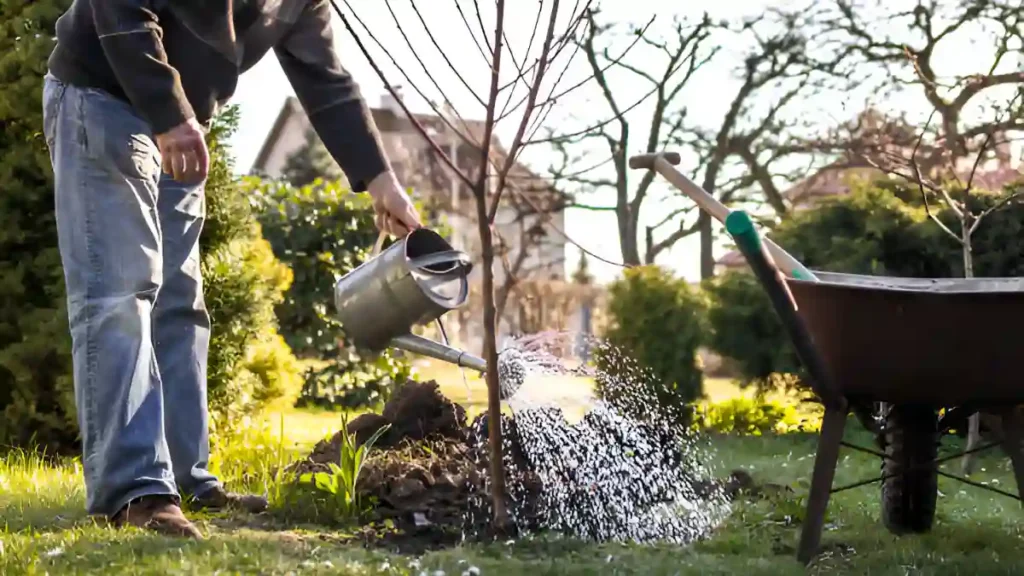
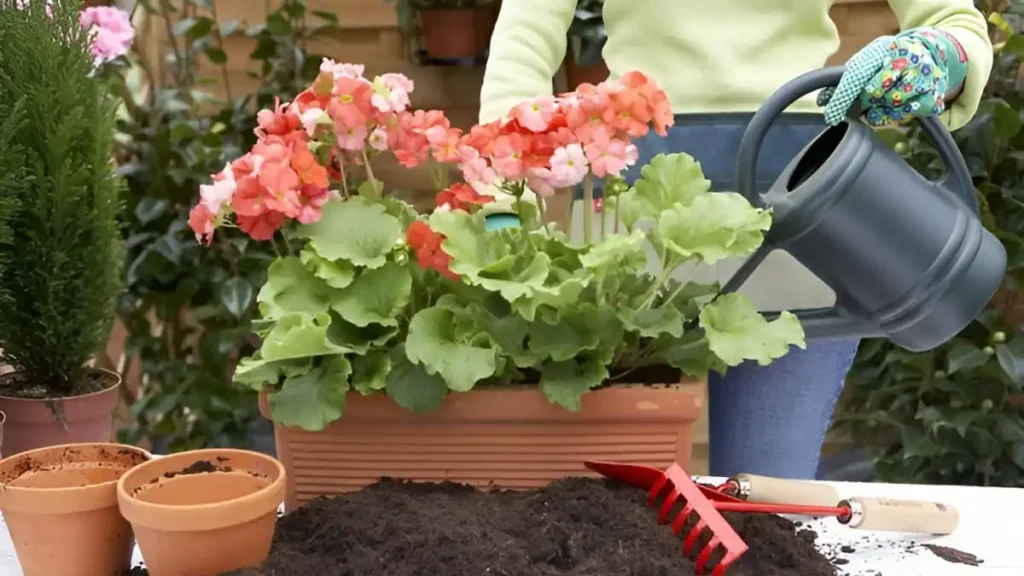
1. Watering and mulching
For apple trees to develop healthily, mulching and watering them appropriately are crucial. Poor growth or illness can result from either overwatering or underwatering.
- Newly planted apple trees require 10-15 liters of water weekly, while established trees require deep water every ten to fourteen days, depending on their environment.
- Cover the tree’s base with a layer of mulch that is two to three inches thick, leaving a few inches of space around the trunk. This controls soil temperature, keeps weeds out, and preserves moisture.
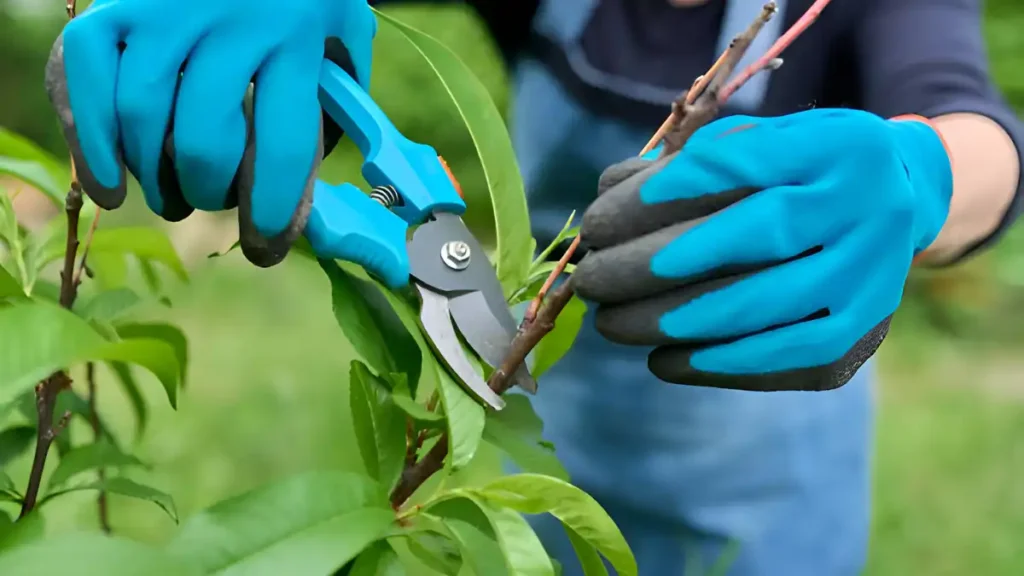
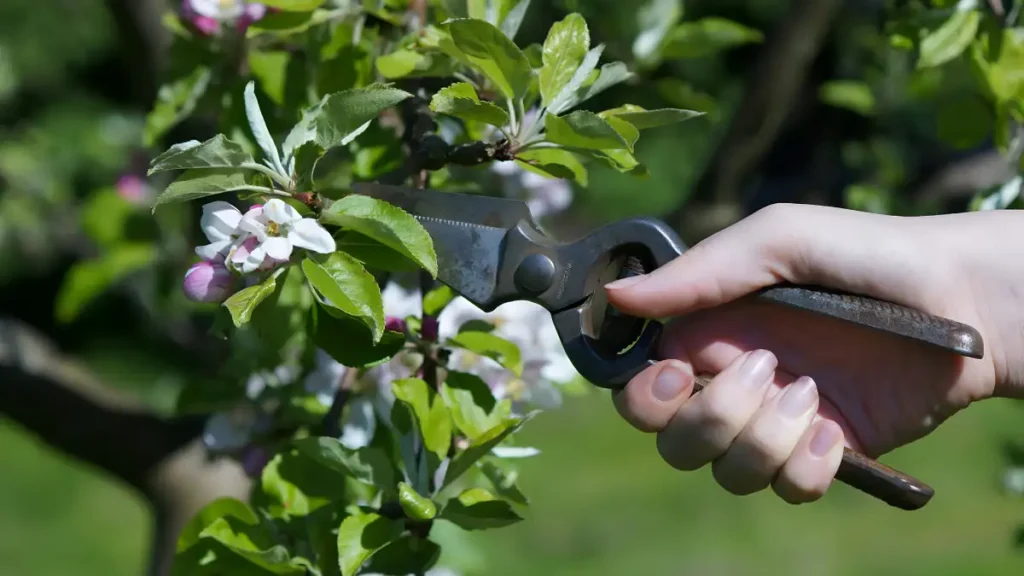
2. How to prune an apple tree
For apple trees to remain healthy and produce as much fruit as possible, pruning is essential. When the tree is still dormant, in late winter or early spring, pruning is most effective.
- Pruning enhances sunlight penetration, which is essential for fruit growth, helps maintain the form of the tree, and gets rid of dead or diseased wood.
- Cut off branches extending downward, inward, or across, build an outward-growing scaffold, and use sharp, clean instruments for pruning to prevent disease spread.
- Remove extra fruit in early summer for healthier growth and remove smaller, malformed, or crowded fruits to maintain one apple per 6-8 inches on a branch.
3. How to fertilize an apple tree
Providing the proper nutrients to your apple tree will guarantee healthy development and a bountiful crop. For best effects, fertilize apple plants as follows:
- Apply fertilizer in early spring before the growth season begins, then apply a lighter treatment after the tree flowers.
- Use a balanced fertilizer specifically designed for fruit trees, with an N-P-K ratio of 10-10-10, and organic solutions like compost and well-rotted manure.
- Apply fertilizer evenly beneath the tree’s canopy, avoid closeness to the trunk, and thoroughly water the area after application to ensure root nutrient absorption.
4. Preventing apple tree diseases
Apple trees are vulnerable to many pests and illnesses, but damage may be minimized with the right maintenance. Typical problems include the following:
- A fungus that causes dark spots on fruits and plants can be prevented by maintaining proper airflow, frequent trimming, and using appropriate fungicides.
- Apple trees are damaged by bugs burrowing into them, and larvae can be prevented by covering the base with sticky bands and using pheromone traps.
- Branches die back from this bacterial illness and seem burned. Reduce the size of the impacted regions and stay away from high-nitrogen fertilizers that promote rapid development.
Conclusion:
Expert apple tree cultivation takes time, but with the correct techniques, you may have a strong tree and a bountiful crop for many years to come. All these little things—pruning, fertilizing, eliminating pests, choosing the appropriate species, and watering regularly—matter immensely to the success of your tree.
Certainly! If you’d like to learn more, please consider following our WhatsApp Channel: Harvest Gardening
A frequently asked questions:
Q1: How long does it take to fully grow an apple tree?
A1: Apple trees typically mature 6-10 years from seed, while grafting from older specimens takes 3-5 years, depending on the type and growth environment.
Q2: How to grow apples from apples?
A2: To grow apples from apples, clean, extract seeds, and plant them in soil. Store in a cool, dark spot for a few weeks, and provide ample water and sunlight.
Q3: In which season do apples grow?
A3: Apple harvest season is September-October, except Nilgiris (April-July), with fruits developing 130-150 days after the maximum bloom stage, depending on the type.