Jade plants are succulent plants that are usually referred to as money plants or lucky plants. The majority can withstand dry spells, intense light, and high temperatures. On the other hand, plant owners may be concerned when they notice white patches on their leaves—recognizing the reasons behind these white patches and the beauty of your jade plant. To learn the reasons behind white spots on jade plants and how to remove them, read this article in its entirety.
Learn the cause of the white spots on jade leaves:
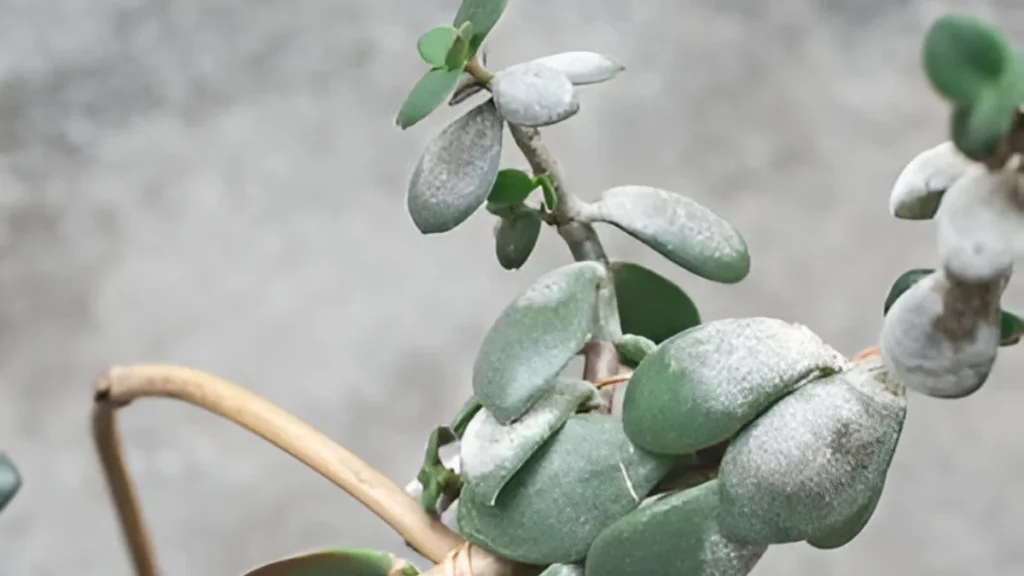
- A fungus may be the cause of the white spots. Additionally, fungal, dusty specks are probably powdery mildew. Initially, the leaves will have tiny, round white spots that grow across the entire plant.
- Geological development in the compost can happen to any of your potted plants as a result of their gradual nutrient absorption. especially after years of it being in the same pot! A mineral imbalance that results in insufficient nutrients to support a healthy plant can be caused by this.
- These stains are the remaining salt deposits on the leaves, which evaporate with the extra water. It’s not very thirsty for the crassula family of plants, and if you see any soft leaves or leaf drops, your plant is probably drinking too much water.
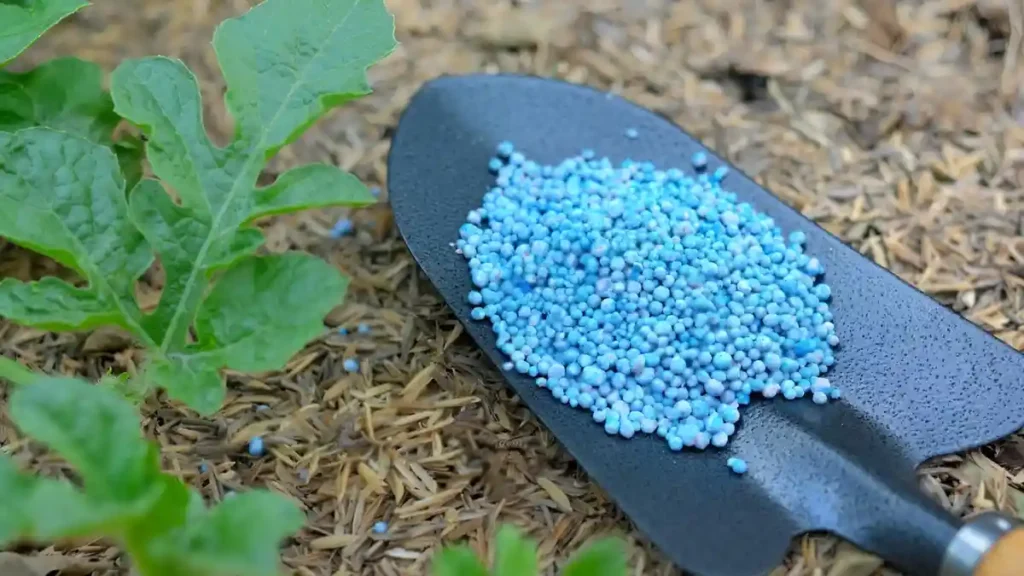
- Another reason is overfertilization. It is important to ensure that you are not “double feeding” if your compost contains slow-release fertilizer. However, it’s important to remember that these patterns do not damage the plant; they often only appear on the margins and tips of the leaves, not the entire plant.
How to fix white spots on jade leaves:
Pests, illnesses, or environmental conditions are some of the causes of white patches on jade plants. The following actions can be used to reduce white spots on your jade plant
Fungal diseases
- Detailed monitoring is necessary to diagnose fungal infections. Application of fungicidal sprays made especially for decorative plants may be essential to therapy in situations where fungal infections have already begun. Jade plants can be free of the white patches linked to fungal infections in a well-ventilated atmosphere.
Infestations of pests
- A major cause of white markings on jade plants is infestations of pests. Make sure your plant receives adequate air circulation and is not congested. Keep the leaves and stems clean regularly to get rid of dust and other bug-hiding places. To get rid of the white spots, carefully clean each leaf. An equal quantity of vinegar and water can be used for more stubborn stains.
Rotting root:
- Your plant may develop root rot if the white spots are accompanied by black or yellowing leaf patches. A common cause of this is overwatering. Let the soil dry up a little and stop watering your plant for a while.
Considering the Soil:
- Plant growth may be hampered by the soil’s eventual compaction and nutrient depletion. Select a succulent-specific soil mix that drains well, usually consisting of a blend of sand, perlite, and potting soil.
Heartburn:
- Sunburn could be the cause of the white patches if they are limited to the leaves that receive direct sunlight. Transfer your plant to an area with good, diffused light.
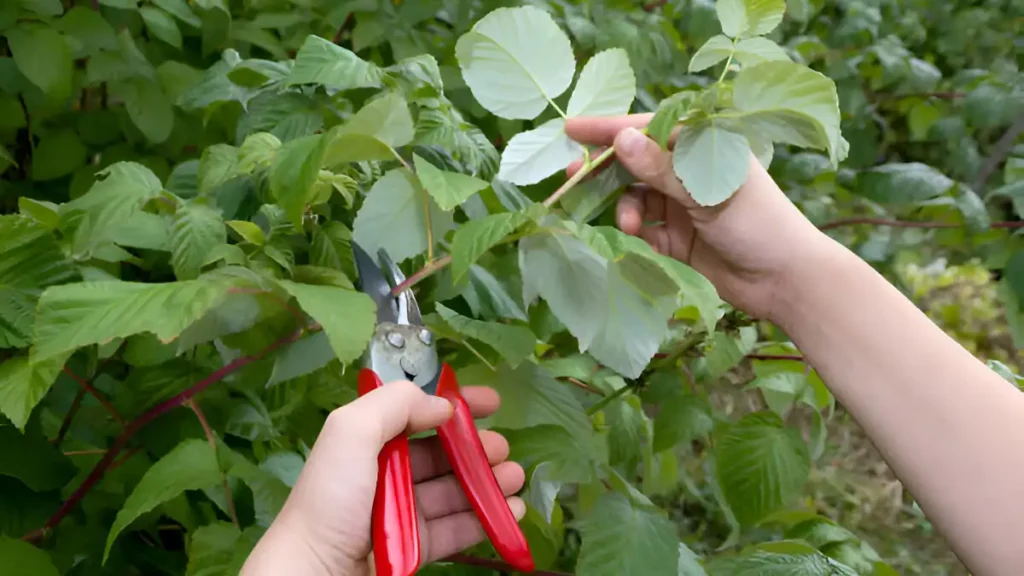
Periodic cleaning and trimming:
- Maintaining the health and beauty of your jade plant requires regular pruning and cleaning. Since they can serve as a breeding ground for pests and diseases, remove any yellowed or shriveled leaves. This keeps the plant healthy overall and in its best possible shape for photosynthesis.
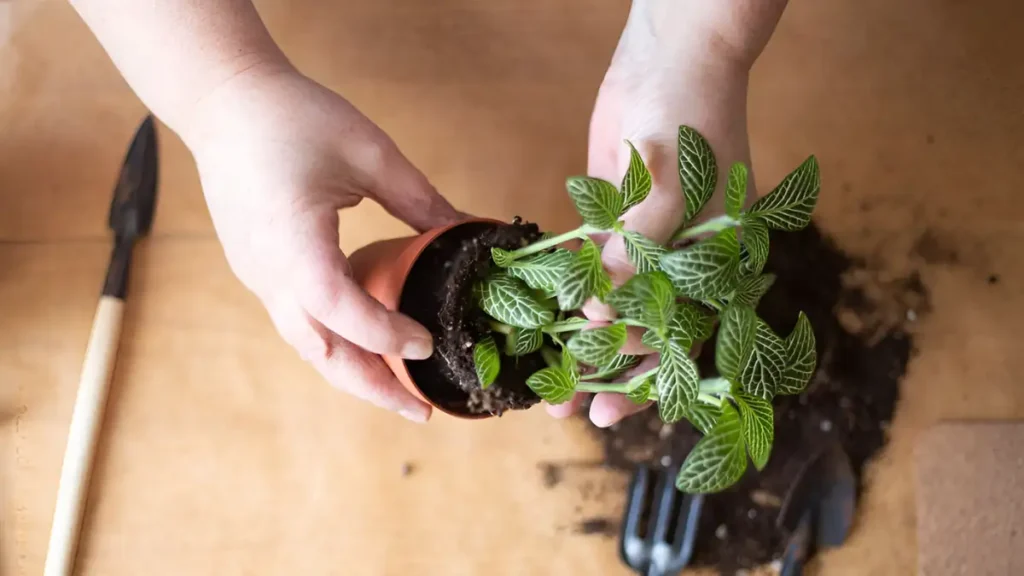
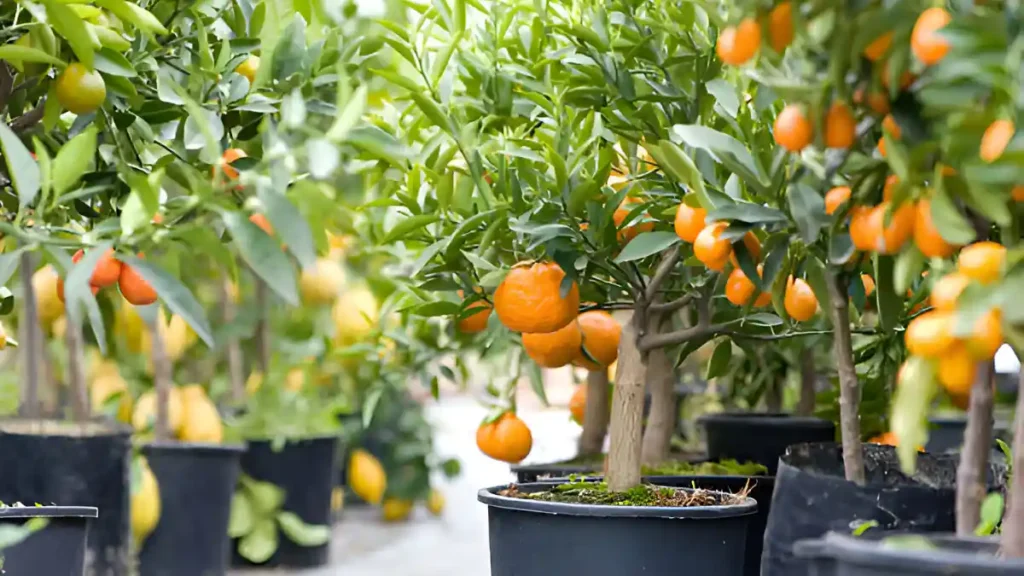
Repotting:
- When repotting, choose a pot that is somewhat larger than the existing one. Remove any extra soil by shaking it off, look for any illness or rot in the roots, and cut as needed. After placing the plant in the freshly filled pot, lightly water it to settle the soil around the roots.
Seasonal care tips:
- They benefit from periodic feedings with a balanced, high-quality feed during the growing season, which is usually spring and summer. They also need more regular irrigation. A plant might be harmed by overfeeding, so be sure to follow the directions on the fertilizer package.
- Jade plants lessen how frequently they are watered in the fall and winter, allowing the soil to dry out more in between treatments. There is no need for extra nutrients during dormancy, so avoid fertilizing.
Conclusion:
Jade plants, with their hardiness and appealing appearance, make great houseplants. They are not completely impervious to problems like white spots, though. Your jade plant can remain healthy and vibrant if you maintain ideal humidity levels, make sure it receives adequate light, prune it frequently, and clean it. A jade plant can bring prosperity and a touch of greenery to your house or place of business when given the proper care and attention for many years to come. The jade plant’s leaves won’t get white spots if the aforementioned instructions are correctly followed.
Certainly! If you’d like to learn more, please consider following our WhatsApp Channel: Harvest Gardening
A frequently asked questions:
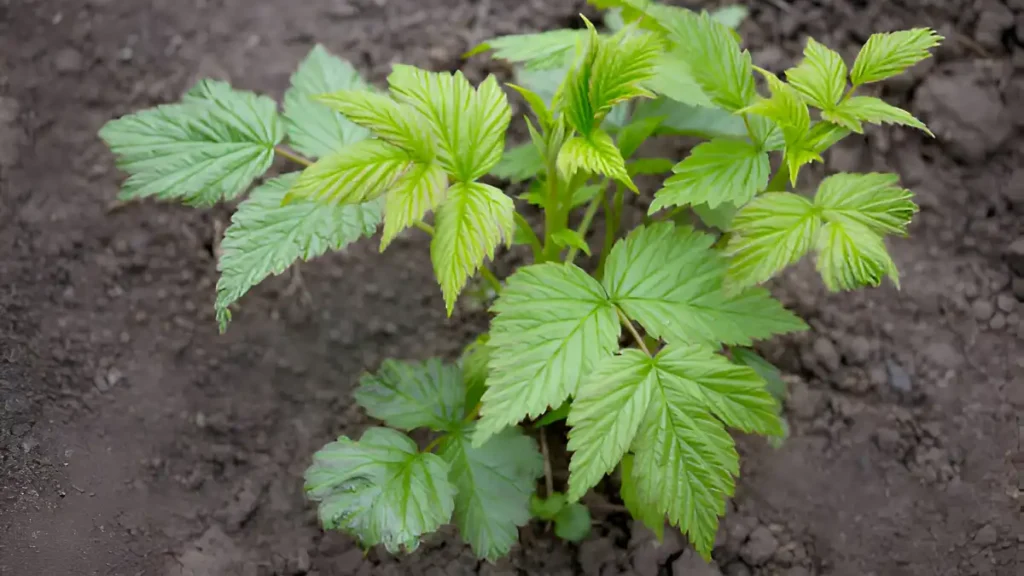
Q1. Why are my jade leaves turning yellow?
A1:Overwatering causes jade plant leaves to frequently turn yellow, which causes root rot.
Q2. Why is my jade plant dropping leaves?
A2. Your jade plant may be losing leaves because of overwatering, underwatering, or abrupt changes in light or temperature. Make sure the soil drains well, give it enough sunlight, and give it a modest amount of water.
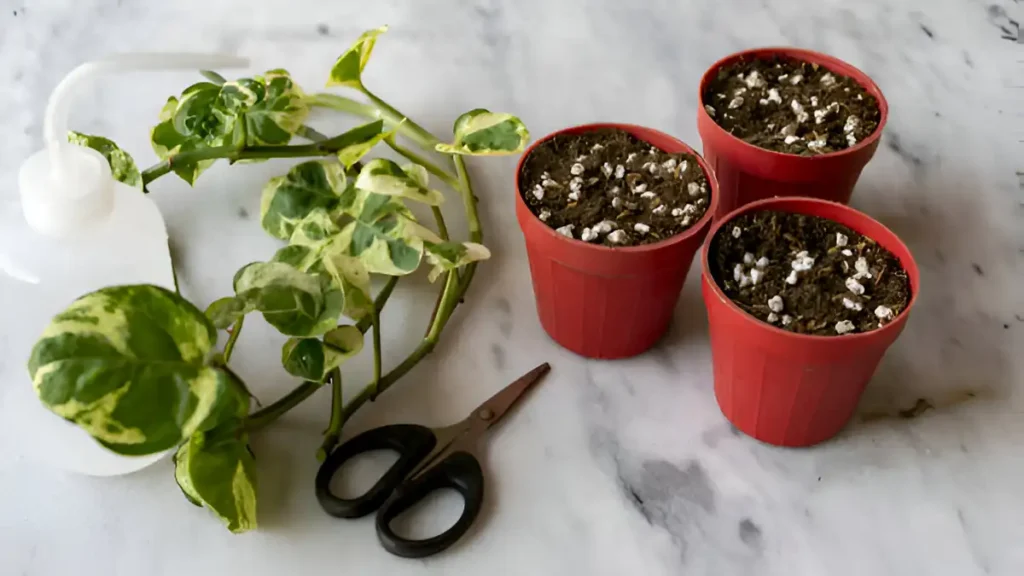
Q3: How to propagate jade leaves?
A3: Cut a healthy leaf from the plant, allow it to dry for a few days until a callus forms, then put it on well-draining soil and water it sparingly until roots and new growth show up. This is how jade leaves are propagated.