The Lily of the Valley is one of nature’s most delicate yet powerful symbols of purity, humility, and renewal. With its tiny bell-shaped blooms and sweet fragrance, it has enchanted poets, gardeners, and brides for centuries.
Scientifically known as Convallaria majalis, this perennial plant belongs to the Asparagaceae family and thrives in temperate regions around the world.
Overview and Botanical Profile
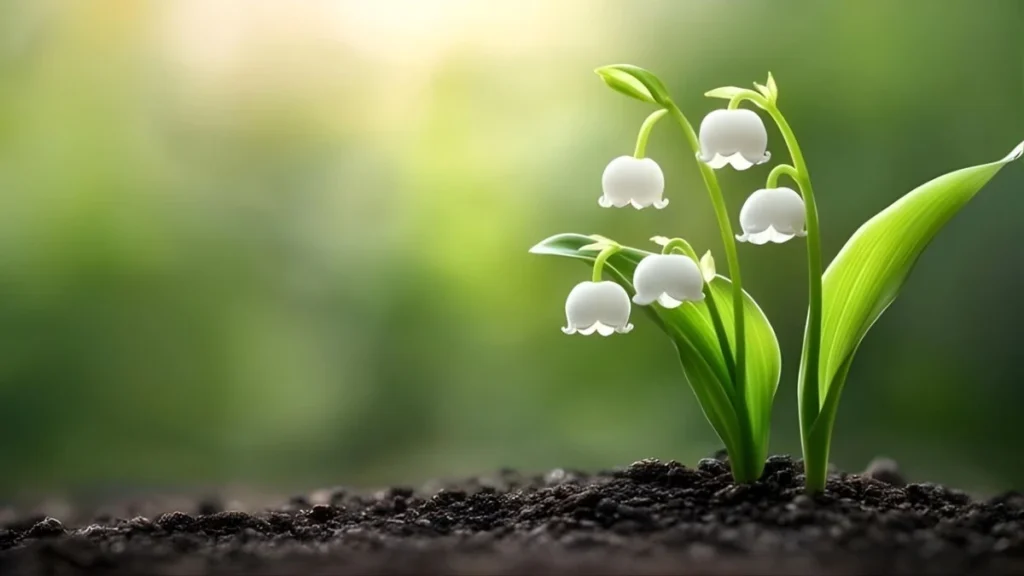
Lily of the Valley is a hardy, rhizomatous perennial known for its glossy green leaves and fragrant, white (sometimes pink) flowers that bloom in late spring. Native to Europe and Asia, it has since spread across North America and beyond. Despite its dainty appearance, it’s remarkably resilient, often found carpeting shady forest floors.
Origin and History
The history of the Lily of the Valley dates back to ancient civilizations. In Christian legend, it is said to have sprung from the tears of the Virgin Mary at the crucifixion of Jesus—hence its name, “Our Lady’s Tears.” In medieval Europe, it symbolized the return of happiness and was often used in royal celebrations and weddings, most notably in the bouquet of Princess Grace Kelly.
The Symbolism and Meaning Behind the Lily of the Valley
Spiritual and Religious Significance
The Lily of the Valley carries deep spiritual meanings. In Christian iconography, it symbolizes humility and purity. It is also associated with the Virgin Mary and is sometimes called “Mary’s tears.” The flower’s white hue reinforces its association with innocence and divine beauty.
Cultural Symbolism Across the World
In France, the Lily of the Valley (called Muguet) is celebrated on May 1st, when people give sprigs to loved ones for good luck. In England, it symbolizes sweetness and the return of happiness. In many cultures, it’s considered a sign of new beginnings—making it a popular choice for wedding bouquets and springtime festivities.
Physical Characteristics of the Lily of the Valley
Shape, Size, and Appearance
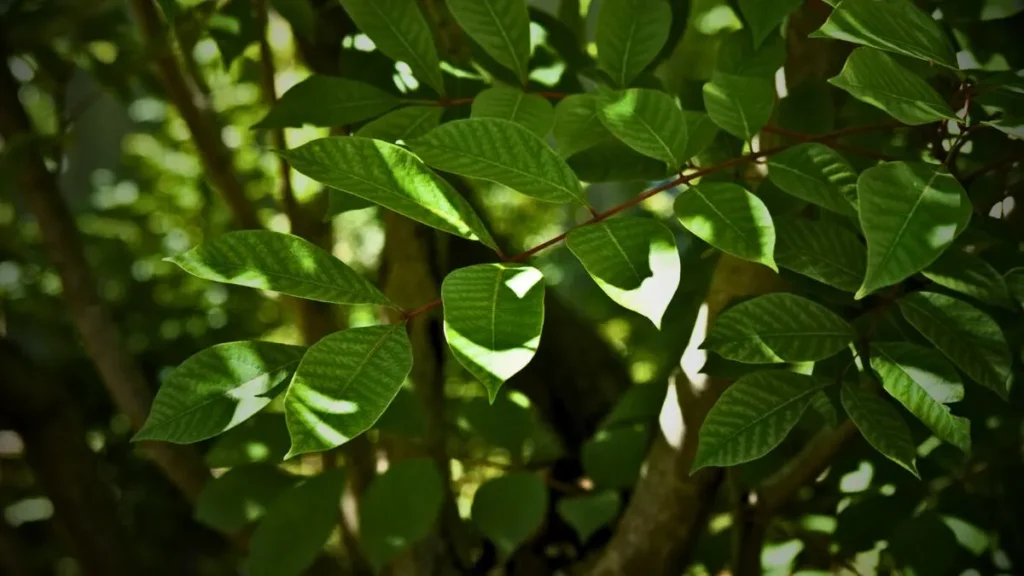
Each stem of Lily of the Valley bears six to twelve small, bell-shaped flowers that dangle gracefully. The blooms emit a powerful fragrance, often used in perfumery. Its foliage—broad, lance-shaped leaves—creates a lush green backdrop that complements its delicate white blossoms.
Growth Pattern and Blooming Season
This plant typically blooms in May, earning it the title of “Mayflower” in many regions. It prefers cool, shaded areas and spreads quickly through underground rhizomes. Once established, it forms dense clusters, creating a carpet of green and white beauty in the garden.
How to Grow and Care for Lily of the Valley
Light and Shade Requirements
Lily of the Valley prefers partial to full shade. While it tolerates morning sunlight, harsh afternoon rays can scorch its leaves. It’s ideal for shaded borders, under trees, or north-facing gardens.
Soil Type and pH Level
Rich, well-draining soil is essential. A loamy or sandy texture with a slightly acidic to neutral pH (6.0–7.0) works best. Incorporate organic compost or leaf mold before planting to boost soil fertility.
Temperature and Humidity Preferences
This plant enjoys cool to moderate temperatures between 60–70°F (15–21°C). It thrives in humid conditions but doesn’t tolerate prolonged dryness or extreme heat.
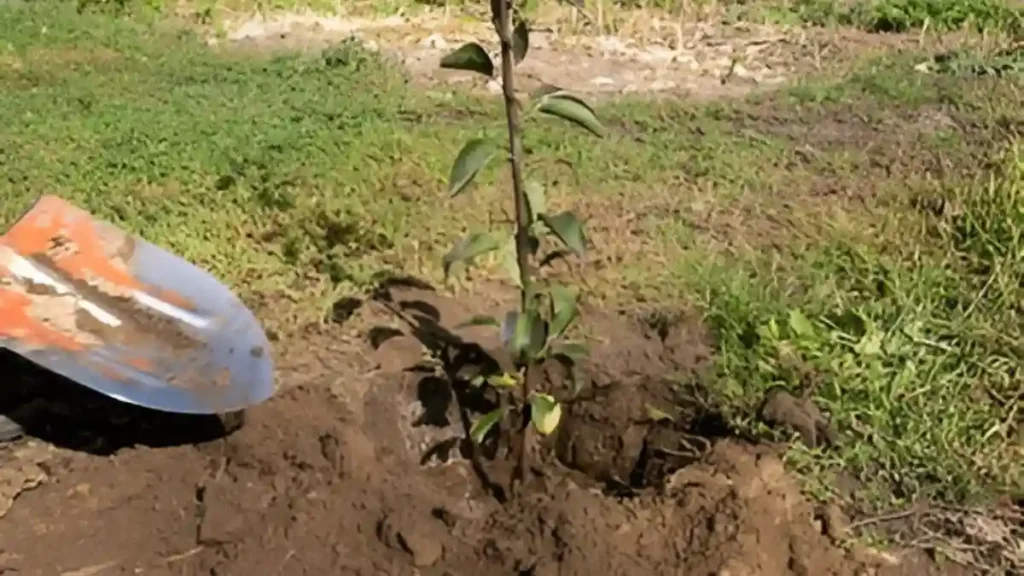
When and Where to Plant
The best time to plant is in early spring or fall when the soil is moist but not frozen.
Spacing and Depth Considerations
Because Lily of the Valley spreads aggressively, spacing them properly ensures good air circulation and prevents overcrowding. In dense plantings, divide clumps every 3–4 years.
Proper Watering Routine
Keep the soil consistently moist, especially during dry spells. Avoid overwatering to prevent root rot. A layer of mulch can help retain moisture.
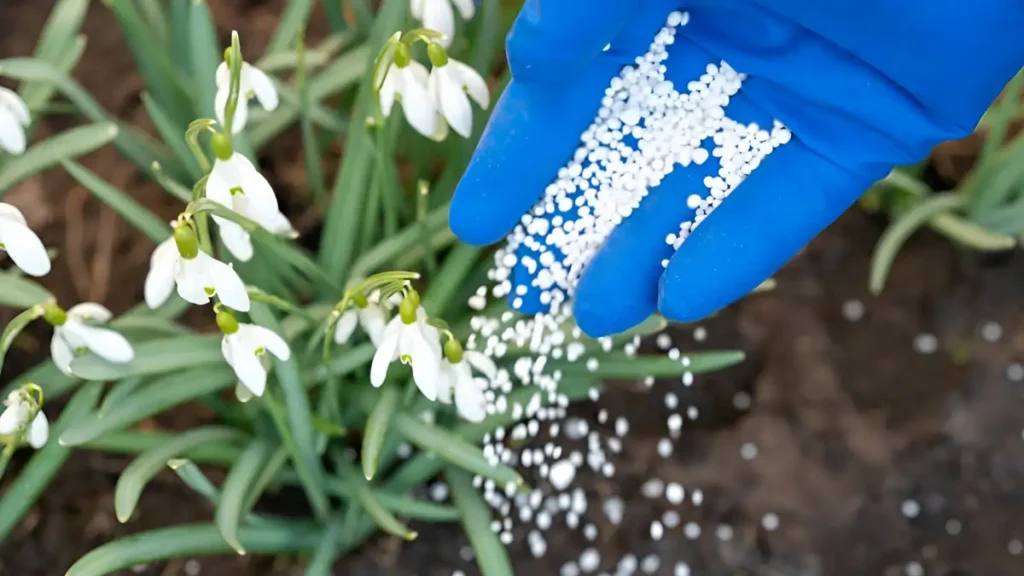
Fertilizer and Nutrient Management
Feed once a year in early spring using a balanced, slow-release fertilizer (such as 10-10-10). Over-fertilizing can cause excessive leaf growth and fewer flowers.
Importance of Mulching
Apply organic mulch, like shredded leaves or bark, around the base. It conserves moisture, suppresses weeds, and keeps the soil cool.
Seasonal Care and Maintenance
Spring and Summer Care
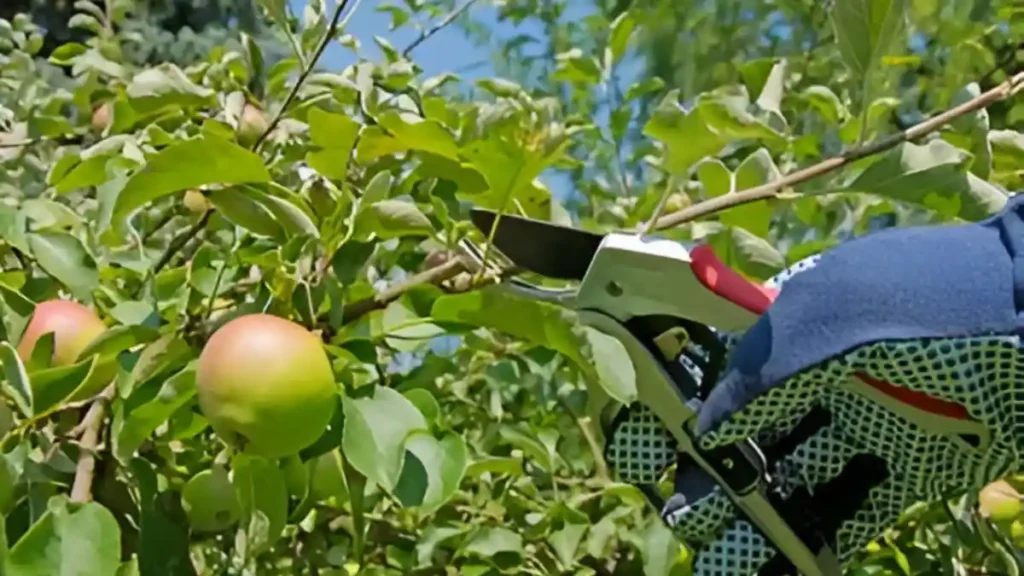
During active growth, keep the soil moist and remove faded blooms. Trim yellow leaves to encourage new growth.
Fall and Winter Care
In late fall, cut back foliage to the ground. Add a layer of mulch to protect the roots from freezing temperatures. The plant will reemerge in spring stronger than before.
Safety and Toxicity Warning
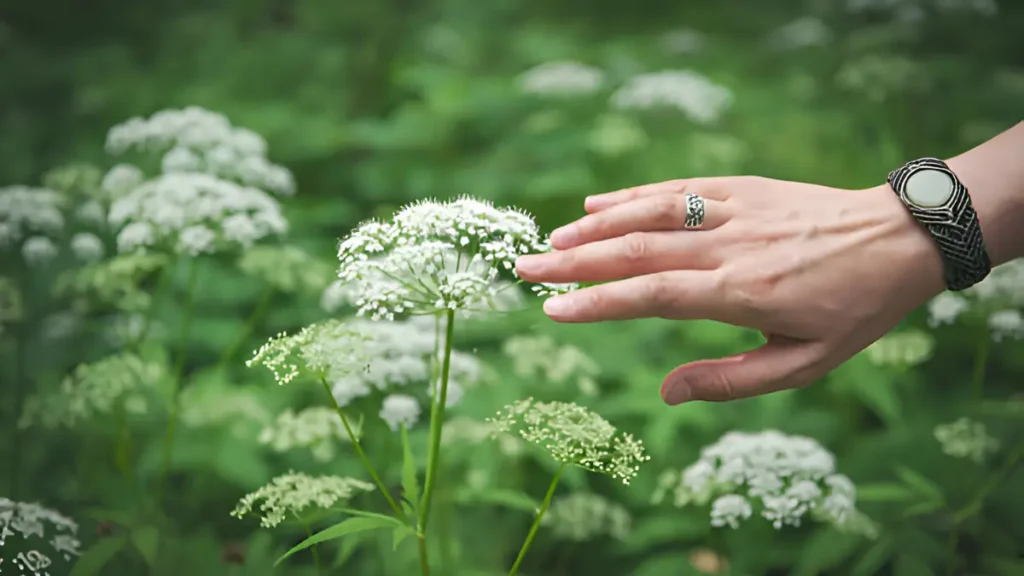
⚠️ Important: All parts of Lily of the Valley are toxic to humans and pets if ingested. It contains cardiac glycosides that can affect the heart. Always wear gloves while handling, and keep it out of reach of children and animals.
FAQs About Lily of the Valley
1. Why is lily of the valley so special?
It’s often associated with purity, humility, and renewal. In many cultures, it symbolizes the return of happiness, making it a popular choice for weddings and other joyful occasions.
2. What if I touch lily of the valley?
Even contact with the plant can cause skin and eye irritation. If any part of a lily of the valley plant is ingested, keep an eye out for the following symptoms: Chest tightness. Diarrhoea.
3. Is lily of the valley found in India?
No, the true European Lily of the Valley (Convallaria majalis) is not native to India, but rather to the cool temperate regions of Europe and Asia.
4. Is lily of the valley lucky?
Yes, lily of the valley is widely considered a flower of good luck