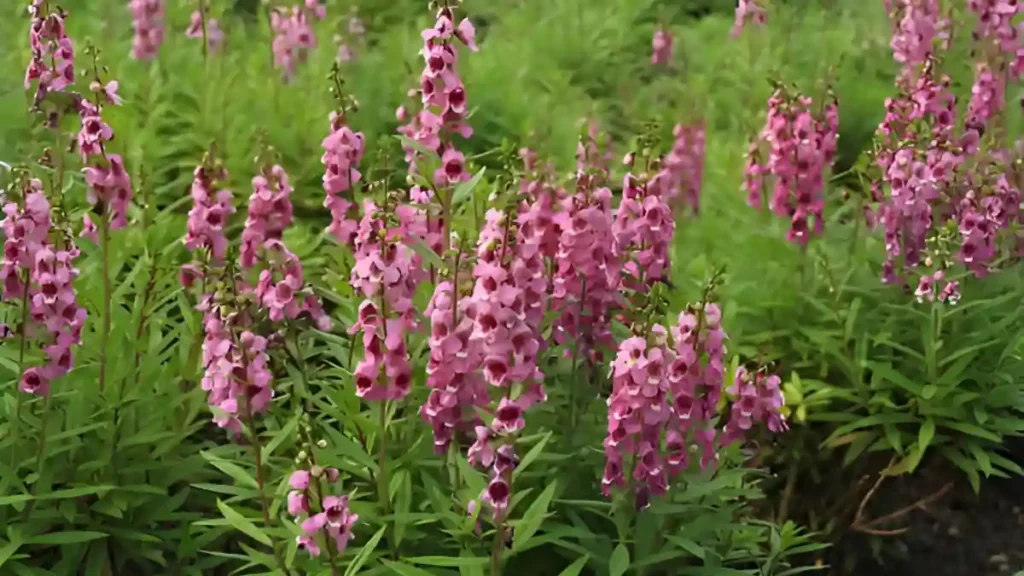
Snapdragon are popular, short-lived perennial flowers that are usually produced as annuals. Antirrhinum majus is its scientific name. People value them for their vivid, upbeat hues, but they also serve as a vital source of honey for bumblebees. They flourish in cool climates and are available in various colors, including pink, red, yellow, purple, and white. These pointers will help you plant and grow snapdragons.
Learn about how to plant snapdragons:
Snapdragon is a wonderful flower to plant since it provides beauty to your landscape. Here are some planting ideas.
How to grow snapdragons
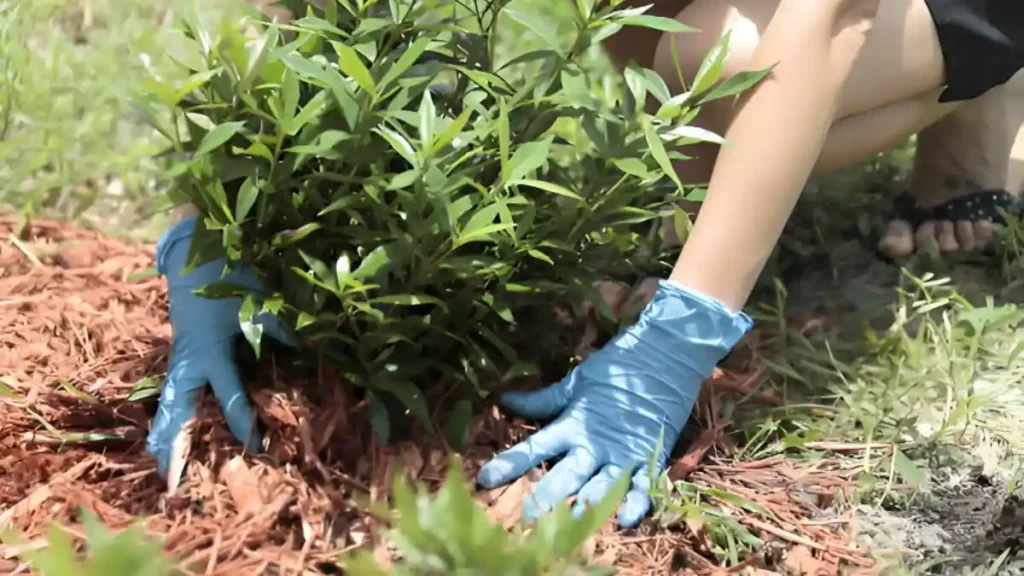
- In your garden, find a location that receives at least six hours of sunlight each day. It thrives on soil that is wet and drains well, sand or compost can be added to improve soil drainage. Transplant snapdragon 9 inches apart 6 to 8 weeks before the last typical frost date in your area.
- Maintain warm, wet soil. Transplant seedlings outside once they have hardened off and a couple of sets of genuine leaves. Snapdragons should be spaced 6–12 inches apart to allow for growth. Holding the base of the plant at soil level, plant them at the same depth as they were in their pots.
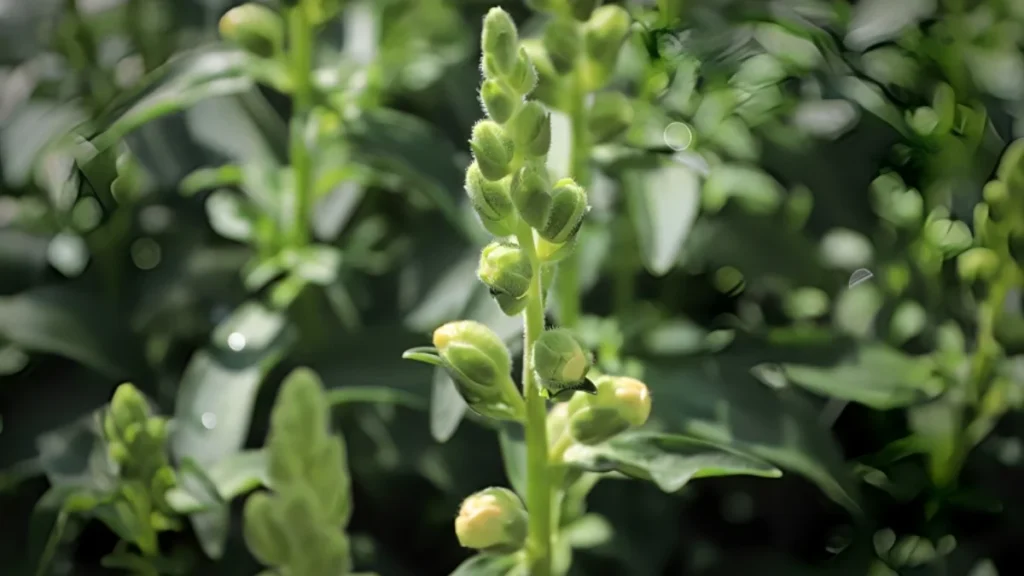
All about snapdragons care:
Snapdragons are stunning, easy-to-grow flowers that come in a variety of brilliant colors. Follow these guidelines to make sure your snapdragon grows.
How to care for snapdragons:
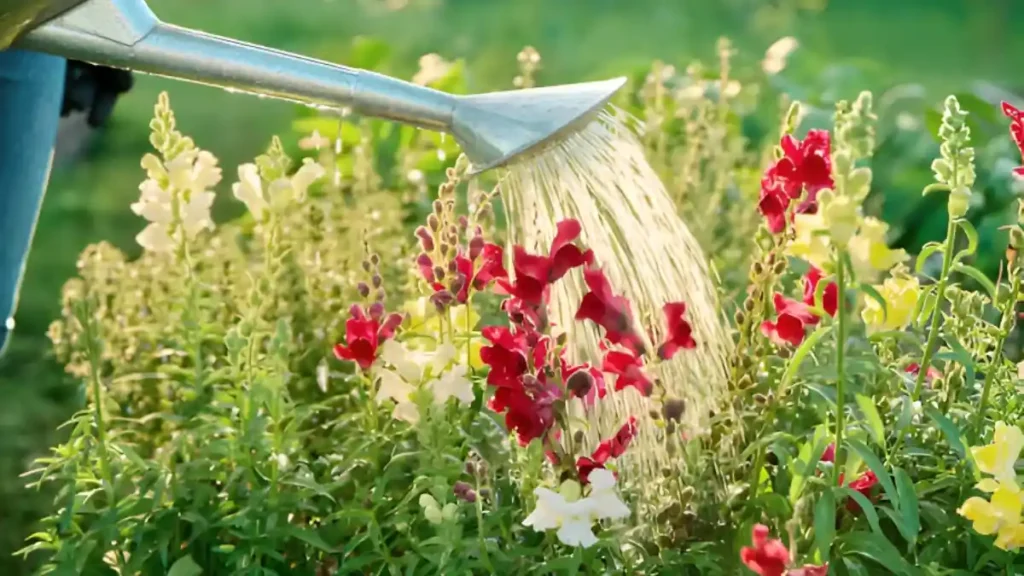
- When snapdragon gets established, it will require around one inch of water each week if there is no rainfall. As watering the leaves can promote fungal diseases, water the base of the plant instead. For healthy snapdragons, water close to the plant’s crown rather than overhead.
- As soon as the plants begin to bloom, fertilize them. During the growing season, give snapdragons a balanced fertilizer every four to six weeks; do not fertilize too much. Once fertilized, give it plenty of water.
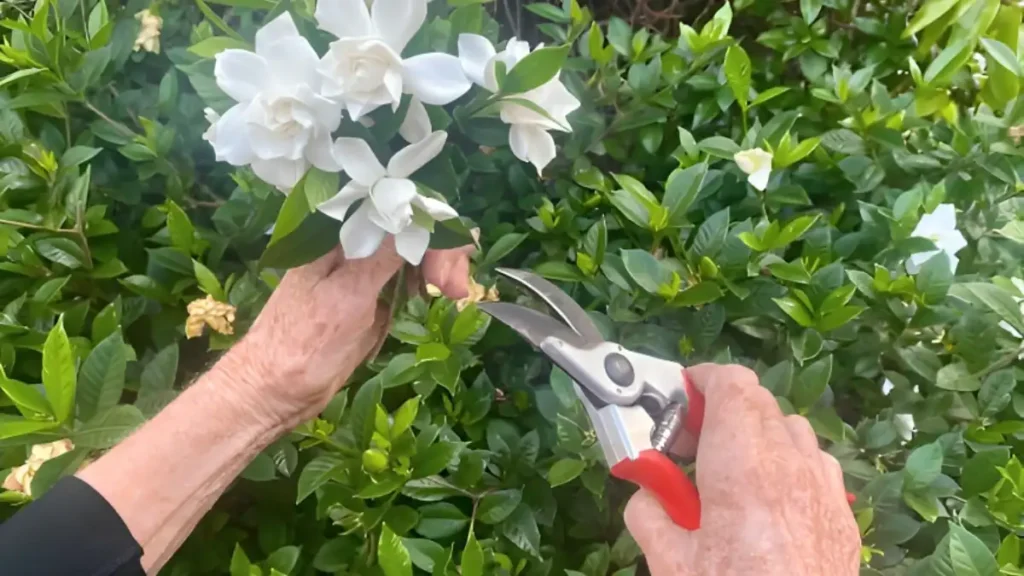
- To promote bushy growth and avoid excessive flopping because of the height of snapdragons, give young plants a thorough pinch. Deadhead frequently to promote ongoing blooming. To maintain a compact and healthy plant, trim back any lanky growth.
- The ideal temperatures for them are in the low 70s during the day and the low 40s at night, they also like lower temperatures. They are typically grown as annuals as a result. Snapdragons can tolerate temperatures below freezing once they are established.
- Snapdragon rust fungus can be a serious issue. It is preferable to cultivate snapdragons in a different area of the garden the next year if rust does show up in a planting. In extreme infestations, common pest issues like spider mites and aphids may need the use of horticultural oils or insecticides.
Propagating snapdragons:
Snapdragon can be easily grown from seed and are inexpensive to purchase as nursery seedlings, but if you’d like, you can also propagate them from stem cuttings.
- For a healthy root plant, cut off a 2-inch part of the stem just below the leaf nodes, remove the lower leaves, dip the cutting’s bottom in rooting hormone, and then plant it in potting soil or seed starting mix.
- Keep the cutting moist by covering the pot with plastic. Remove the cover once a healthy root system has formed, then keep growing in a bright window or artificial light. After the final frost, transplant outside.
Conclusion:
In conclusion, the brilliant and distinctive snapdragon flowers are well-known for their multicolored, dragon-shaped blossoms. Native to the Mediterranean region, Snapdragons are grown in gardens all over the world and are prized for their beauty and adaptability. It is a popular choice for gardeners all around the world because of its adaptability to different conditions and its attraction to pollinators like bees.
Certainly! If you’d like to learn more, please consider following our WhatsApp Channel: Harvest Gardening
A frequently asked questions:
Q1. When to plant snapdragons?
A1. Due to their preference for milder weather, snapdragons are best planted in early spring or late autumn.
Q2. Are snapdragons perennials?
A2. Although snapdragon is frequently planted as annuals, in warmer areas they may be regarded as short-lived perennials. They can survive mild frost, but if grown as annuals, they will perish in extreme cold.
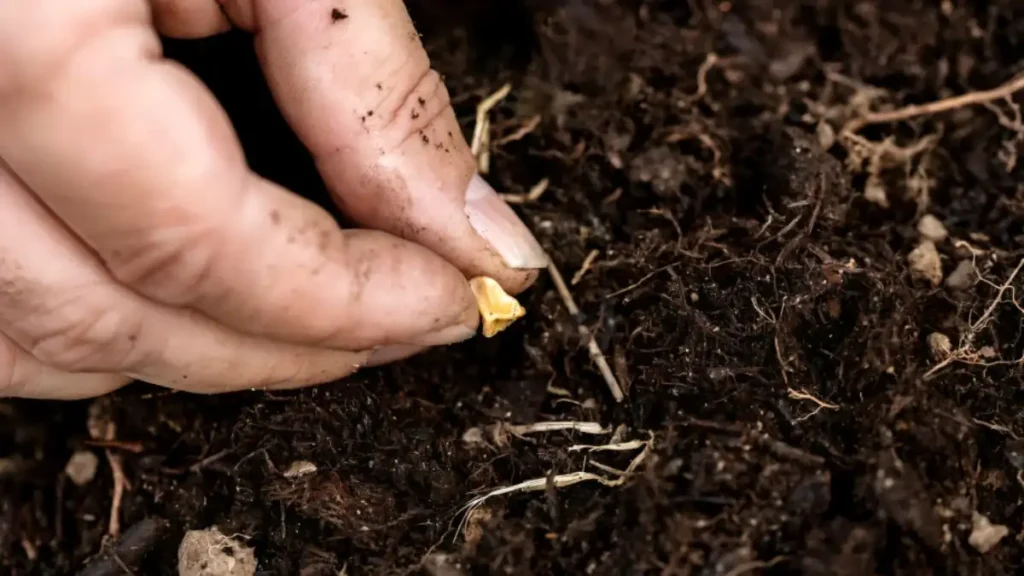
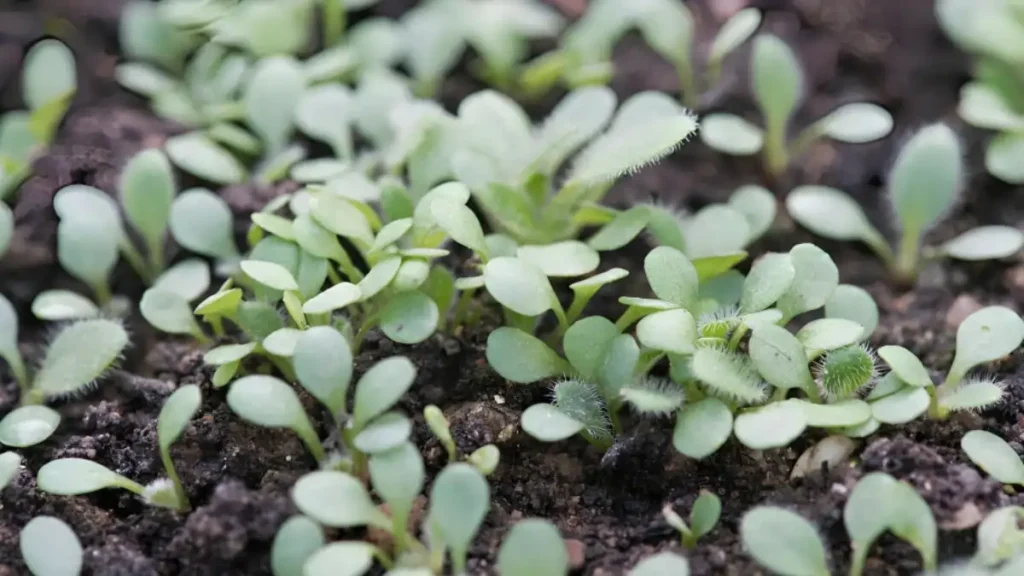
Q3. How to propagate snapdragons from seed?
A3. Using ordinary potting soil, press the seeds onto the soil’s surface. For 16 hours per day, place the tray in a bright area. Pinch off the top of the stem when the seedling has roughly six true leaves. When the final predicted frost is eight to ten weeks away, start snapdragon seeds indoors.
Q4. Are snapdragons poisonous to cats?
A4. Indeed, snapdragons are thought to be poisonous to cats. If your cat has consumed snapdragon, keep a watchful eye on them and get help from a veterinarian right away if they start acting strange.
Q5. How to plant snapdragons in pots?
A5. When planting snapdragons in pots, place the seeds 1/8 inch deep and 1-2 inches apart in a container with soil that drains well. Then, water the plants gently. Set the temperature between 65°F and 75°F and provide full sun. Move the seedlings into individual pots or larger pots until they are 6 to 8 inches tall.