Because of its zesty and refreshing flavor, cilantro—also referred to as coriander in some regions of the world—is a popular herb used in various cuisines. Whether you aim to add color to your garden or enjoy fresh herbs in your home, growing cilantro can be rewarding. However, cilantro has a reputation for being a little finicky, especially when it comes to bolting or going to seed prematurely, in hot weather. This guide provides you with the best tips on how to grow cilantro successfully.
The best tips for growing cilantro outdoors:
Growing cilantro can be rewarding if you know how to create the right conditions. Here are some of the best tips for growing cilantro:
Now let’s see how to grow cilantro:
- Sow cilantro in early spring or late autumn. Planting should be avoided during the hottest months since it struggles in the heat.
- Full to partial sun is ideal for cilantro growth. A little afternoon shade helps keep plants from bolting, or going to seed too soon, in hotter climes.
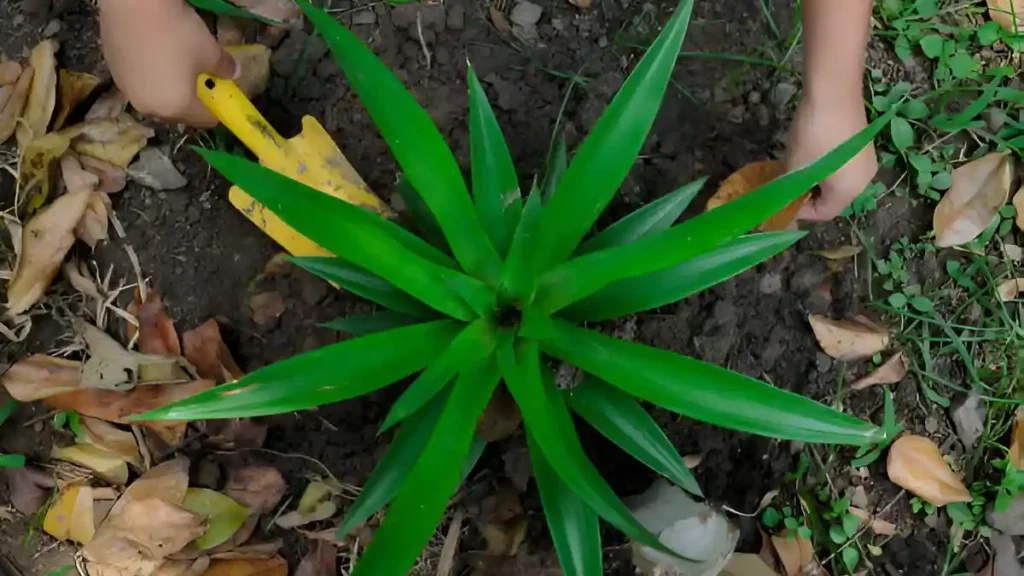
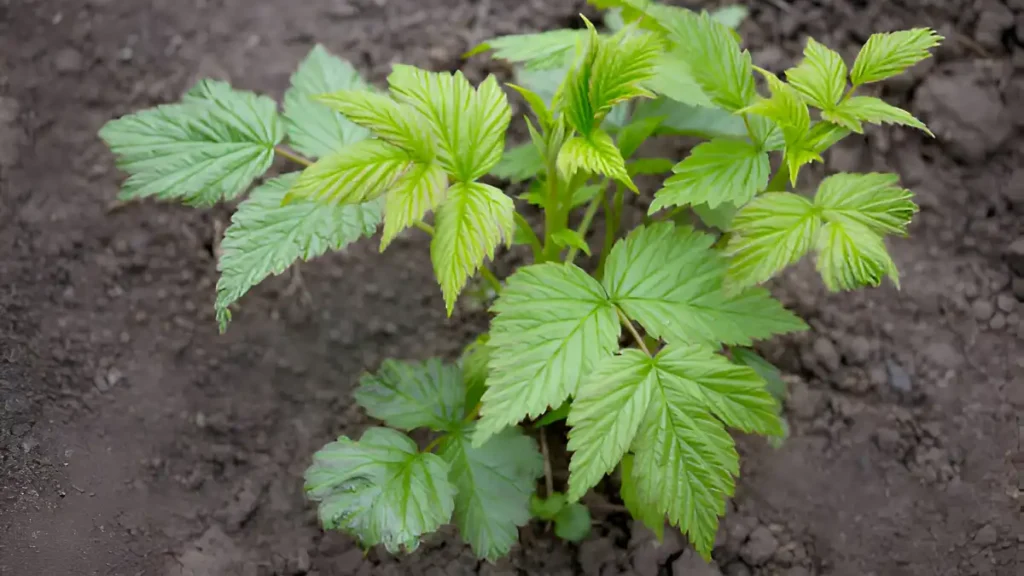
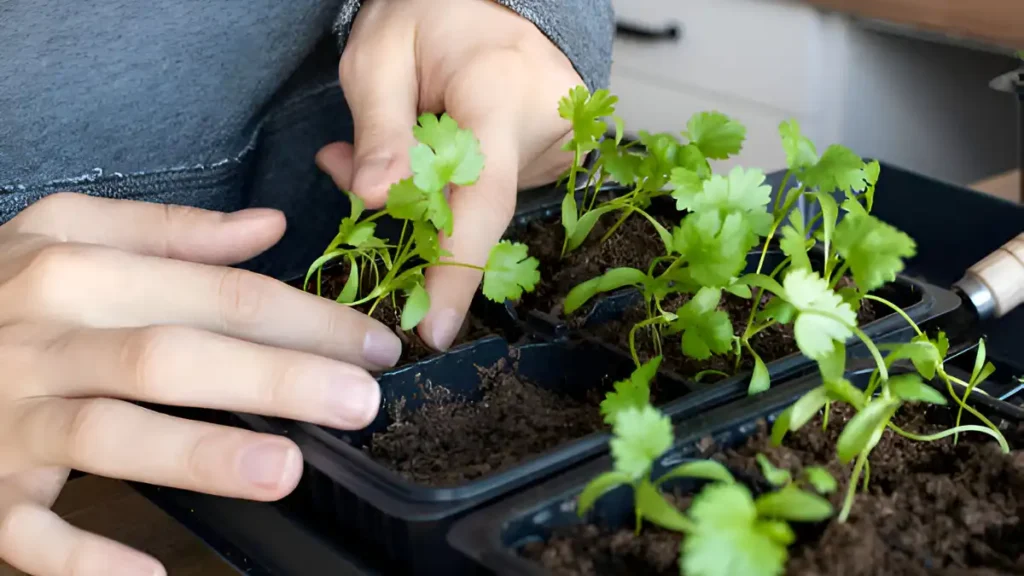
- Use organic matter-rich, well-draining soil. Soil with a pH of 6.2 to 6.8 is ideal for cilantro, as it is somewhat acidic. Plant seeds 6 to 8 inches apart at a depth of about 1/4 inch. After seedlings are well-established, thin them to 12 inches apart.
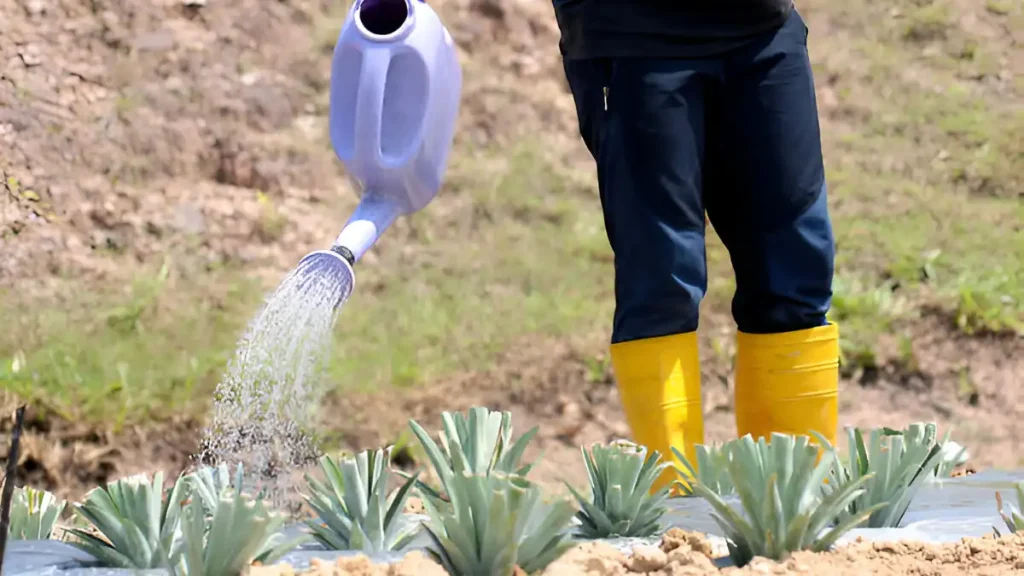
- Cilantro needs water just like all other plants do. Throughout the growing season, the plants require steady, uniform hydration. Before you water it again, make sure to thoroughly wet the soil and let it dry out.

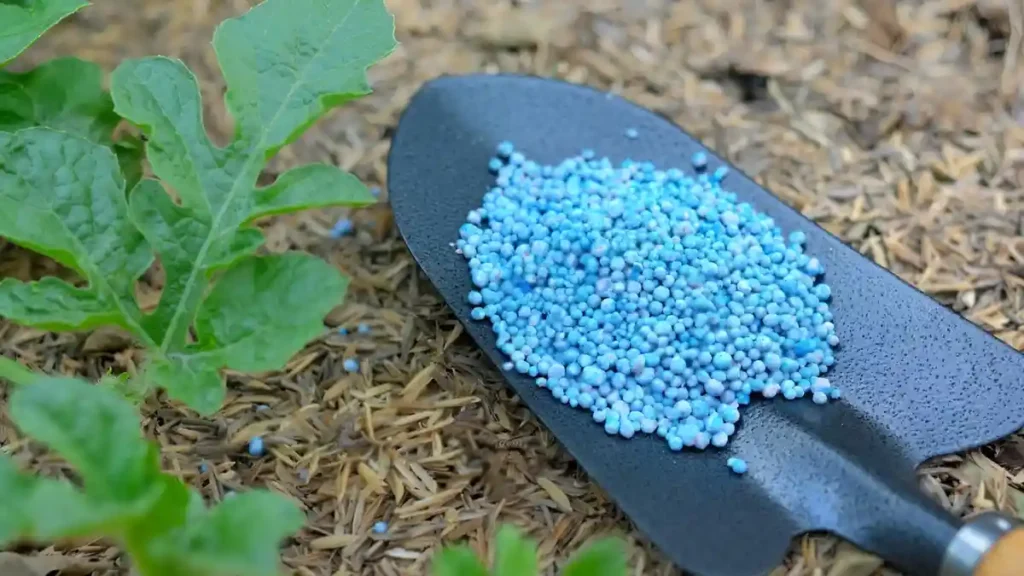
- It is light to feed cilantro. Use a balanced fertilizer sparingly, or amend the soil before planting with compost. For improved development, think about utilizing organic fertilizers like fish emulsion or compost tea. A diet like 12-4-8, which has a high nitrogen ratio, is recommended. Another great choice is a time-release formula.
- The ideal temperature range for cilantro is between 50°F and 85°F (10°C and 29°C). If the weather rises, give it some shade or think about planting somewhere colder.
- The main issue with cilantro is bolting, which detracts from the quality of the leaves. Young plants are prone to damping off, and frequent visits by sap-sucking leafhoppers may result in the development of Aster’s yellow disease in the plant. In this instance, the plant turns infertile and its blooms and leaves turn yellow. Leaf spots can also affect cilantro.
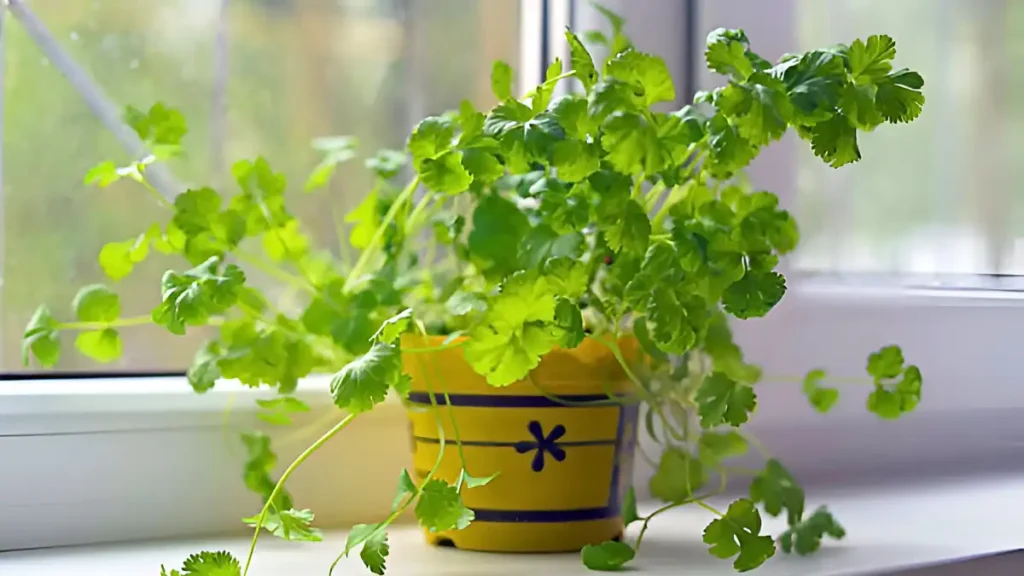
Learning about growing cilantro indoors:
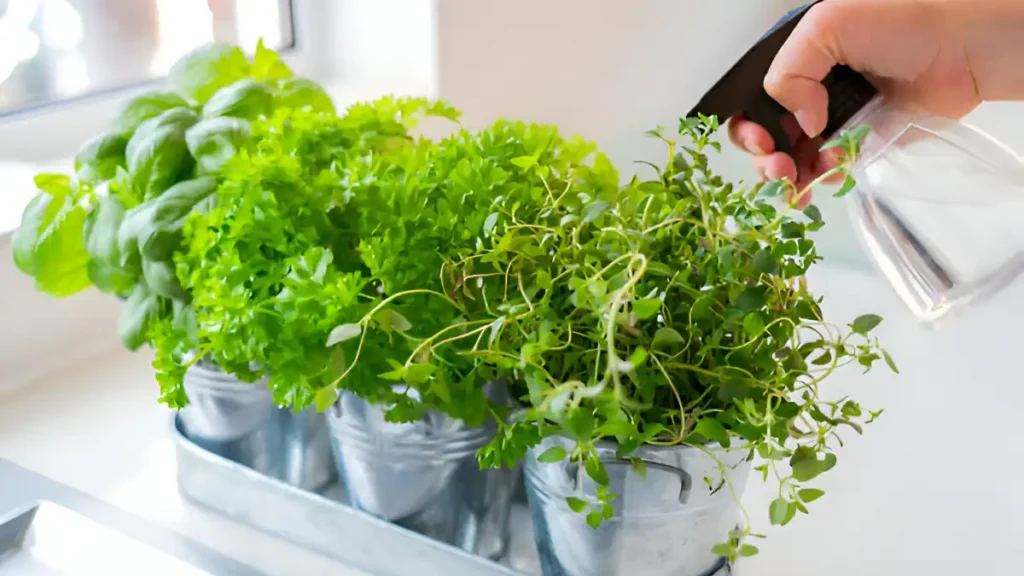
You can have fresh herbs all year long by growing cilantro indoors. You can grow cilantro inside in containers. Verify the pot’s drainage system. It needs a bright area, preferably close to a window that receives four to six hours of sunlight each day. Make sure the soil drains adequately and maintain a constant moisture level, but don’t overwater it. Because cilantro can be a bit picky, keep the temperature cool—between 60 and 70°F (15 and 21°C)—to avoid it bolting too soon. You may have a consistent supply of aromatic cilantro leaves for your cooking with proper care.
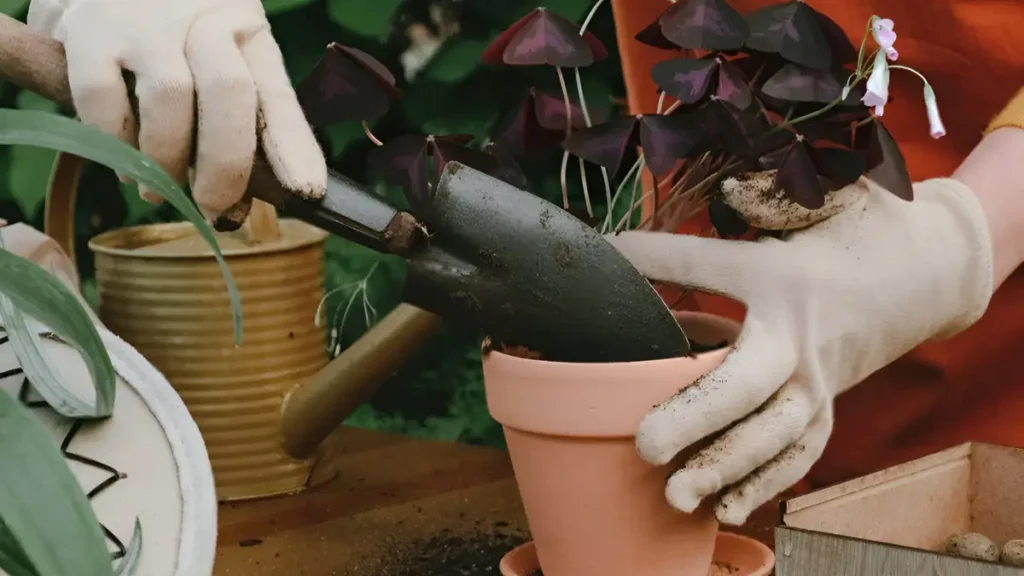
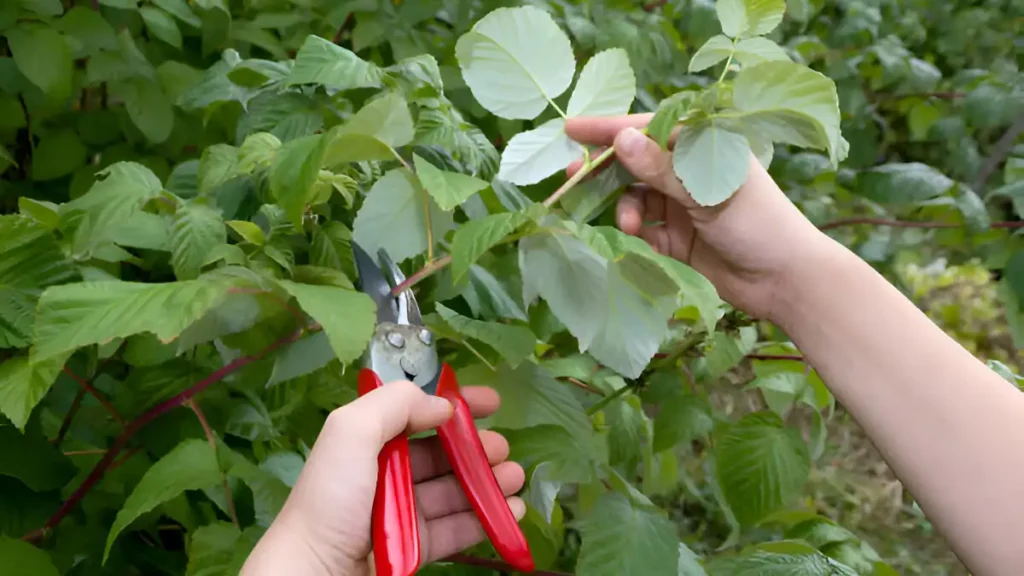
Growing cilantro from cuttings:
Cultivating cilantro from cuttings is an easy and effective technique to spread this aromatic herb. Begin by taking healthy, 4-6 inch-long stems from an established cilantro plant. Make sure the cuttings are above the water line in a glass of water after trimming the bottom leaves. The emergence of roots will occur in a few days. The cuttings can be planted in soil and kept in a sunny area until the roots are one to two inches long. In a few weeks, your cilantro will be ready for harvest with regular watering and care.
Conclusion:
For people who appreciate using fresh herbs in their cuisine, growing cilantro may be a fulfilling experience. All things considered, planting cilantro may be an easy and efficient method to add fresh, locally grown herbs to your food preparations with the right care and attention. You may enjoy fresh cilantro from your garden for a large portion of the year if you follow these recommendations.
Certainly! If you’d like to learn more, please consider following our WhatsApp Channel: Harvest Gardening
A frequently asked questions:
Q1: What type of soil is ideal for growing cilantro in Texas?
A1: Loamy, well-draining soil with a pH of 6.5 to 7.5 is ideal for cilantro growth. The fertility and structure of the soil can be enhanced by adding organic matter.
Q2: What is the best time to harvest cilantro?
A2: Harvest cilantro three to four weeks after planting, before the plant flowers and leaves are vibrant green.
Q3: What is the best nutrient solution for growing cilantro hydroponically?
A3: When growing cilantro hydroponically, the ideal fertilizer solution should have a balanced pH of 6.5 to 6.0 and be high in potassium, phosphorus, and nitrogen.
Q4: What is bolting in cilantro?
A4: Bolting in cilantro refers to the rapid flowering and seed production of the plant, often triggered by heat or stress, which can result in bitter leaves.