A common cold-hardy vegetable, cauliflower can be cooked into soups, curries, and other recipes or eaten raw or steamed. It typically grows in winter gardens in the spring and fall. Picking cauliflower heads before they begin to bolt or are harmed by cold weather is essential to getting the best cauliflower out of your veggie garden.
A nutrient-dense and adaptable vegetable, cauliflower needs nurturing to grow to its full potential. The optimal flavor, texture, and nutritional value are guaranteed when you know when and how to harvest cauliflower. This post will walk you through how to harvest cauliflower when it’s freshest.
When to harvest cauliflower from garden:
Although the seeds can be started inside, most gardeners grow cauliflower plants from seeds they plant directly in garden beds in the spring or fall. While fall crops are normally ready to harvest in November or December, spring-planted cauliflower is usually harvested in August or September. Cauliflower plants typically take 50 to 100 days to mature when planted from seed, though this varies based on the variety and local climatic conditions.
Cauliflower should be harvested in spring before 80°F temperatures rise, as it bolts in heat. Growing cauliflower in fall is easier due to its cold-hardy nature.
An overview of cauliflower growth:
Cauliflower thrives in cool conditions and is planted in spring or fall. Depending on the type, growing conditions, and weather, it matures between 55 and 100 days after transplantation. Monitor plant health for optimal results.
Signs of how to know when to harvest cauliflower:
Timely harvesting is essential. The following are important signs that your cauliflower is ready:
- The diameter of mature cauliflower heads is normally 6 to 12 inches. To find the perfect size, see the variety-specific instructions or the seed packet.
- The component you eat, the curds, should be packed tightly. Over-maturity or bolting is indicated by a loose or spreading head.
- For special types (such as purple or orange cauliflower), the head should be uniformly white, creamy white, or the designated color. Discoloration or yellowing indicates that it is past its best.
- The cauliflower is usually ready to be picked when the surrounding leaves begin to open naturally away from the head.

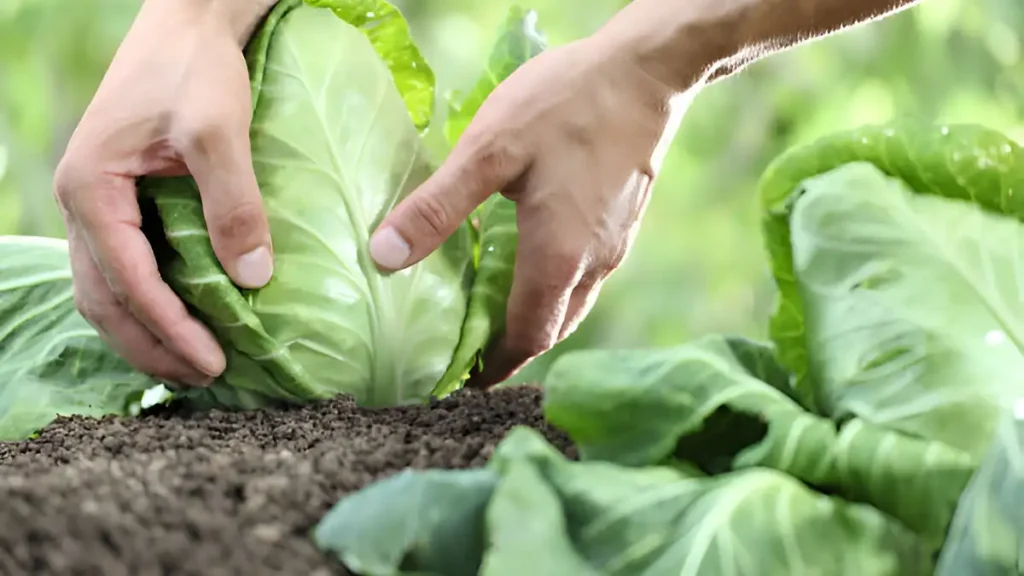
How to harvest cauliflower to get the most freshness:
To properly harvest cauliflower, take the following actions once you’ve decided it’s ready:
- For a clean cut, use pruning shears or a sharp knife.
- Keeping a few inches of the stem connected, cut the head off the stem while holding it firmly. This aids in safeguarding the head while being handled.
- Take care not to bruise the fragile curds. Heads that are damaged cannot be stored as effectively.
- The head can be protected during storage by keeping some of the outer leaves.
Conclusion:
Knowing when to harvest cauliflower at its height necessitates careful observation and timing, but the work pays off in improved taste and quality. You may enjoy fresh, homegrown cauliflower that is great for any meal by keeping an eye on size, compactness, and color, as well as using proper harvesting practices.
Certainly! If you’d like to learn more, please consider following our WhatsApp Channel: Harvest Gardening
A frequently asked questions:
Q1: When is it too late to harvest cauliflower?
A1: It is too late to harvest cauliflower once the heads become loose, yellowed, or begin to blossom, as this signals overripeness. Harvest when the heads are roughly 6 to 8 inches in diameter, firm, and compact.
Q2: How to harvest cauliflower seeds?
A1: Cauliflower seeds should be harvested by letting the plant blossom and produce seed pods, then letting the pods dry on the plant. To store the seeds, gather the dried pods, crack them open, and separate them.
Q3: What season do you harvest cauliflower?
A3: Cauliflower is typically harvested from late spring to early summer for spring-planted crops and late fall for autumn-planted crops. The exact time depends on the planting season and the local environment.
Q4: How many times can you harvest cauliflower?
A4: Cauliflower is a single-harvest crop, with each plant producing only one head. After the head is harvested, the plant will not produce another.