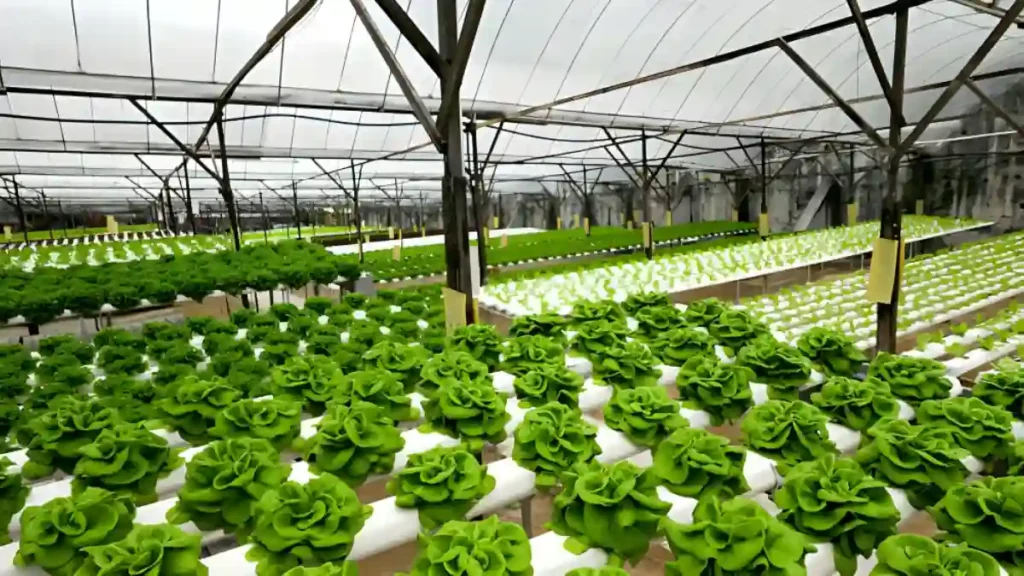
A cutting-edge and novel way to grow plants without soil is hydroponic gardening. Plants are grown in a nutrient-rich water solution that provides them with all the minerals and other building blocks they need to thrive. This method supports plant roots and gives them access to nutrients and water by using different substrates like coconut coir, vermiculite, or perlite. All things considered, hydroponic gardening is an effective and sustainable method of farming that has several advantages, including higher yields, less water use, and more control over the health of the plants.
Here’s a quick approach to learning hydroponic gardening techniques:
Know the fundamentals
Using nutrient-rich water solutions, hydroponic gardening is a technique for growing plants without the need for soil. Learn the basic concepts of hydroponics and become familiar with the various available systems (e.g., drip system, nutrient film technique, and deep water culture).
Select the appropriate hydroponic gardening system
Pick a hydroponic system that works for your gardening objectives, space, and money. Think about things like the amount of space you have available, the kinds of plants you wish to grow, and your level of skill.
Make enough lighting available
Natural sunshine is not available to hydroponic plants, hence artificial lighting is required. Invest in grow lights of the highest caliber that provide the right light spectrum for optimum plant growth.
Sustain adequate amounts of nutrients
To make sure your plants get the vital nutrients they require to flourish, periodically check and modify the nutrient solution. When combining nutritional solutions, adhere to the manufacturer’s instructions and watch out for any indications of imbalances or deficits in certain nutrients.
Manage pH and EC levels for hydroponic gardening
Pay particular attention to your nutrient solution’s pH and electrical conductivity (EC) levels. The pH range that most plants enjoy is between 5.5 and 6.5, and you should modify the EC levels based on your plants’ requirements.
Check the weather
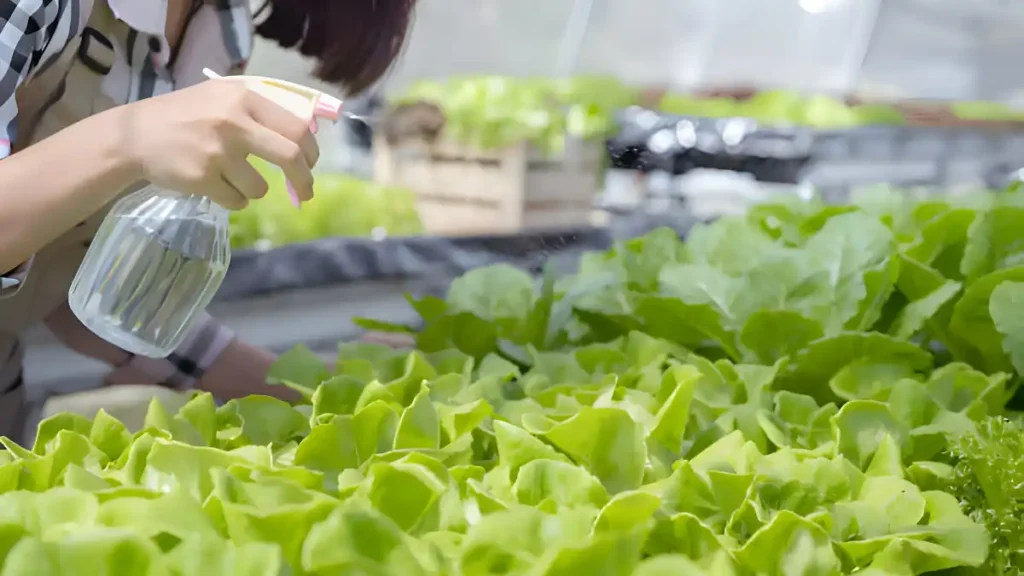
Keep your hydroponic system at the right temperature and humidity levels to encourage healthy plant growth and avoid problems like mold or fungal infections. Furthermore essential to avoiding stagnant air and fostering CO2 exchange is adequate ventilation.
Trim and teach your plants
Pruning and training your hydroponic plants regularly can promote ideal growth and maximum output. To shape and support your plants, remove any dead or decaying leaves and apply gardening techniques like topping, pinching, and trellising.
Avoid diseases and pests
Maintaining proper cleanliness and sanitation in your hydroponic garden will help reduce the likelihood of pests and diseases. Regularly check your plants for symptoms of illness or pests, and act appropriately to quickly resolve any problems you find.
Remain educated and try out hydroponic gardening
Since hydroponic farming is a dynamic and ever-evolving area, keep up with the most recent findings, methods, and advancements. Try various crops, cultivation techniques, and fertilizer formulas; don’t hesitate to discover what works best for you.
Conclusion:
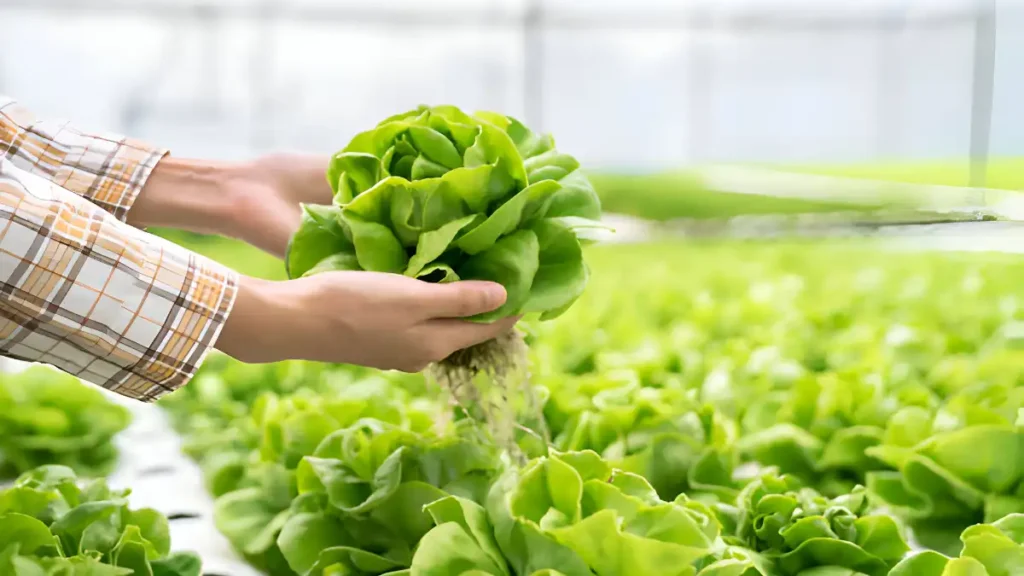
To sum up, hydroponic gardening has many advantages over conventional soil-based techniques. Higher yields and faster growth rates are the outcome of its exact control over environmental factors, water use, and fertilizer levels. Furthermore, hydroponic systems take up less room, so people can use them in urban settings or places with a shortage of available land. Moreover, hydroponic farming yields reliable output and harvests because it can be done all year round, independent of the outside weather.
Certainly! If you’d like to learn more, please consider following our WhatsApp Channel: Harvest Gardening
A frequently asked questions:
Q1: What is hydroponic gardening?
A1: Hydroponic gardening is a soilless method of growing plants that uses nutrient-rich water solutions to provide critical minerals directly to the plant roots.
Q2: What types of plants can be grown using hydroponic gardening?
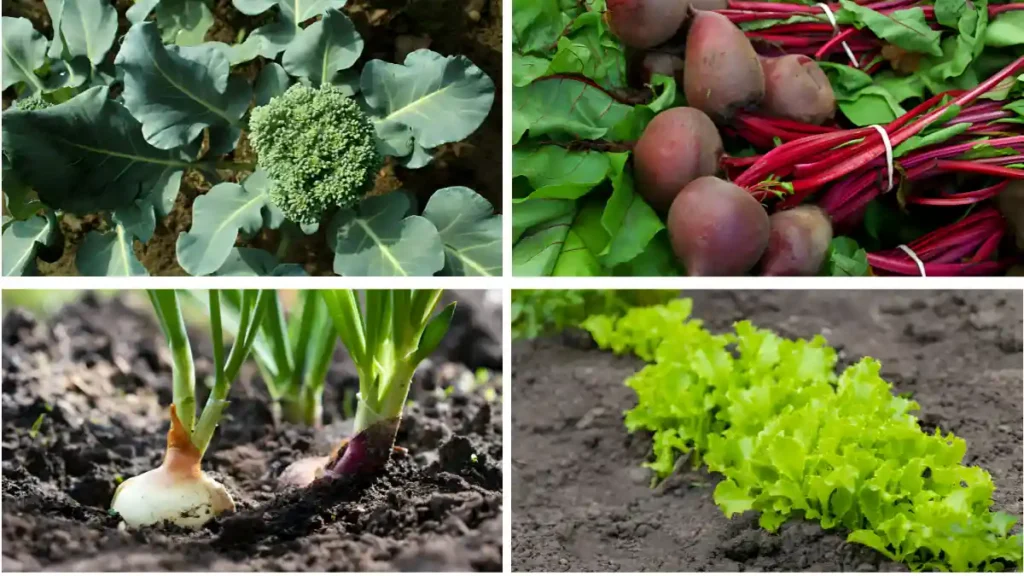
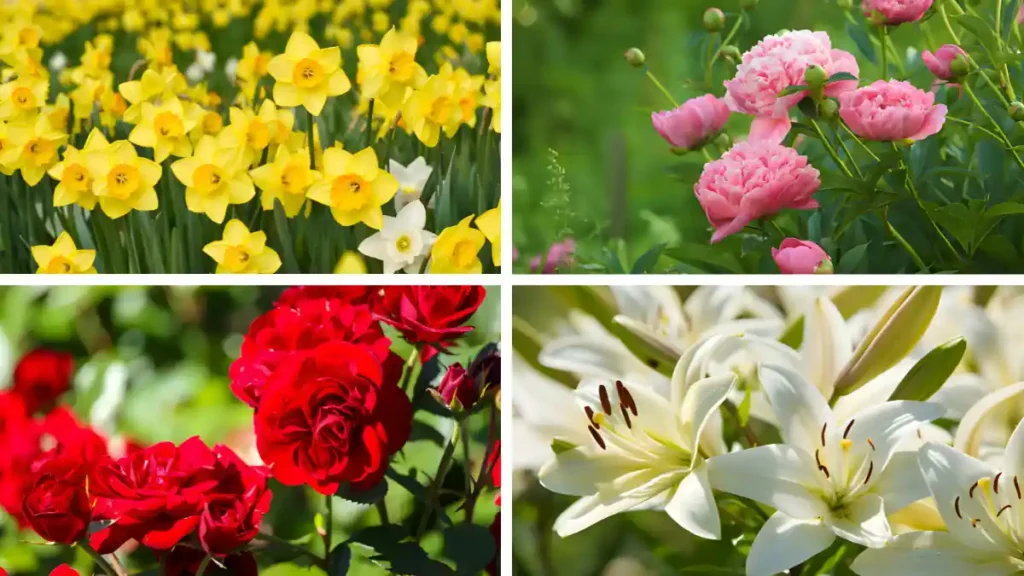
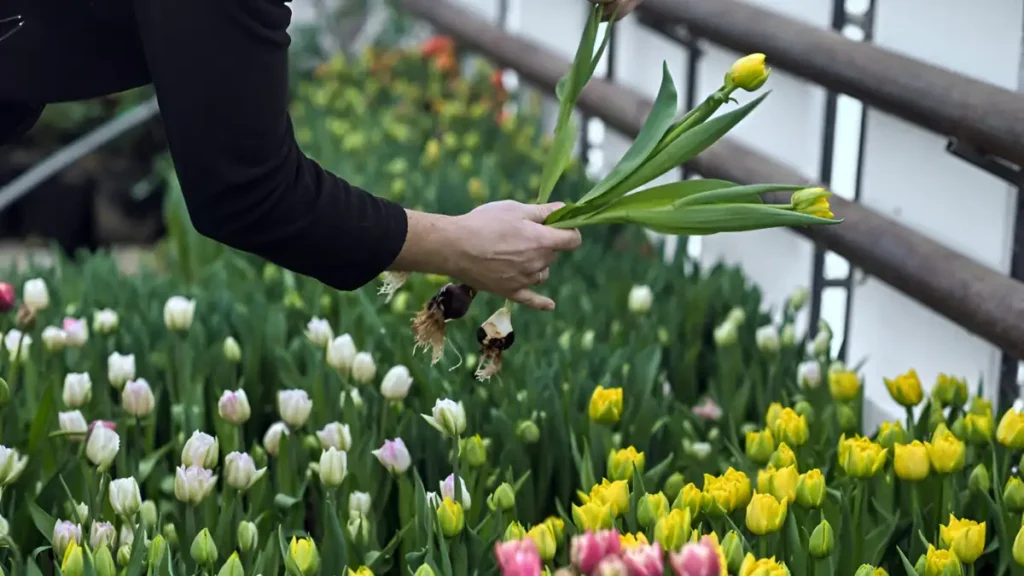
A2: Hydroponic gardening can grow almost any type of plant, including fruits, flowers, vegetables, and herbs. Lettuce, tomatoes, peppers, basil, strawberries, and roses are typical examples.
Q3: How much space do I need for a hydroponic garden at home?
A3: You’ll usually need one to two square feet for each plant in a small-scale hydroponic garden, depending on the kind of plant and its development patterns.