Tag

Flower

Browsing

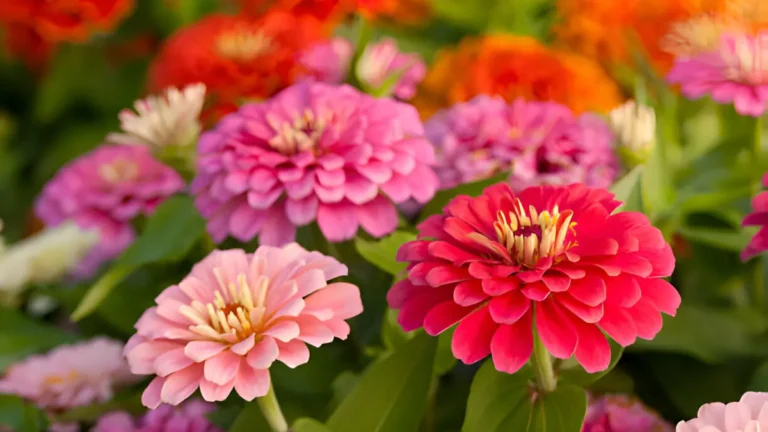
Dahlias are brilliant and adaptable flowers that bring color and charm to any garden or outdoor environment. Dahlias are often cultivated in the ground, but they also grow well in pots, which makes them a great option for people who enjoy container gardening or have a small garden. You may have a gorgeous dahlia display on your patio, balcony, or porch with the correct upkeep.

Usually in the spring, these are best planted once the last frost has passed and the soil has warmed up. In most places, this occurs in late April or early May. Planting dahlias too early, while the soil is still cold, might result in poor growth or tuber rotting since dahlias need warm soil temperatures. Planting them earlier might be possible if you live in a warmer region, but you should always wait until there is no longer a chance of frost.

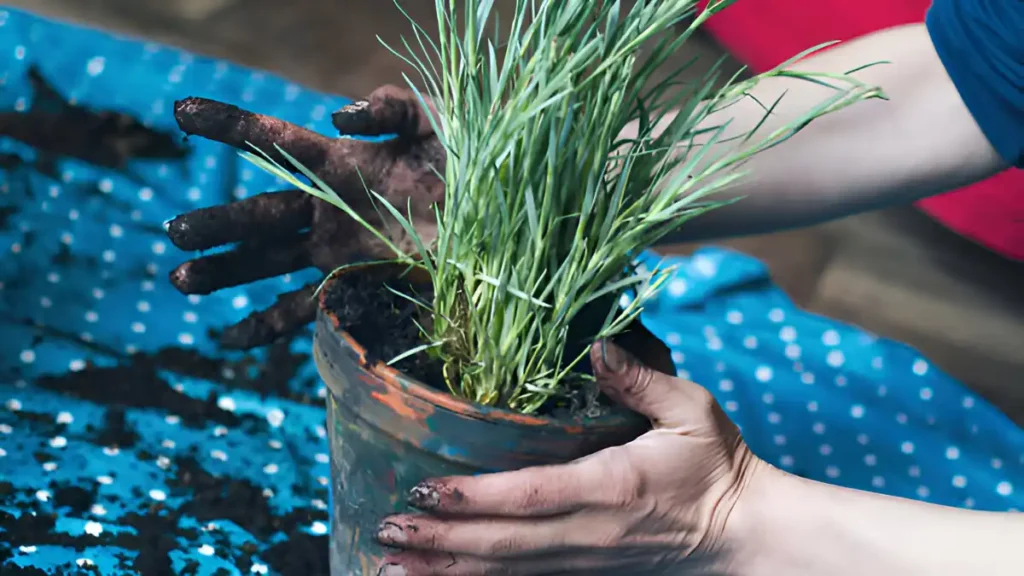
  • Select a pot with a minimum diameter and depth of 12 inches (30 cm). Ensure the bottom has drainage holes to avoid waterlogging, which can cause root rot.
  • It come in a variety of forms, including dwarf cultivars that are good for container planting. Seek a patio or compact kids so they don’t get too big or tall for your container.
  • Pick an organic-rich, well-draining potting mix. To enhance drainage, add some perlite or coarse sand. Garden soil should not be used in pots since it can compress and impede root development.
  • When the chance of frost has passed in the spring, plant your dahlia tubers in the pot. Plant the tubers approximately 4-6 inches (10-15 cm) deep, with the “eye” or growth tip facing upward. Multiple tubers should be spaced under the variety you’re growing’s recommended spacing.
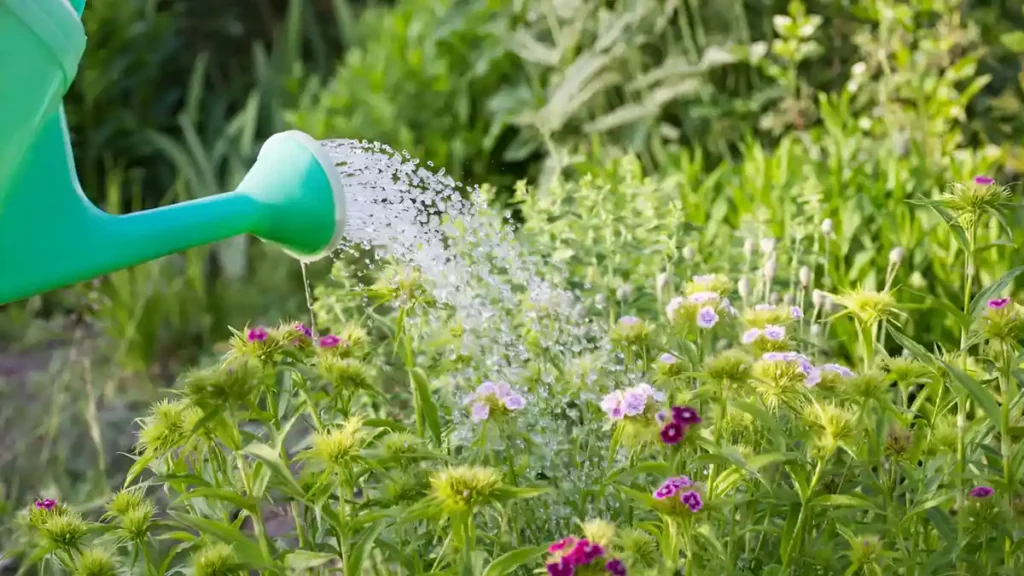
  • Keep the soil wet but not saturated. When the top inch (2.5 cm) of soil feels completely dry to the touch, water deeply. Steer clear of overhead irrigation to avert fungal infections. When you water in the morning, extra moisture can escape over the day.
  • Dahlias thrive in full sun, so ensure they receive six to eight hours of direct sunlight daily, and provide afternoon shade in hot regions.
  • Throughout the growing season, give your potted dahlias a balanced fertilizer that is soluble in water every two to three weeks. 

For gardeners of all skill levels, growing dahlias in pots can be a fulfilling and joyful experience. This adaptable flowering plant adds a beautiful variety of colors, shapes, and sizes to any outdoor space or garden. Gardeners can successfully develop gorgeous dahlias in containers by following the necessary planting and care instructions, which include choosing the ideal pot size, using well-draining soil, and providing adequate sunlight and water.

Certainly! If you’d like to learn more, please consider following our WhatsApp Channel: Harvest Gardening

Q1: How do I propagate dahlias?

A1: Dahlias can be multiplied by taking stem cuttings during the growing season or by splitting tubers in the spring before planting. Plant divisions and cuttings in well-draining soil, ensuring they have viable growth points in each.

Q2: How do I prevent diseases and pests in dahlias?

A2: Dahlia illnesses and pests can be avoided by following excellent garden hygiene practices, such as clearing away trash, avoiding overhead watering to minimize fungal problems, and routinely checking plants for pest or disease symptoms. If necessary, you can also apply chemical or organic therapies; just be sure to properly follow the label’s directions.

Q3: What is the best time to plant dahlias?

A3: Dahlias grow best in the spring when the ground has warmed and the risk of frost has passed.

Hellebores lend a sense of elegance to any garden setting with their exquisite blooms and evergreen foliage. Hardy perennials like these are a favorite among gardeners since they require little care and are quite lovely. If you’re thinking about planting hellebores in your garden, you need to know when and how to plant them for optimal growth and establishment.

Planting hellebores is best done in early spring or early fall. These seasons give the plants ideal growing conditions without exposing them to severe temperatures. But these are hardy plants that can be planted any time of the growing season—just make sure the weather stays steady and mild.

Choosing the proper site

Select a good spot before planting them. Since hellebores prefer full to partial shade, they are perfect for planting behind trees or on the north side of buildings where there is minimal sunshine. To encourage healthy growth, make sure the soil is well-drained and rich in organic matter.

Getting ready to plant hellebores

To improve soil fertility and structure, prepare the planting area by loosening the soil to a depth of at least 12 inches (30 cm) and adding compost or aged manure. Clear the area of any weeds or rubbish to avoid competing with them for nutrients.

Planting method

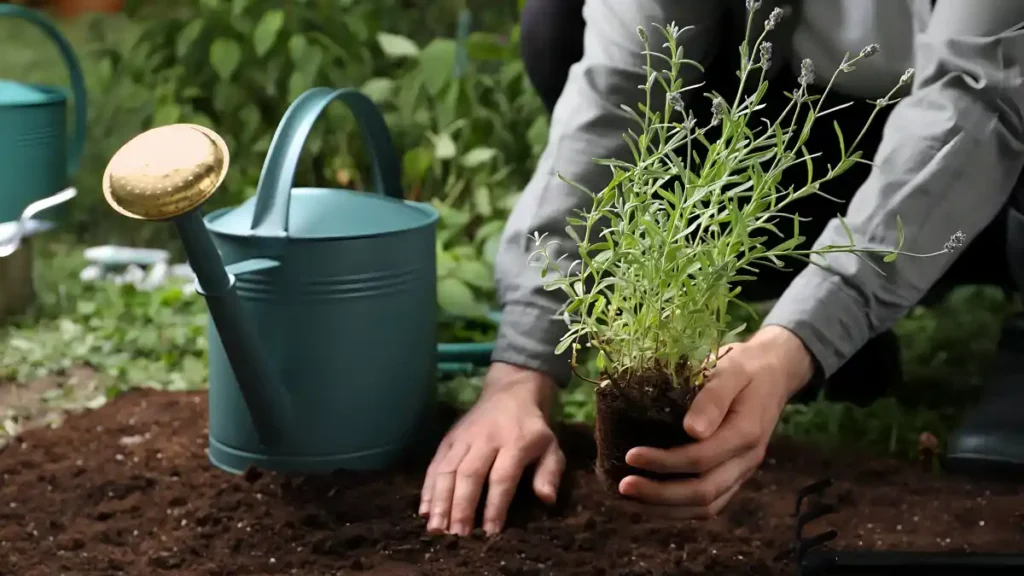
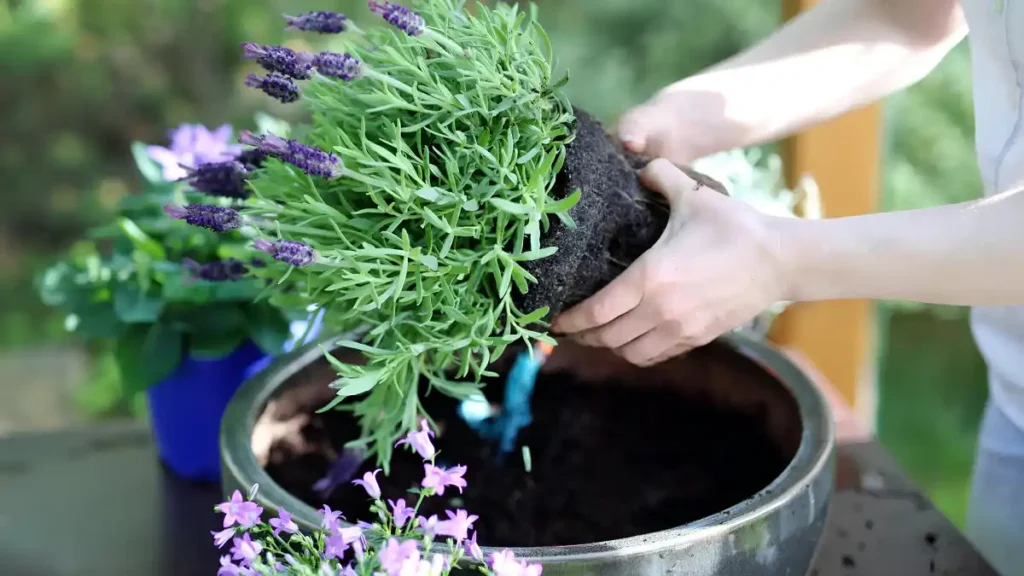
Dig a hole that is just a little bit bigger than the hellebores’ root ball when planting them. Being cautious not to harm the roots, carefully remove the hellebore from its container. Make sure the top of the root ball of the plant is level with the surrounding soil before placing it in the center of the hole. To remove any air pockets, backfill the hole with dirt and gently press it down.

Watering and blending

Water the hellebore well after planting to let the dirt surrounding the roots settle. To encourage establishment, give regular watering during the first growth season. To keep moisture in the plant and keep weeds at bay, cover the base of the plant with a layer of organic mulch, like compost or shredded bark.

Upkeep of the hellebores plant properly

After they are established, hellebores require very little upkeep. To promote ongoing blooming, remove wasted flowers and, if necessary, cut back any damaged or yellowing foliage. Every few years, divide overgrown clumps to keep the plants vigorous and revitalized.

Defense against insects and diseases

Hellebores, despite being resistant to pests, can be affected by aphids, slugs, and fungal infections. To prevent infestations, monitor plants and use organic insecticides.

It is important to plant hellebores at the proper time and with the proper technique to guarantee their good establishment and growth. Frequent fertilizer and irrigation—especially during dry spells—will encourage robust growth and profusion of flowers. Hellebores are plants that may flourish in your yard and produce lovely blooms year after year with the right maintenance and attention to planting time and method.

Certainly! If you’d like to learn more, please consider following our WhatsApp Channel: Harvest Gardening

Q1: What are Hellebores flowers?

A1: Also referred to as Lenten roses or Christmas roses, these are perennial flowering plants that are indigenous to Europe and Asia. They bloom in a range of colors, including white, pink, purple, and green, and usually do so in late winter or early spring.

Q2: Can Hellebores flowers be grown indoors?

A2: Although they are usually grown outside, these flowers can be cultivated indoors in pots with the right maintenance. Give them regular watering, some indirect sunlight, and a potting mix that drains properly. Keep them away from drafts and very cold or very hot conditions.

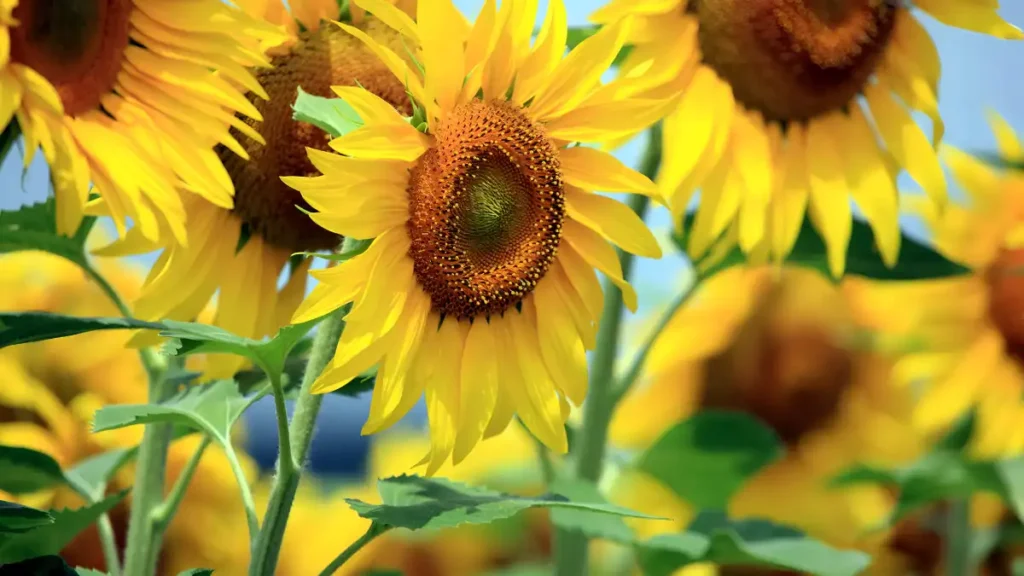
Learning how to grow sunflowers can add a touch of sunshine to any garden. Sunflowers are a delight to grow as well as a pleasure to behold with their vivid colors and tall stalks. Growing sunflowers may be a gratifying and satisfying hobby for anyone, regardless of gardening expertise level. These happy flowers can flourish in gardens, on balconies, or even in pots indoors with the right maintenance, adding a little sunshine to any area. Join us on this trip as we discover how to grow sunflowers.

  • Select a sunflower variety appropriate for the size and climate of your garden. Dwarf Sunspot, Lemon Queen, Velvet Queen, and Giant Russian are common types. When choosing seeds, take into account elements like bloom size, height, and color.
  • Select a location in your garden that gets at least 6 to 8 hours of direct sunshine every day for sunflowers, as they love full sun.
  • Sunflowers like their soil to have a pH of 6.0 to 7.5 and to be well-drained. To enhance fertility and drainage, till the soil to a depth of around two feet and supplement it with aged manure or compost before planting.
  • Sunflower seeds can be started inside and then transferred, or they can be placed directly into the ground. If beginning indoors, plant seeds in biodegradable pots two to four weeks before the last anticipated date of frost. Wait until the risk of frost has passed and the soil has warmed to at least 55°F (13°C) before planting directly outside. Depending on the kind, plant seeds 6–12 inches apart and 1 inch deep.
  • During the germination stage, keep the soil moist but not waterlogged for seven to ten days. Sunflowers can withstand some drought after they are established, but they will need frequent watering when the weather gets dry. Mulch should be applied to the plant’s base to keep moisture in and keep weeds at bay.
  • To keep tall sunflower types from tipping over in severe winds, they may need to be staked or supported. To support the stems as they grow, set up stakes or a trellis.
  • Although sunflowers don’t require much fertilizer, planting time is a good time to give them a balanced fertilizer treatment. Steer clear of overfertilizing, since too much nitrogen can encourage lush foliage at the price of producing flowers.
  • Keep a frequent eye out for common pests like caterpillars, snails, and aphids on sunflowers. To manage infestations, hand-pick pests or apply organic insecticidal soap. Rotate your crops and maintain good garden hygiene to stop the growth of soil-borne illnesses.
  • Sunflowers mature between 70-100 days, with firm, plump seeds and yellow or brown flower heads. Harvest when heads are attached, dry upside down, and store seeds in cool, dry conditions for later use or eating.

To summarize, mastering the art of how to grow sunflowers takes careful attention to a variety of aspects, including soil preparation, sunlight exposure, a watering schedule, and insect management. Gardeners may grow vivid sunflowers that enhance the beauty and happiness of any landscape by following the instructions provided in this handbook.

Certainly! If you’d like to learn more, please consider following our WhatsApp Channel: Harvest Gardening

Q1: How to grow sunflowers from seeds?

A1: Sunflower seeds should be planted in well-drained soil in a sunny location, watered frequently, and exposed to lots of sunlight for best growth.

Q2: When is the best time to plant sunflowers?

A2: Sunflowers grow best when planted in late spring or early summer, which is usually beyond your area’s last frost date.

Q3: How to grow sunflowers in a pot?

Q3: Sunflower seeds should be planted one inch deep in a large container with well-draining soil, and they should get at least six hours of sunlight each day to thrive in a pot.

Learning how to grow tulips indoors allows you to enjoy the beauty of these classic spring flowers year-round. Tulips have long captured the hearts of flower lovers and gardeners alike with their stunning display of hues and graceful beauty. Though usually connected with outdoor gardens. However, these magnificent flowers may also flourish indoors, adding a hint of springtime grandeur to any space, no matter the weather outside. In this article, we’ll go over the art and science of how to grow tulips indoors, including step-by-step directions and expert advice.

  • Select premium tulip bulbs from a reliable vendor. Seek for firm bulbs that show no symptoms of illness or injury.
  • Choose containers with bottom drainage holes to avoid standing water. The container’s dimensions should provide sufficient root development, with a minimum depth of six inches.
  • Make use of compost, peat moss, and perlite mixture in a well-draining potting mix. Pour the soil mix into the containers, leaving about an inch of space below the rim.
  • Plant tulip bulbs so that the pointy side faces upwards and the flat base touches the soil. To allow for development, evenly space the bulbs in the container, giving some space between each one. For a more comprehensive show, plant bulbs closer together.
  • Water the bulbs well after planting to help the soil settle. Throughout the growing season, maintain a constant moisture content in the soil without becoming damp. Keep in mind that overwatering can lead to bulb rot.
  • Position containers in a bright area with a minimum of 6-8 hours of direct sunlight daily. During the growing season, tulips prefer lower temperatures, ideally between 50 and 60°F (10 and 15°C).
  • For best results, use a half-strength solution of a balanced liquid fertilizer every two to three weeks during the growing season. This will supply the nutrients required for blooming and good growth.
  • Staking the tulips as they grow might help maintain their stems, particularly if the blooms cause them to become top-heavy.
  • Identify common pests like aphids and spider mites promptly using neem oil or insecticidal soap. Maintain air circulation and avoid overhead watering to prevent fungal diseases.
  • After the tulips are done flowering, you may either dispose of the bulbs or let them go dormant by progressively cutting back on watering. Should you decide to reuse the bulbs, save them until the following growing season in a cool, dry location.

knowing how to grow tulips inside may be a profitable and joyful experience, allowing you to appreciate the beauty of these vivid flowers all year long. You may successfully produce healthy tulip bulbs that will bloom indoors, adding beauty and cheer to your house, by following the instructions provided in this article.

Certainly! If you’d like to learn more, please consider following our WhatsApp Channel: Harvest Gardening

Q1: How to grow tulips in water?

A1: To cultivate tulips in water, set the bulbs in a vase with water in it, make sure the base of the bulb is submerged, and store them somewhere cold and light to promote growth.

Q2: When is the best time to plant tulip bulbs indoors?

A2: To enable them to blossom in late winter or early spring, tulip bulbs can be planted inside in late summer or early fall.

Q3: How to grow tulips from seeds?

A3: Starting with seeds, plant tulips in a sunny spot with well-draining soil. Make sure the soil is continuously moist until the seeds germinate and become bulbs.