Exploring the fastest growing vegetables can help you achieve a quick and rewarding harvest, perfect for impatient gardeners or those with shorter growing seasons. Do you want to see immediate improvements in your garden? Planted vegetables that overgrow yield a plentiful crop quickly. These veggies will surprise you with their quick development and mouthwatering flavors whether you’re an experienced gardener or a novice. Look at some of the fastest-growing vegetables you may begin planting today for garden success.
Here are the top 8 fastest growing vegetables you can plant:
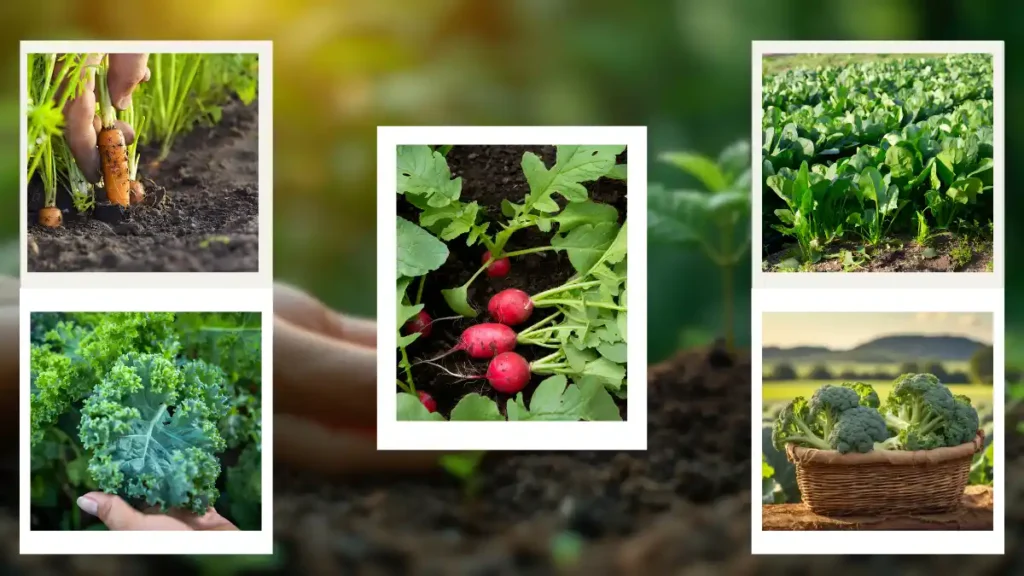
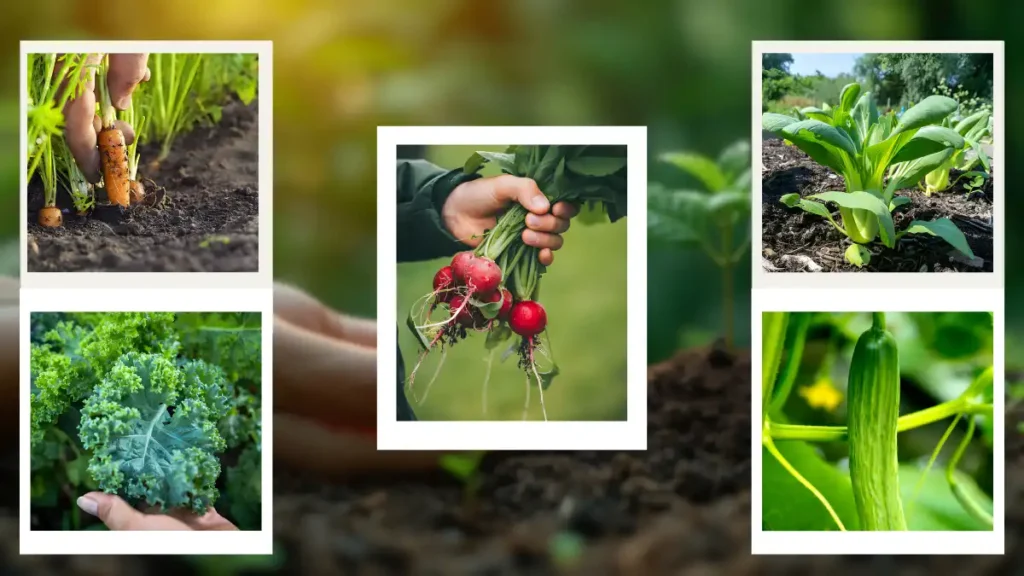
- Bok Choy (Pak Choi): Approximately 6 to 8 weeks after sowing, this rapidly growing Asian green is ready for harvesting.
- Baby Carrots: In the square-foot garden, we harvest baby carrots 30 to 40 days earlier than regular carrots after planting. We rotate crops every season in different sectors to prevent soil depletion and pest problems.
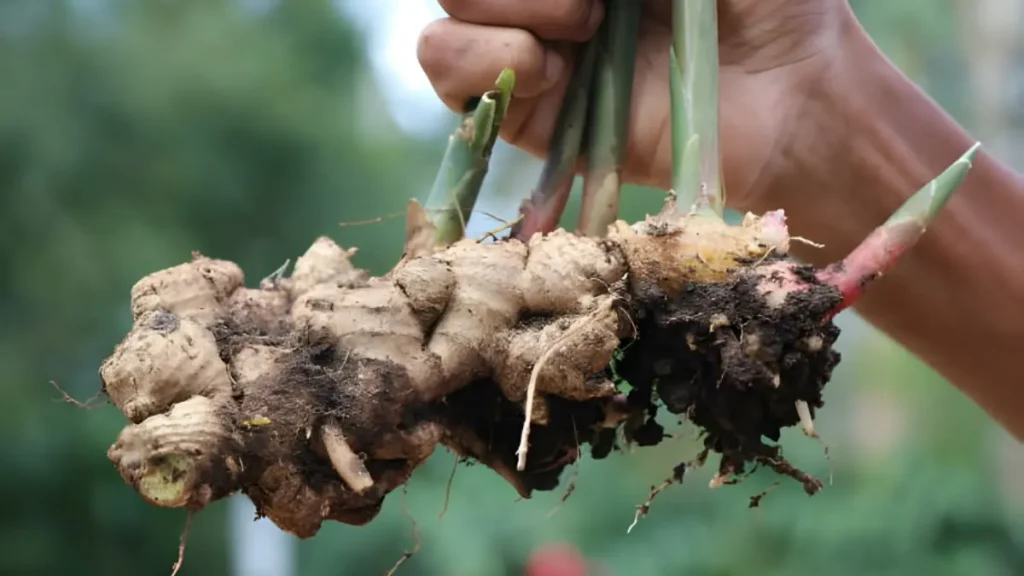
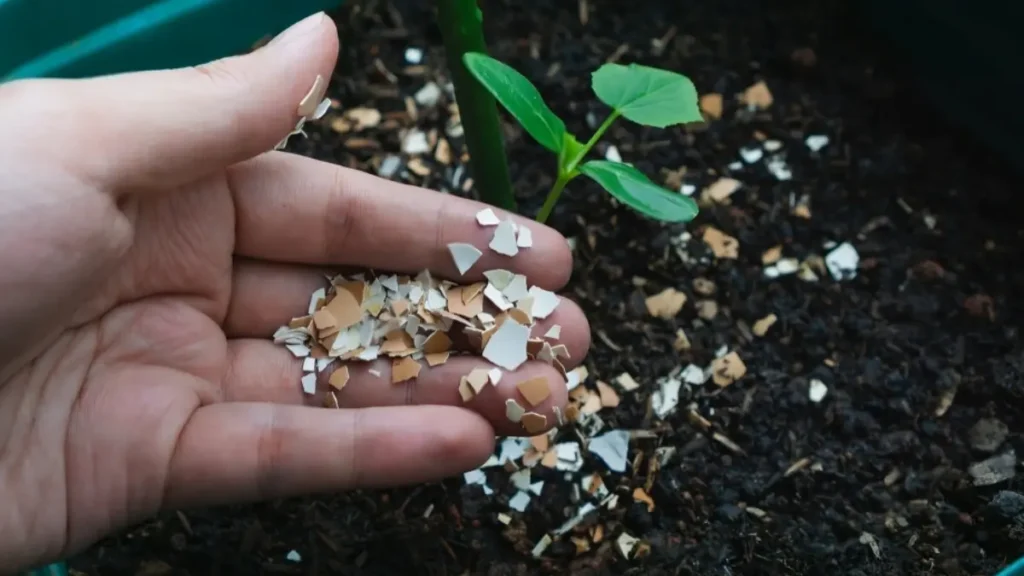
- Kale: We prevent soil depletion and pest problems by rotating crops every season in different sectors.
- Arugula: This leafy green can grow quickly and people can harvest it in four to six weeks after sowing. Arugula is usually grown outside, but you can grow arugula indoors in the comfort of your own home.
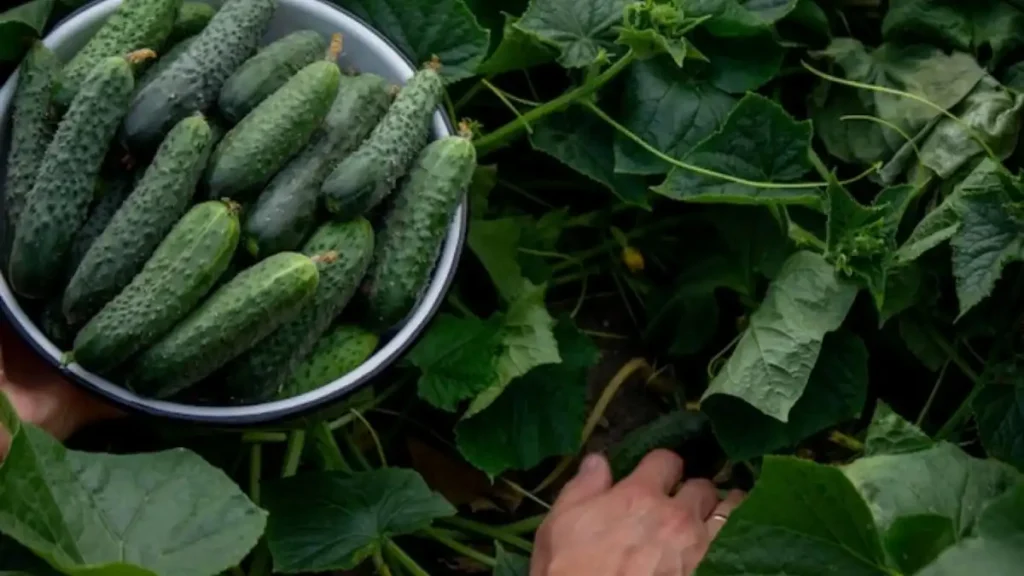
- Cucumbers: Pick bush-type, compact varieties that are specially bred to grow fast. However, proper fertilization is required for your cucumber plants. You can start picking fresh, crisp cucumbers in just 50-60 days if you meet the necessary conditions. Support vining varieties to make the most of available areas and produce more.
- Lettuce: After sowing, varieties such as butterhead and looseleaf lettuce can be harvested in 3–4 weeks.
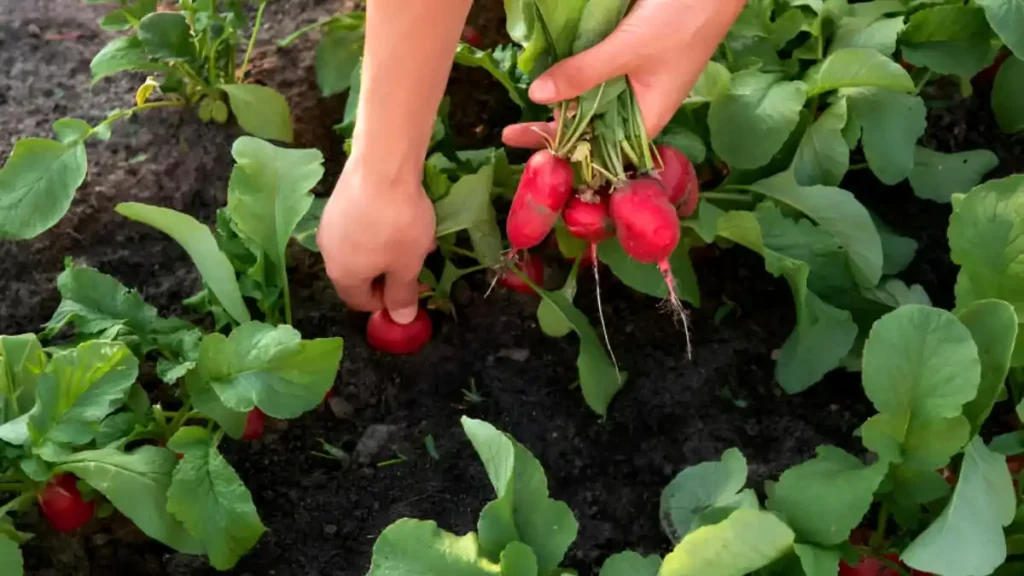
- Radishes: One of the veggies that mature the fastest is the radishes, which may be harvested in as little as three weeks. These crunchy, spicy treats are ideal for giving salads and sandwiches a flavor boost. Radish seeds can be planted straight in the ground and will sprout in a few days.
- Green Onions: These onions grow fast and you can pick them in about 3 to 4 weeks, or when they get to the right size.
Conclusion:
Finally, choosing the fastest growing vegetables for your garden will greatly improve your gardening results. Always keep an eye on your plants, give them enough water and nutrients, and take quick action to resolve any problems that may come up. You may increase the productivity of your garden and reap the rewards of a plentiful crop of quickly growing veggies with careful planning and attention to detail.
Certainly! If you’d like to learn more, please consider following our WhatsApp Channel: Harvest Gardening
A frequently asked questions:
Q1: Are the fastest growing vegetables suitable for container gardening?
A2: Yes, a lot of the veggies that grow the fastest, especially the small ones, do well in containers. Just make sure the containers have sufficient area for roots to grow and proper drainage.
Q2: What are some of the fastest growing vegetables indoors?
A2: The veggies that grow the fastest inside are green onions, lettuce, spinach, radishes, and microgreens.
Q3: What are some of the fastest growing vegetables from seed?
A3: Radishes and lettuce varieties like looseleaf and mesclun mixes grow the fastest from seed, with radishes ready to harvest in just 3-4 weeks and lettuce in about 4-6 weeks after planting.