Grown in various climates, cabbage is a versatile and nutrient-rich crop. This vegetable grows in your garden, and you can also grow cabbage in containers indoors or outdoors. However, harvesting it at the proper time is crucial to savoring its entire flavor and nutritional advantages. When you know when and how to harvest cabbage from your garden, you may savor the maximum flavor and freshness of this versatile crop. There are various types of cabbage, each of which matures during a certain season. This post will discuss when is the best time to harvest cabbage, giving you the information you need to select it when the flavor and quality are at their highest.
Cabbage growth stages:
- Cabbage growth phases affect flavor, texture, and storage.
- Harvest time varies by variety and area.
- 60–100 days after planting, ready for harvesting.
- While late types take longer to mature but are resistant to frost, early kinds mature quickly.
Crucial signs your cabbage is prepared for harvest:
Time is crucial when harvesting cabbage, as underdeveloped heads and split or cracked heads can result. Key signs include:
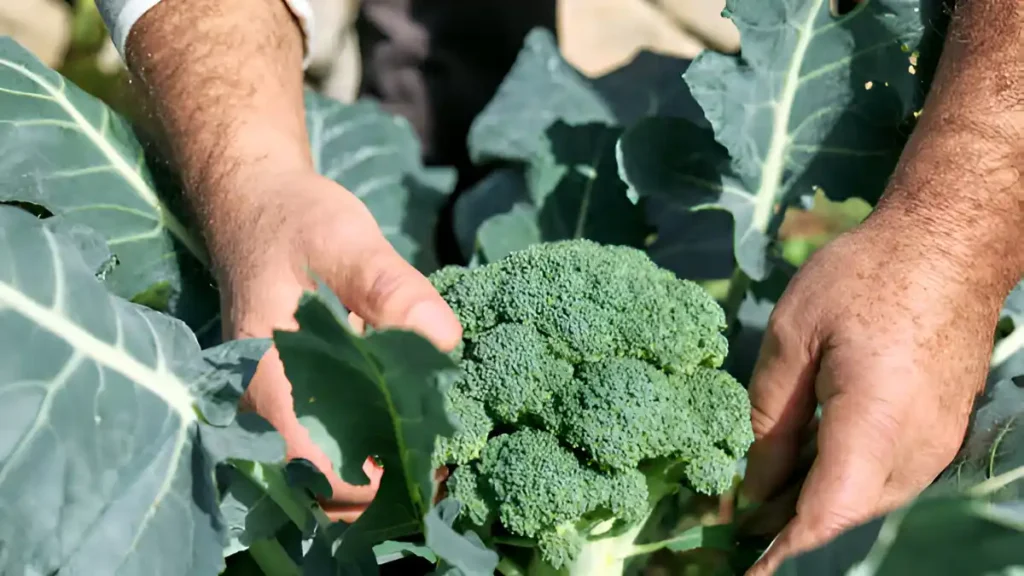
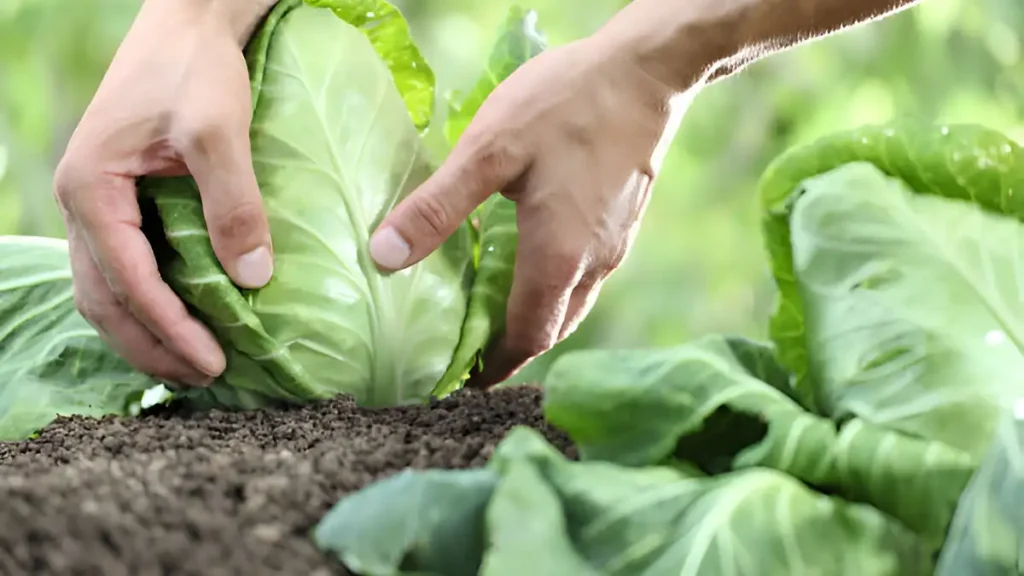
- A cabbage head that is completely grown will have a firm texture when touched. When the cabbage feels firm and compact after being gently pressed with your hands, it is ready to be harvested. A mushy or loosely packed head suggests that the cabbage requires additional maturing time.
- Cabbage heads, varying in size, typically measure 6-10 inches in diameter. To ensure correct harvesting, consult the seed packet or plant label to determine the expected size of your variety.
- Cabbage outer leaves, varying in color, should be vibrant and healthy, with withering or yellowing indicating over-maturity or nutrient deficiency.
- To accurately monitor cabbage growth, consult the seed packet’s maturity days and keep track of the planting date to ensure proper growth tracking.
When to harvest cabbage: The best seasons
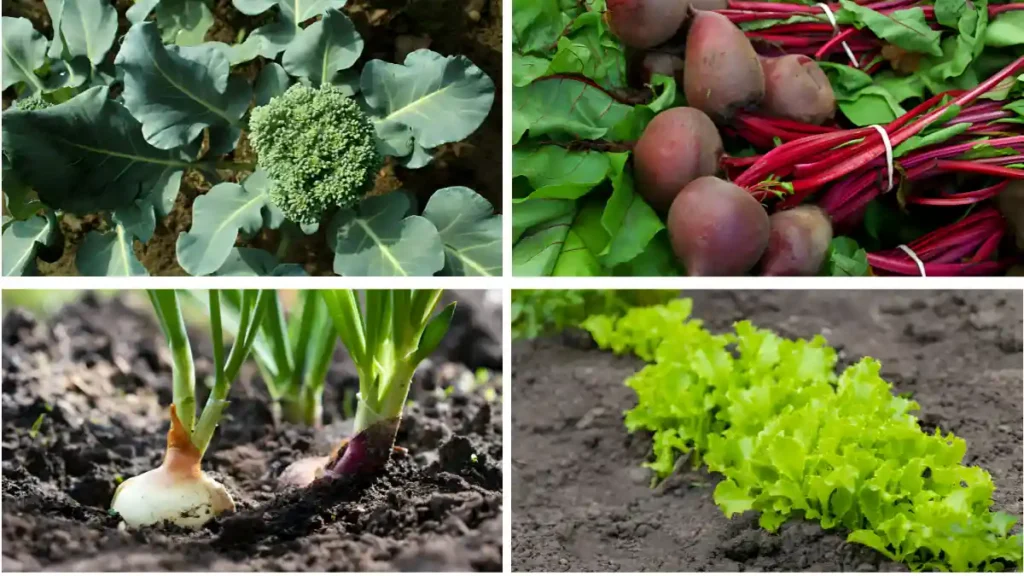
Harvesting cabbage in the spring or fall during mild weather is optimal for its cool season growth, as it yields sweeter, less bitter leaves and prevents premature flowering, making it a suitable crop for the growing season.
Spring harvest
Spring-grown cabbage heads should be checked for maturity and firmness in late spring or early summer, with April through June being ideal for collection. Monitor temperature changes to prevent splits.
Fall harvest
Fall cabbages, grown in late September or early November, are known for their natural sweetness and ability to withstand light frosts. The cooler weather increases the sugar content in cabbage heads, giving it a sweeter taste. Many gardeners wait for a little frost before harvesting fall cabbage.
Winter harvest
You may even produce and harvest cabbage in the winter in warm areas. Certain types of winter cabbage can be harvested in December and February and are frost-hardy. Despite their sluggish growth, these cultivars are prized for their deep flavor and resistance to cold.
How to harvest cabbage properly:
The best possible state for storage or immediate use of cabbage depends on careful harvesting methods. To efficiently harvest cabbage, follow these steps:
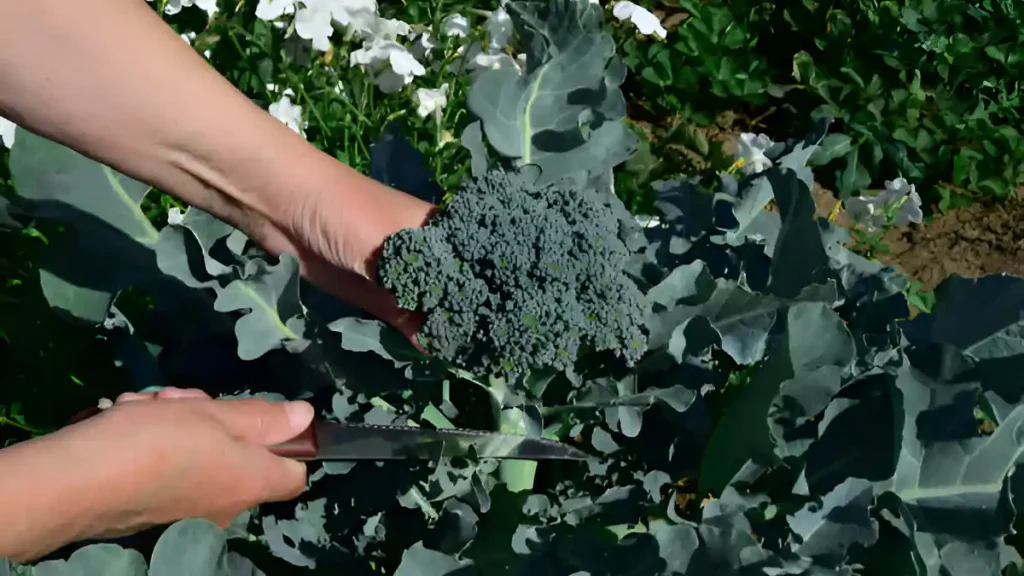
- Use a sharp knife to cut the cabbage head off the stem, leaving approximately 1 to 2 inches of the stem remaining. Make sure not to harm the nearby leaves when cutting the base of the head.
- Peel off any damaged or yellowing outer leaves to reveal the sharp, clean head underneath after harvesting. It’s advisable to remove these outer leaves since they may have been exposed to pests or inclement weather.
- Avoid removing the entire cabbage plant from the ground for cooking purposes and avoid damaging the root system by pulling the plant for multiple harvests.
- There are types of cabbage that permit a second harvest. Smaller heads may develop near the base of the plant after the primary head is removed, offering more harvesting chances. Although they won’t be as big as the main head, these tiny heads can still have a lot of flavor.
Avoid these basic mistakes when harvest cabbage:
- Harvest cabbage when it feels hard and strong to avoid over-maturity and broken heads, ensuring a consistent and delicious harvest.
- Harvest cabbage in cooler weather to avoid bitterness, ideally in later hours or less warm temperatures.
- Ensure cabbage is free from common pests like slugs, cabbage worms, and aphids by inspecting outer leaves and disposing of any damaged ones before harvesting.
Conclusion:
Understanding when to harvest cabbage at the ideal time will help you acquire the greatest flavor and extend the vegetable’s shelf life. The secret is to closely watch the plant’s growth and harvest the cabbage when the heads are firm and at their largest size, regardless of whether you’re growing it for fresh consumption, storage, or preservation. You’ll get the benefits of a tasty and nourishing cabbage harvest every season if you follow these suggestions.
Certainly! If you’d like to learn more, please consider following our WhatsApp Channel: Harvest Gardening
A frequently asked questions:
Q1: What are the best methods for storing cabbage after harvest?
A1: Cabbages can be stored in the fridge without washing, wrapped in a zip-top bag. Whole cabbage plants with attached roots can be kept in a cellar, hanging from the ceiling, or placed between layers of newspaper.
Q2: How to harvest cabbage seeds?
A2: Let the cabbage plant flower and produce seed pods, then wait for the pods to dry and become brown in order to collect the seeds. Slice the pods, let them dry more, and then crack the pods open to retrieve the seeds.